
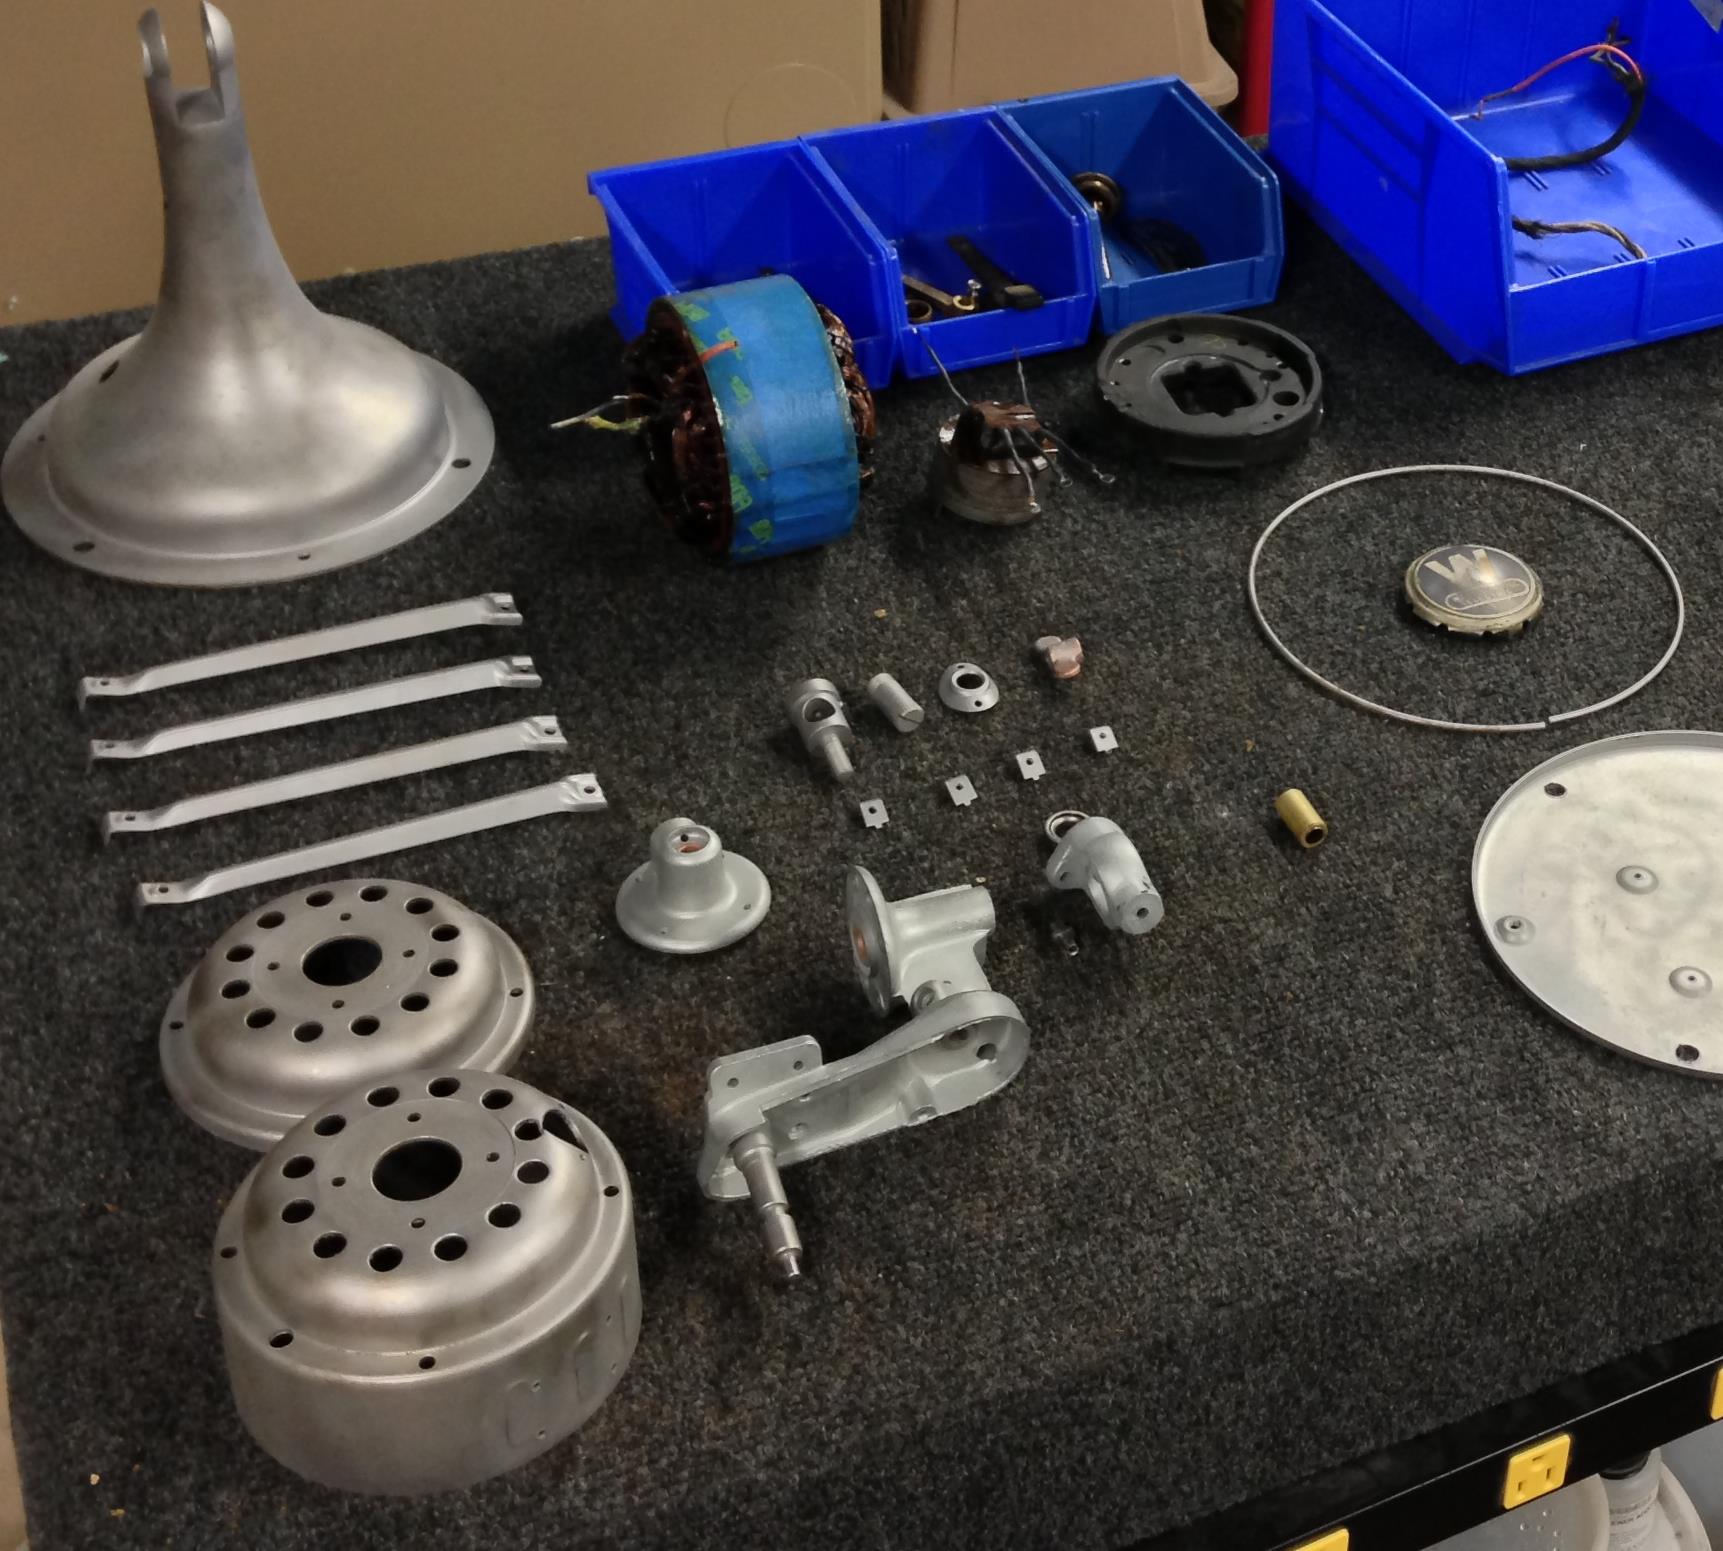
Have you ever tried to replace the head wire from a stamped steel Westinghouse or Western Electric only to find the stator will not come out? It can be very frustrating, but with these simple steps and basic tools, anyone can remove and reinstall it safely and cleanly.
Tools Required:
- Drill or drill press
- 11/64” drill bit
- 5/32” punch
- Caliper or ruler
- Torch or high powered heat gun
- Freeze it or a freezer
- Masking tape
- JB weld
- 80 and 150 grit sandpaper
- Popsicle stick
- Cardboard
- 9/64” drill bit or small round file
- Vice (and 2 pieces of wood) or vegetable can
Step 1: Drilling the Holes
Assuming you have already disassembled the fan, the first step to take is to measure the thickness of the housing. You can do this with a simple ruler or caliper. The reason for this is to ensure that when you begin to drill, you don’t drill into the stator. You ONLY want to drill just enough to break through the housing. Once this measurement is taken, measure your 11/64” drill bit for that same dimension and mark it with masking tape. When drilling, stop when the masking tape touches the motor housing. Again, this will ensure the drill bit did not enter into the stator. Let’s drill! This step is easier achieved using a drill press to ensure a straight hole is being drilled, but a regular drill will do with a steady hand and good eye. Now, drill two holes at opposite ends of each other on the lip around the motor housing where the struts attach. Four small holes can be drilled to help aid in the removal process, but is not necessary.
Step 2: Heat That Motor Housing and Remove the Stator
With the holes drilled, you are now ready to heat the motor housing using your torch or heat gun. If using a heat gun, you will need to heat it for a long time, but it can be done. Heat the motor housing all of the way around its circumference until it is almost too hot to touch. Clamp the motor housing down using a vice and two pieces of wood to ensure the jaws of the vice don’t dig into the motor housing. You can also use a small can that fits right in the center where the rotor would normally be. Place the part on the can or in the vice and start to tap the stator out with the 5/32” punch. Only use two to three taps per hole at a time. You don’t want the stator to get “crooked” inside the housing! Keep heating and punching until the stator falls out.

Heat the stator housing evenly around the perimeter using a torch

Using a punch and hammer gently punch the motor out from the holes that you drilled.
Step 3: Fill the Holes and Replace the Head Wire
Now that the stator is removed, it is time to fill the holes. Clean the holes out a bit by either wrapping some 80 grit sandpaper around the smooth end of a 9/64” drill bit or use a small round file. This will help ensure proper adhesion of the JB weld. Tape small cardboard squares to the inside of the housing so the JB weld doesn’t make a mess inside the housing. Mix the JB weld and jam it in the holes using a Popsicle stick until the hole is completely covered. Let the JB weld dry for 24 hours and sand it smooth using 150 grit sandpaper until it is completely smooth. Replacing the head wire will be discussed at a later time.

Above you can see the filled-in holes that were drilled to hammer out the stator.
Step 4: Reinstall the Stator
At this stage, your part should already be repainted or polished if that’s what you wish to do. In addition, the stator would already be cleaned/varnished/and baked as well with new head wire installed. With new paint applied, I prefer using a heat gun instead of a torch. I’d hate to cause imperfections in that brand new paint/polish job! Place the stator in the freezer overnight or use “freeze it” just before you plan on reinstalling the stator. Using “freeze it” or freezing the stator will cause it to contract and using heat on the stamped steel housing will cause it to expand, allowing for the stator to slide right into the motor housing.
Now it's time to install the stator: first, put your new head wire through the outlet hole of the housing. Next, slide the stator in ensuring the assembly studs line up. It is extremely important to have the stator's assembly studs aligned with their respective holes. If you misalign the studs with the holes, you will basically have to start from scratch, heating up the housing and removing the stator again. Because the freezing trick will create a lot of condensation on the stator, I like to thoroughly blow out the stator as it cools with compressed air to avoid any water staying in place. Once the whole thing is cool to the touch you can test it out.
Step 5: Enjoy your Accomplishment
Now, you have new head wire, a clean, protected stator, and a repainted stamped steel housing with no indication that holes were ever drilled! Enjoy!!