Have you had issues installing a new wick? It seems to be
the most simplest of tasks but can be a pain from time to time. I will explain
the easiest way to accomplish this task without headache. The first way is most
common, but the second way is one I personally thought of when trying to
install a slightly oversized wick in an original oil cup spring for a 1900
pancake fan.
First Method: Threading the wick into the spring
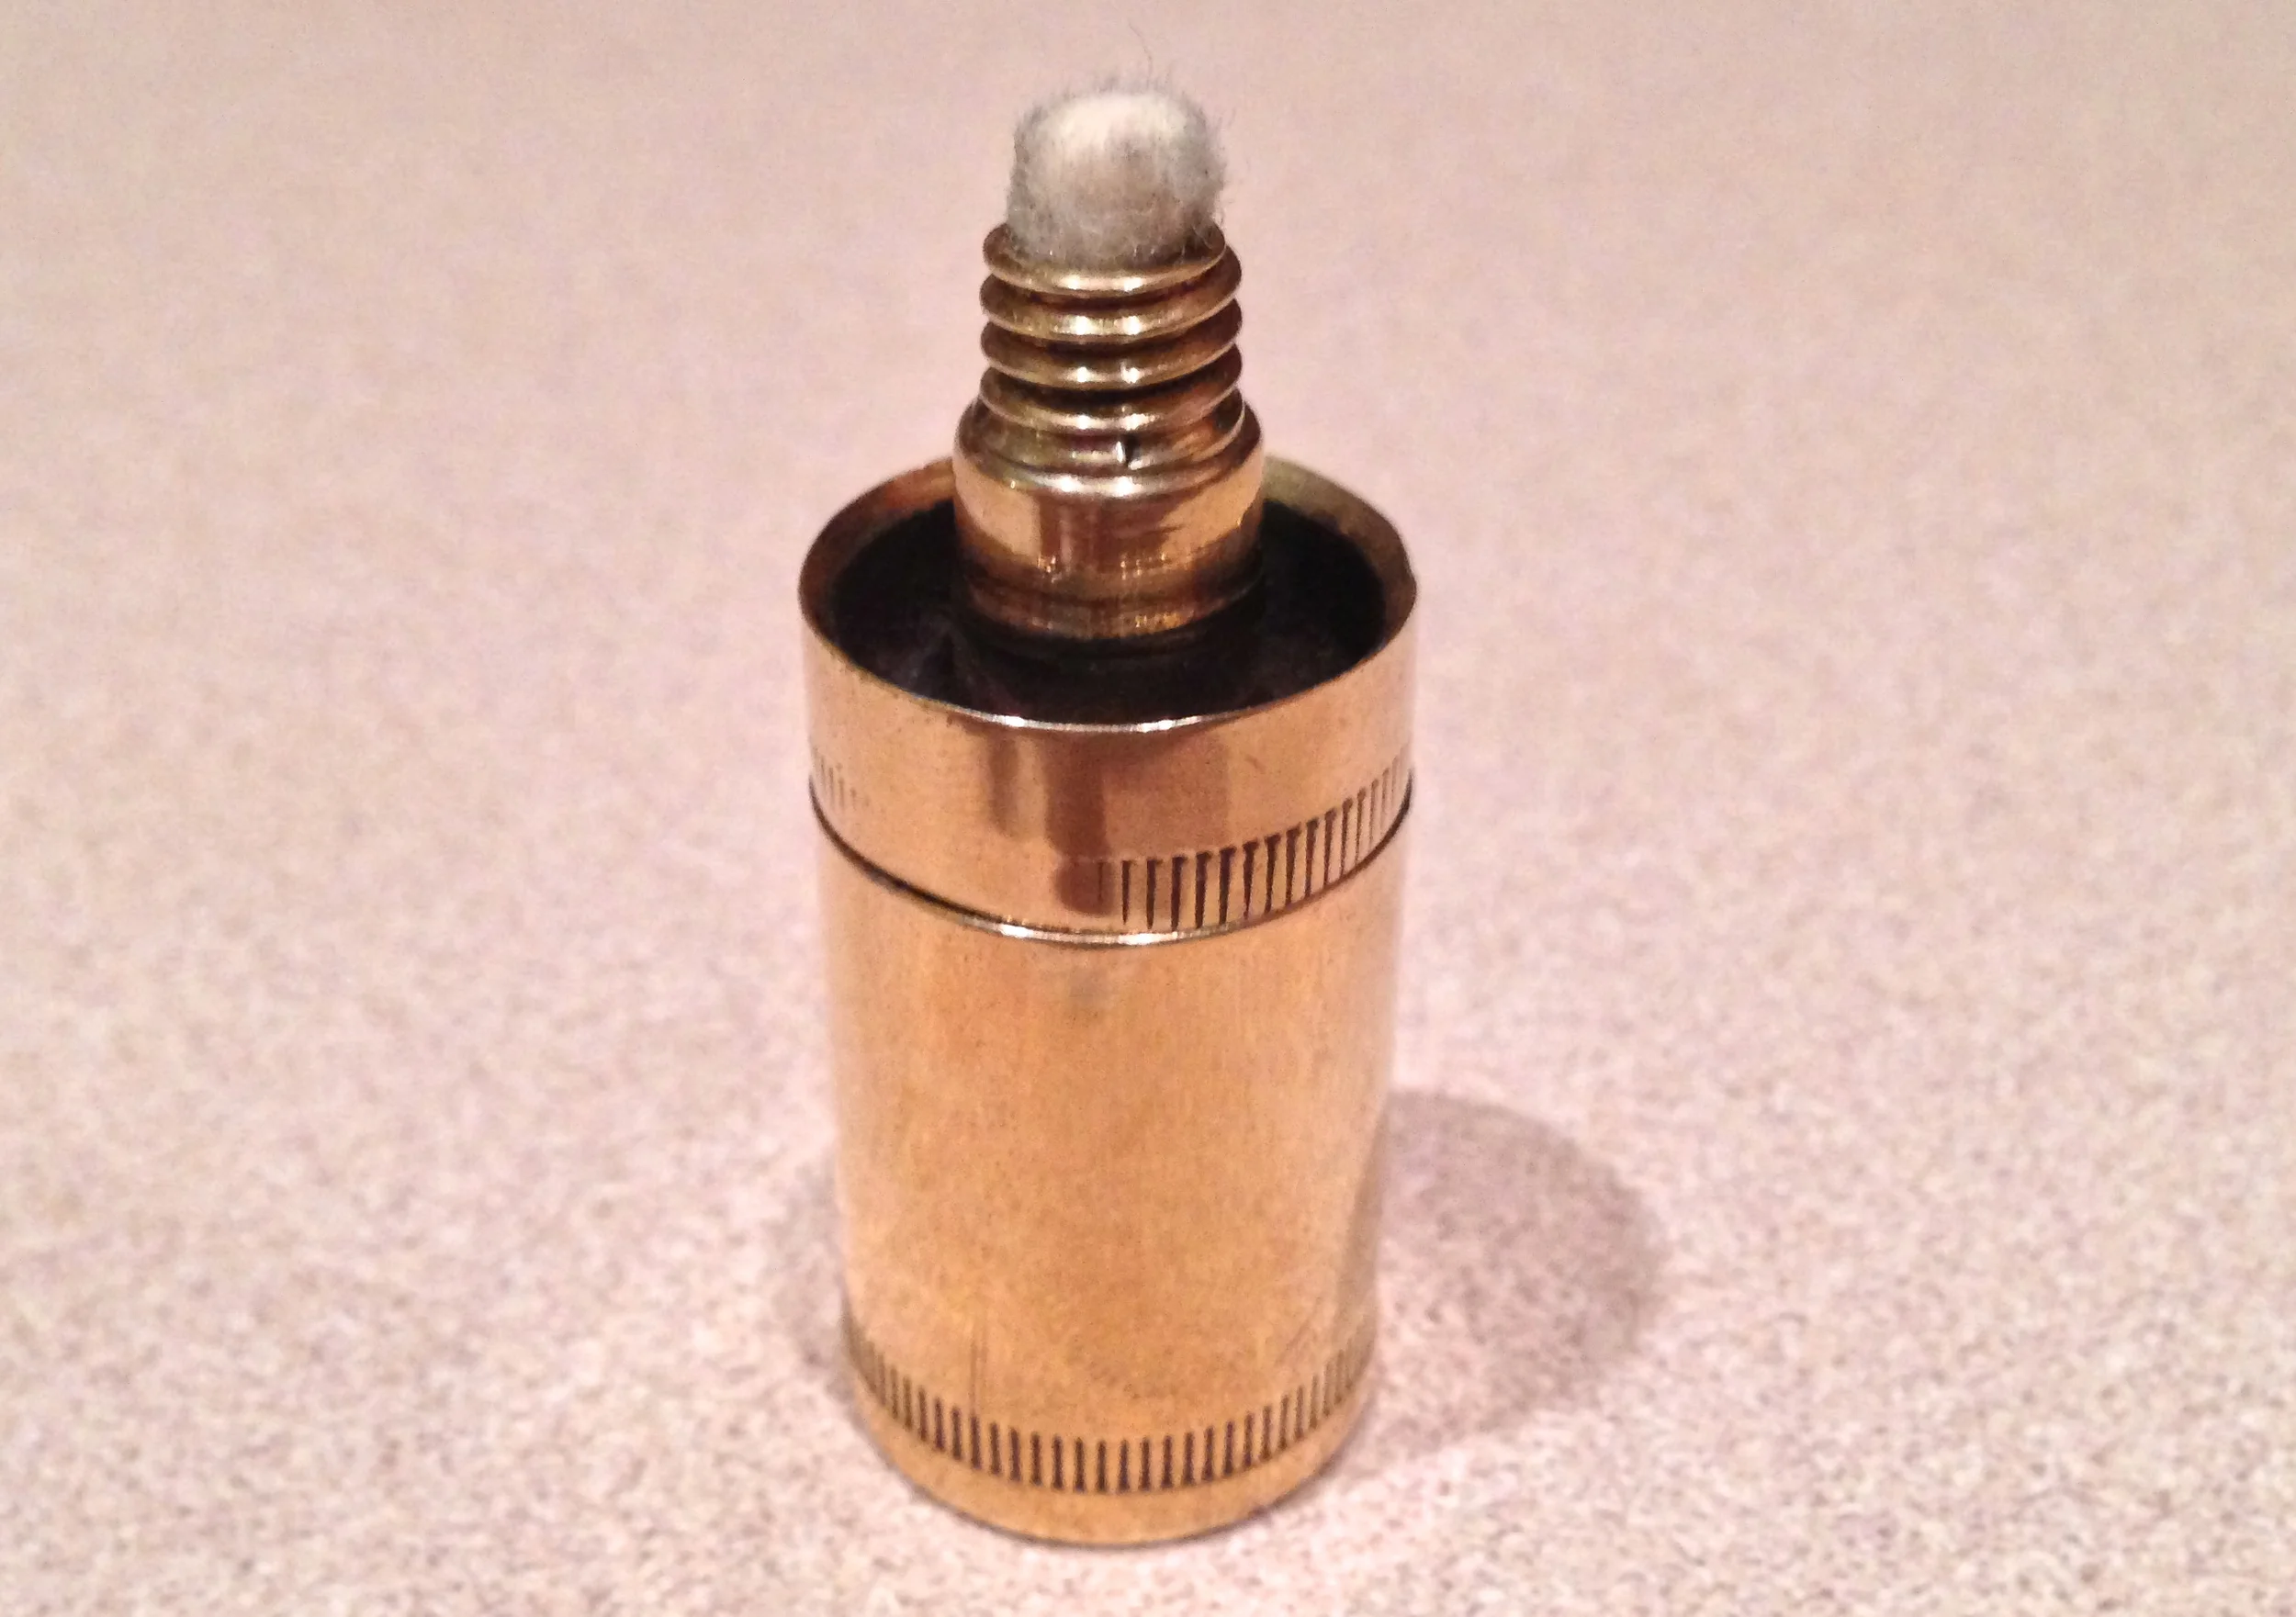
This may sound easy, but may require some skill. Those of us who have worked on fans for many years can do this like clockwork, but for the newcomer, it could be a small roadblock. Here’s what we do to screw it in: Take the wick and oil it on its end slightly to keep the end moist, keeping separation of the wick to a minimum. Use the righty tighty method and simply thread the wick into the spring. Keeping sure that the wick will not cause too much resistance to the rotor shaft; only screw in enough for it to exit the oil cup plus 1/8” for a starting point. Install the oil cup. Using a flashlight, look down the shaft bearing to see if the wick is flush with the bearing, barely touching the rotor shaft. It actually doesn’t need to touch the shaft at all. The wicking motion will allow enough oil to enter the shaft as there is nowhere else for it to go in that small space. More importantly, ensure the wick isn’t causing resistance to the shaft!! This may cause more load and resistance resulting in a less efficient running motor thus creating more heat.
Second Method: Using a pair of scissors
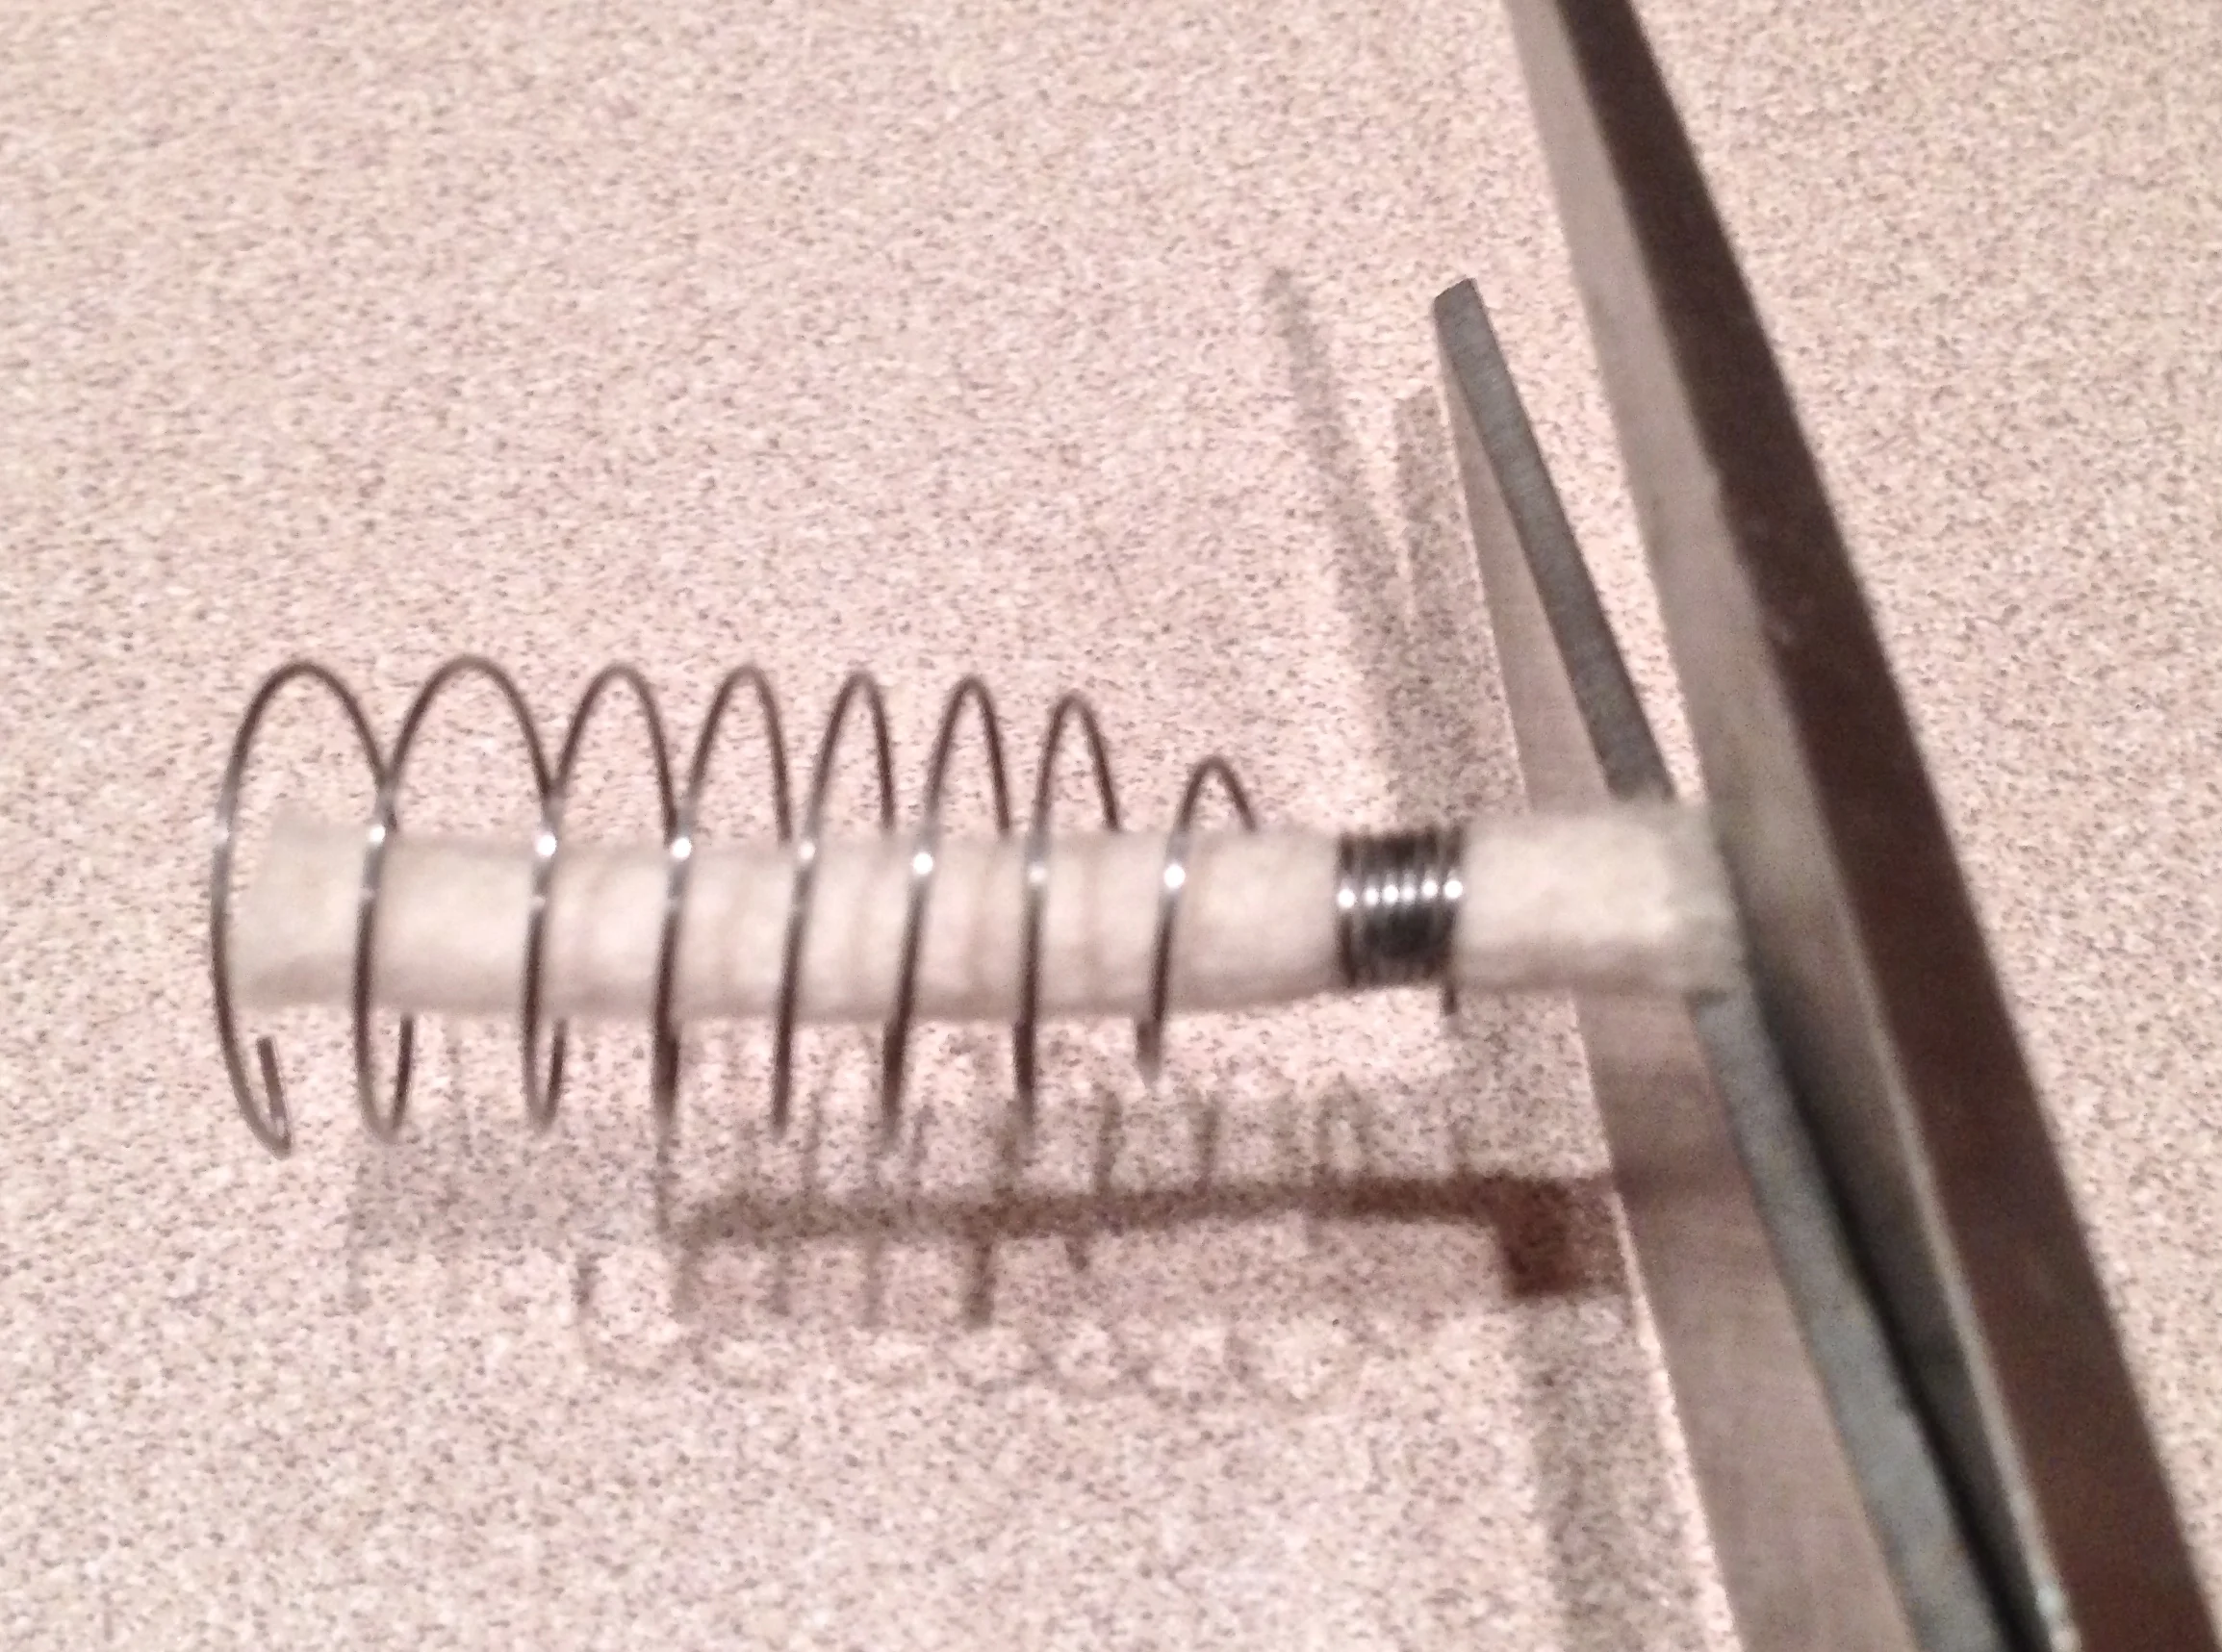
With bigger wicks that cannot screw into the normal spring, I use this method. I’m not saying that I’m using wicks that are too big for the bearing, I’m simply referring to tightly wound springs that are too tight for the correct size wick to fit. With that being said, this method works very easily whether it will screw in or not. Simply take a pair of scissors and taper the end of the wick, only using about ½” taper. Then, simply push the wick through the tight hole on the spring until you can grab it. Then, pull slightly and you screw it in. There you have it, a new wick into a tightly wound spring. Cut the end of the taper off and adjust the length as previously discussed.
Using scissors cut an angle in the wick's end
Thread this end into the spring with a twisting motion
After inserting the wick, cut the end to the appropriate length


