
Background
I spent nearly the entire summer focusing on things other than fans: my wife, my new daughter, and my job. But let's be honest, I've got the bug pretty bad and it's not like I haven't been working on fans too.
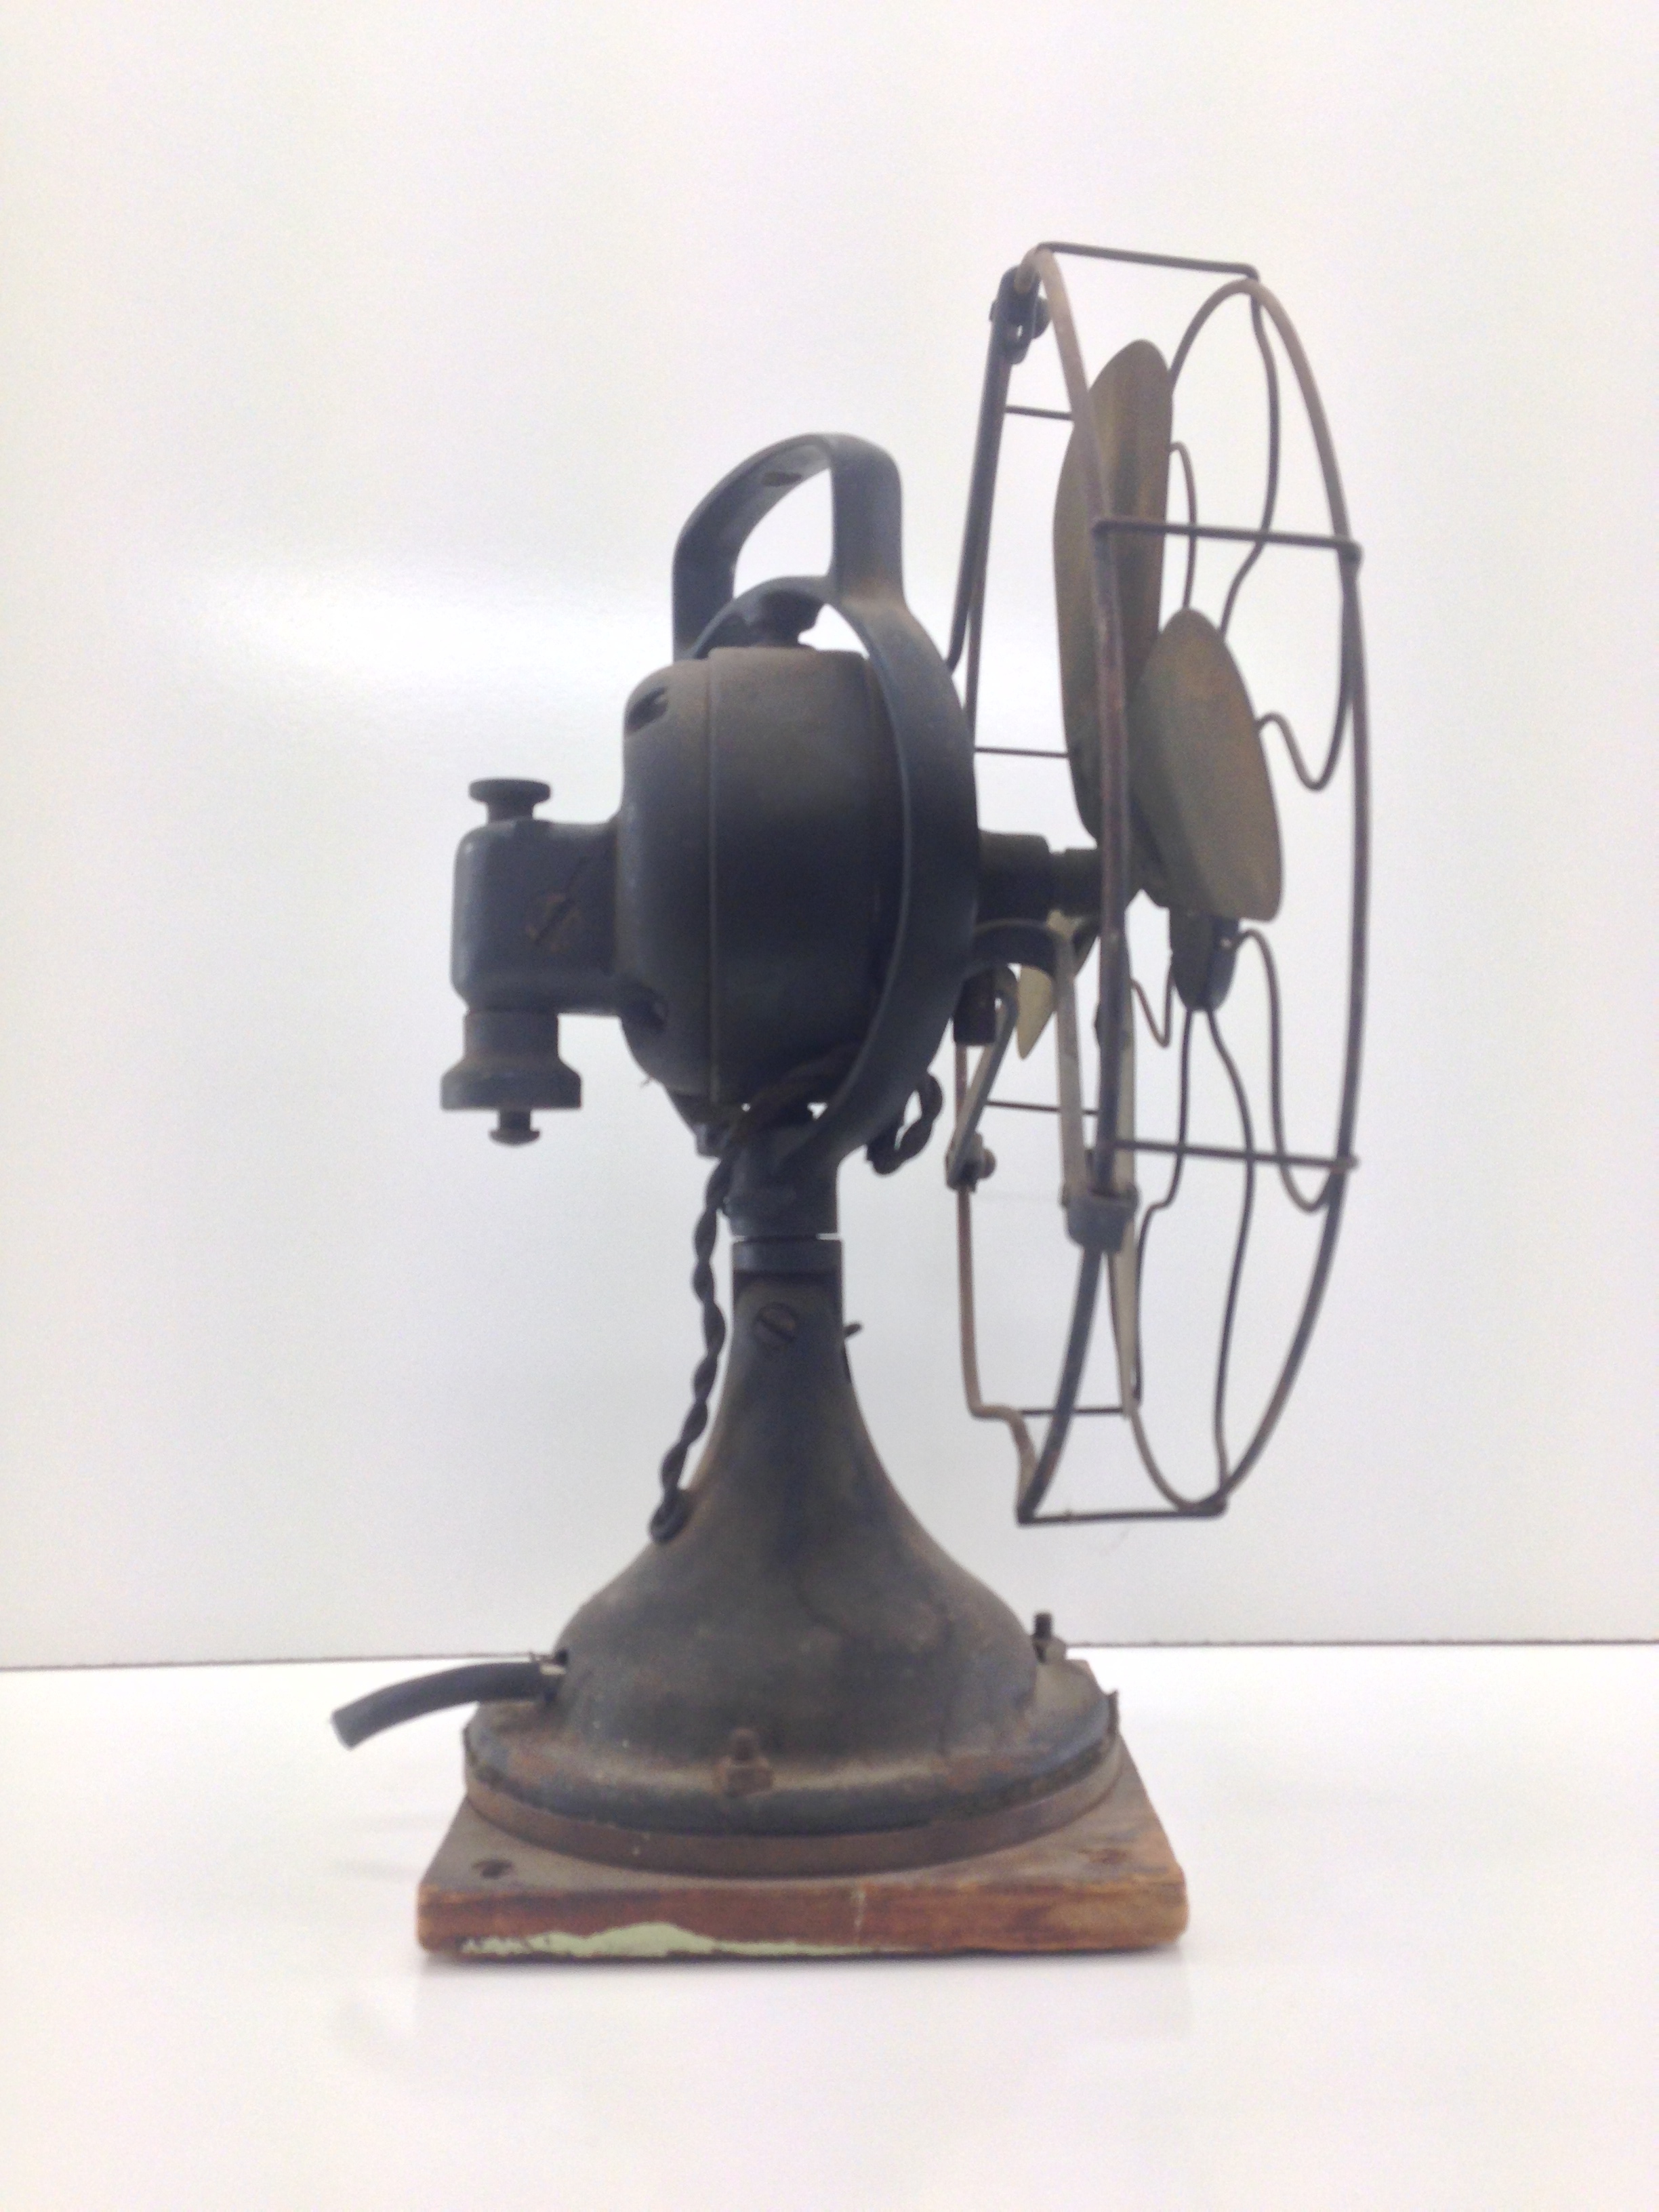
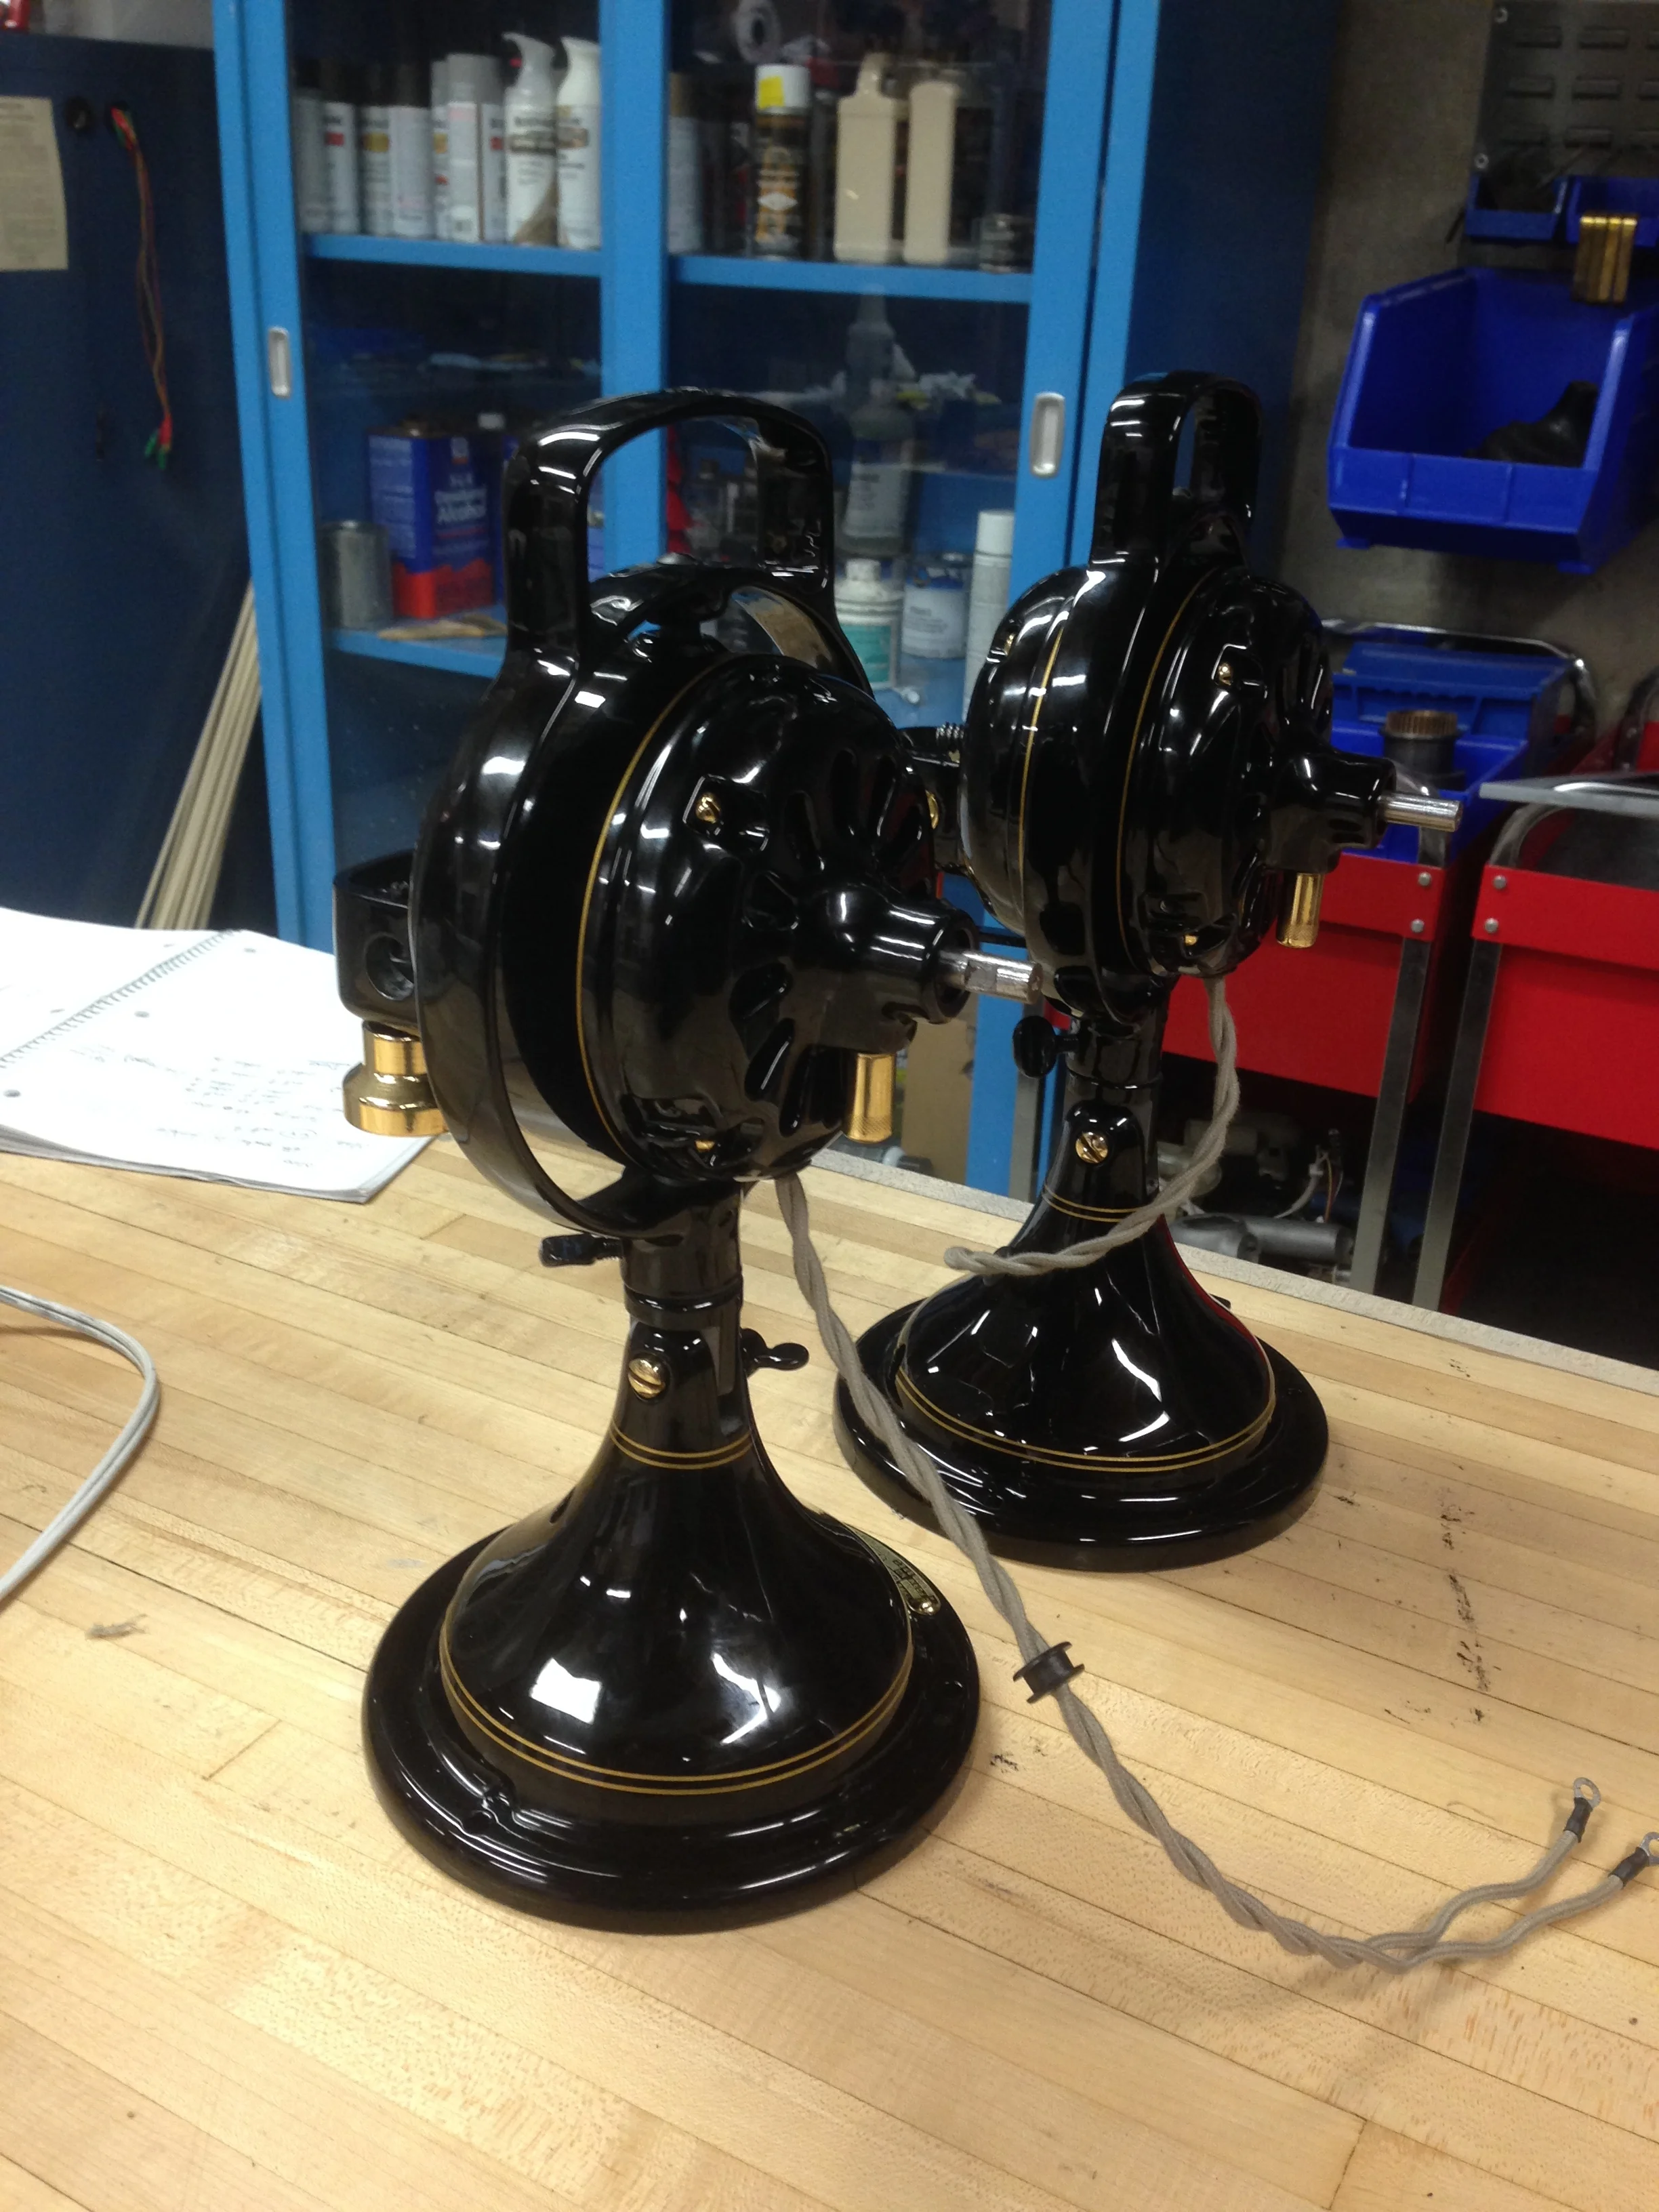
After quite a long restoration, I'm pleased to announce that I have completed the resurrection of one of GE's most iconic antique fans. The Brass Bell represents the culmination of all that GE knew of oscillating fans during the Cast-Iron Era. Starting with their Sidewinder oscillator in 1909, GE had a tough time of oscillating mechanisms and actually introduced a completely new model nearly every year up until around 1915. At this point the all-cast iron construction loop handled fans were born with the introduction of the Three Star oscillator.
The Three Star evolved into the Two Star which was basically the same fan but lacked a few of the brass trimmings featured on the Three Star. The Brass Bell was finally introduced in about 1919, roughly ten years after GE's first oscillating fan. The Brass Bell then remained nearly unchanged for about six years until it was phased out around 1925. Representing the end of the Cast-Iron Era means that fans introduced after the Brass Bell featured cheaper construction from stamped-steel materials. This also means they were considerably lighter than their cast-iron counterparts, less reliable, more difficult to repair, and therefore less desirable and valuable.
My collecting interests start with the introduction of GE fans around 1894 and end right here, at the Brass Bell. The Brass Bell is a special fan for me because this type was the first fan I ever bought, thanks to my wonderful wife who found it on Craigslist. Regardless of my affection for this specific type of fan, I've decided to sell this new restoration to a new owner. Please read on for details about your fan.
For Sale: $old


Operation of the Brass Bell
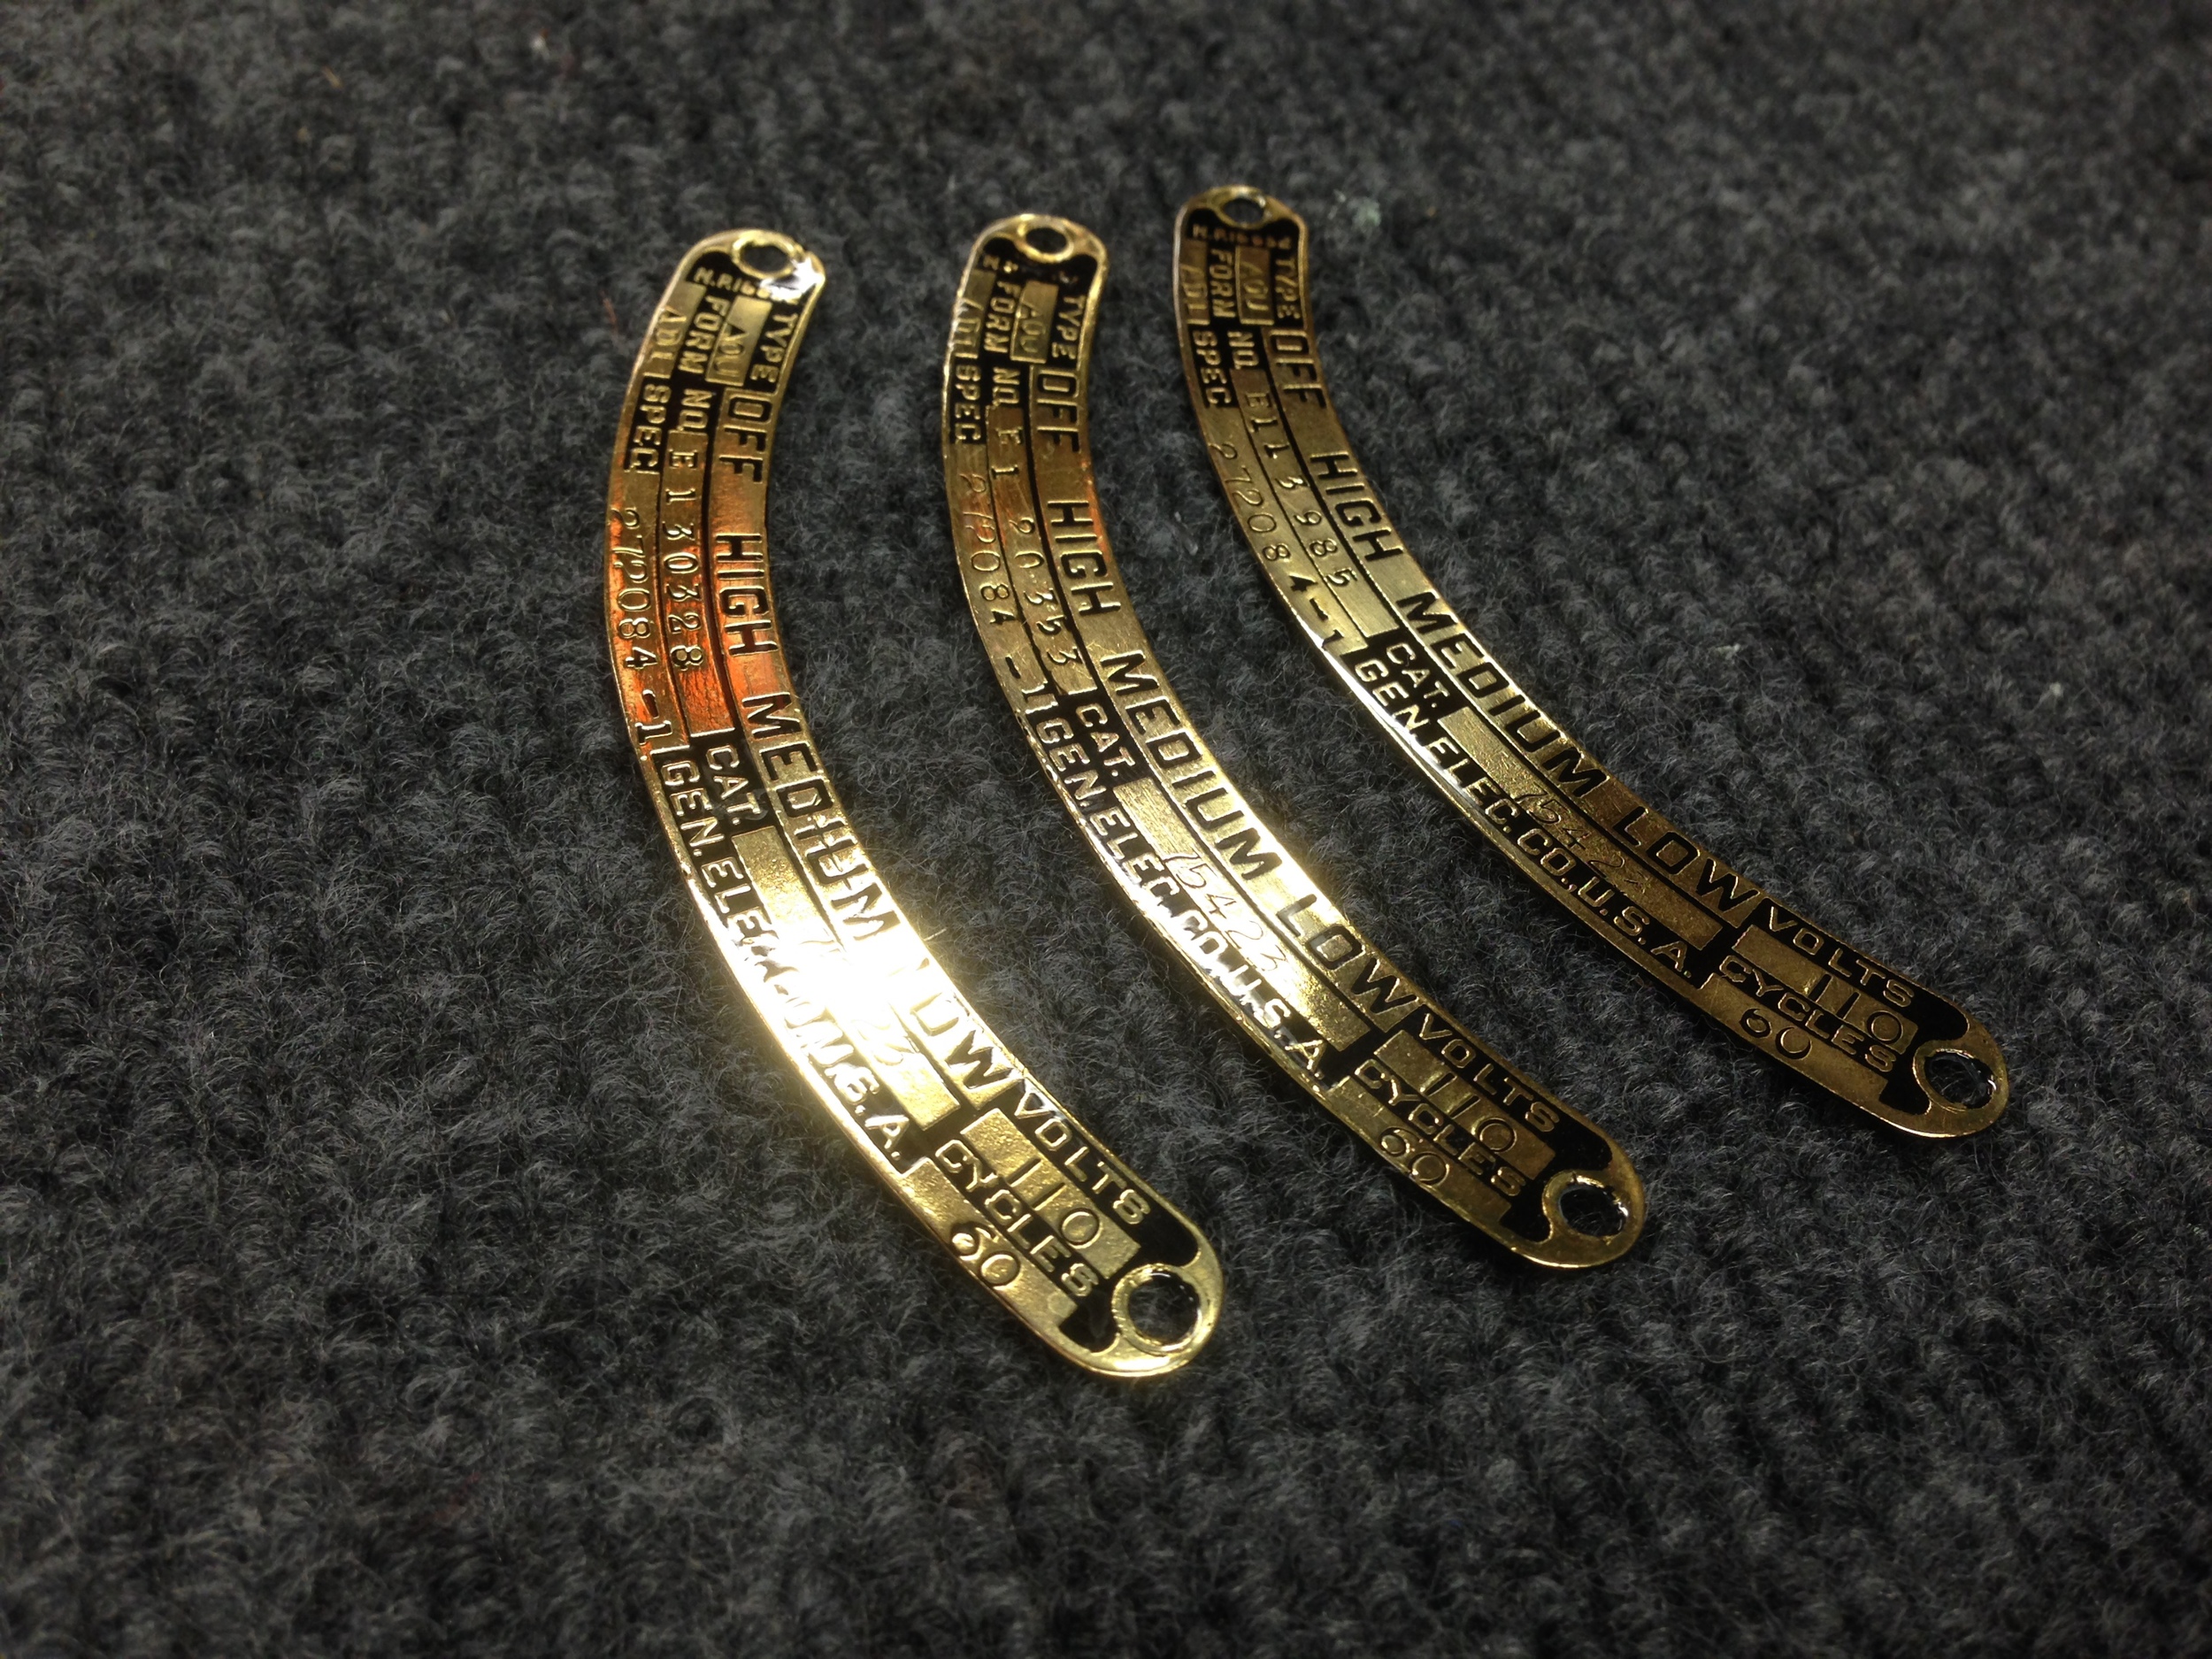
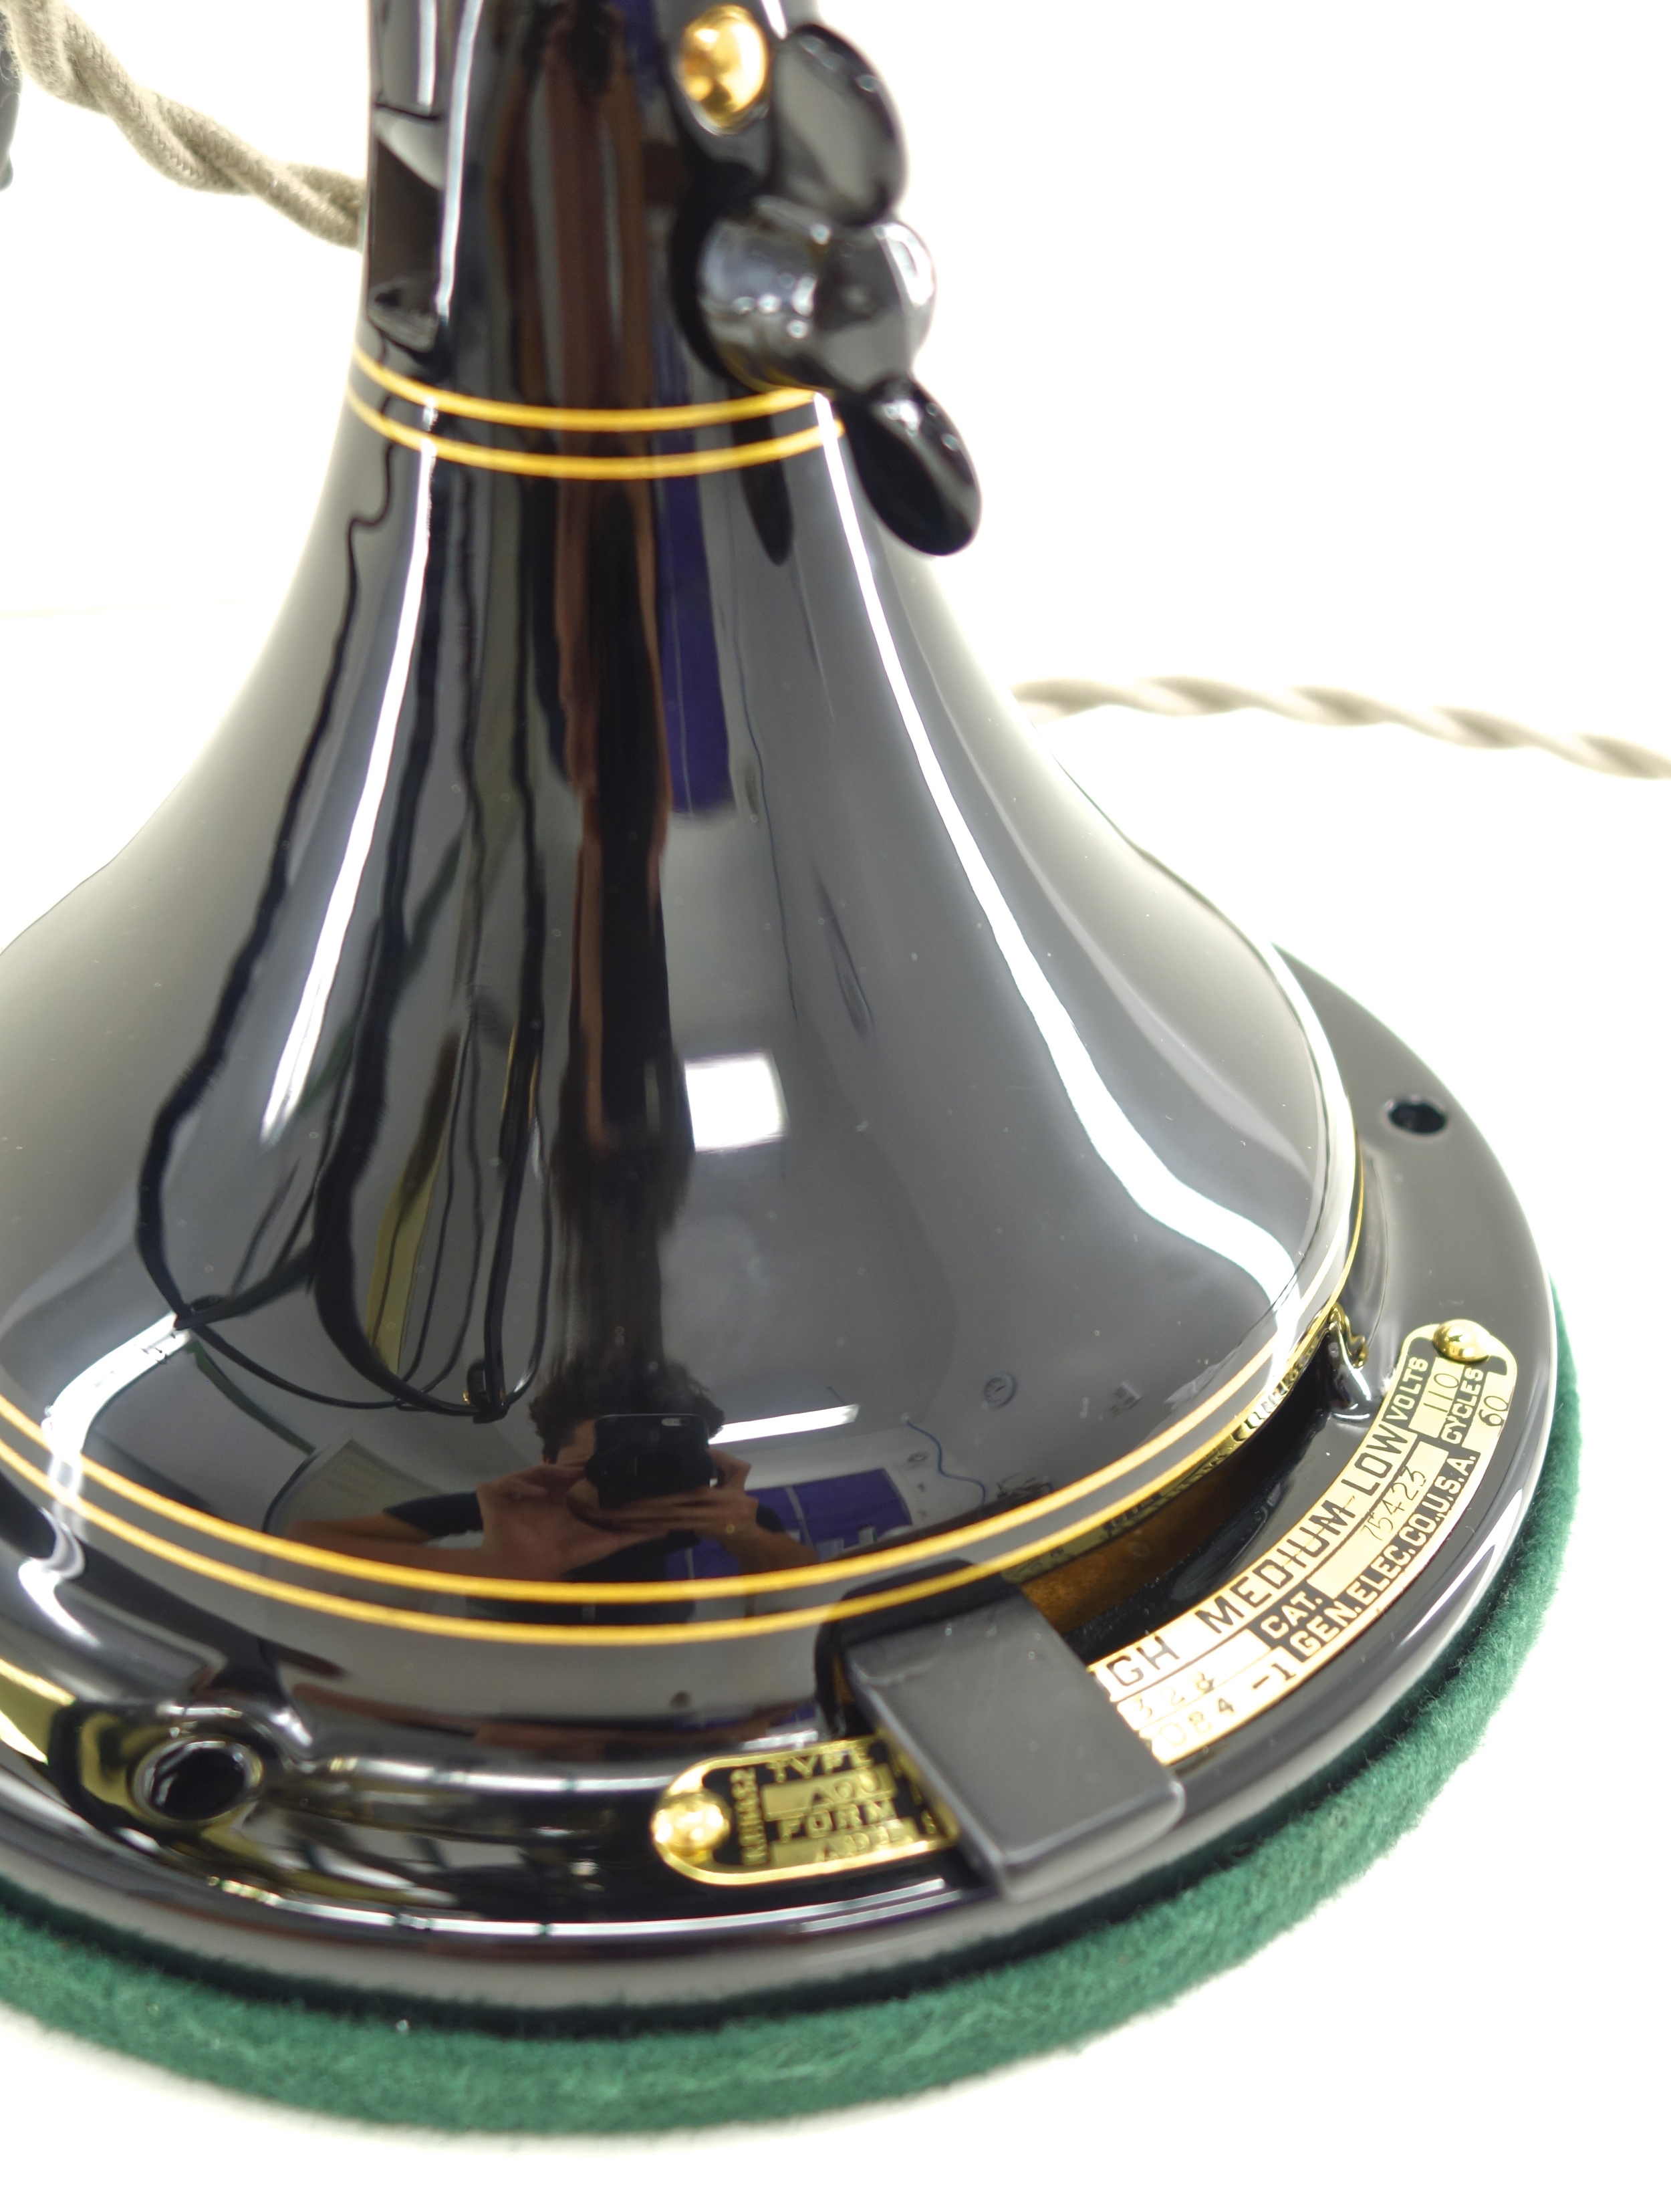
Speeds:
The Brass Bell features three distinct and well labeled speeds: High, Medium, and Low. High speed is ideal for a stuffy summer day and will rapidly cool you down with its brisk breeze. Medium is good for sleeping on a summer evening as its melodic hum will sooth you to a slumber while still providing a refreshing breeze for hot nights. Low speed is ideal for all year around, providing excellent airflow and quiet operation.

Oscillation Engagement:
The oscillation mechanism is engaged through a simple thumb screw located at the top of the gearbox. Tighten the screw approximately one half of a rotation and a clutch will tightly grip the oscillator gears. Loosen the screw and oscillation will cease. These adjustments are easy to make even while the fan is running.
Degree of Oscillation:
The degree of oscillation refers to the amount of left-to-right movement that you can obtain from a fan. In the case of the Brass Bell, the degree of oscillation is adjustable between two settings by removing a slotted screw on the bottom of the brass bell oscillation. The first setting allows for oscillation of approximately 120 degrees. The second provides approximately 60 degrees.
Tilt:
The Brass Bell is easily adjusted for tilt by loosening a single thumb screw located on the neck of the fan. Once loosened, the fan can be tilted fore or aft and then the thumb screw can easily be tightened to lock the fan in position. The fan can be wall mounted through this adjustment by adjusting the tilt to 90 degrees then mounting the fan to the wall through its three mounting holes located in the base.

Power Consumption:
The power consumption is variable based on the speed of operation. In high speed the Brass Bell will consume approximately 65watts, approximately 55watts in medium and 50watts in slow. At any speed the fan will run barely warm to the touch.
Maintenance:
Maintenance is a simple task of oiling the fan approximately once every two months of daily operation. Special oil specifically selected for use within antique fans will be provided with the purchase of this fan. The oil locations are easy to access and require no skill on the part of the operator.
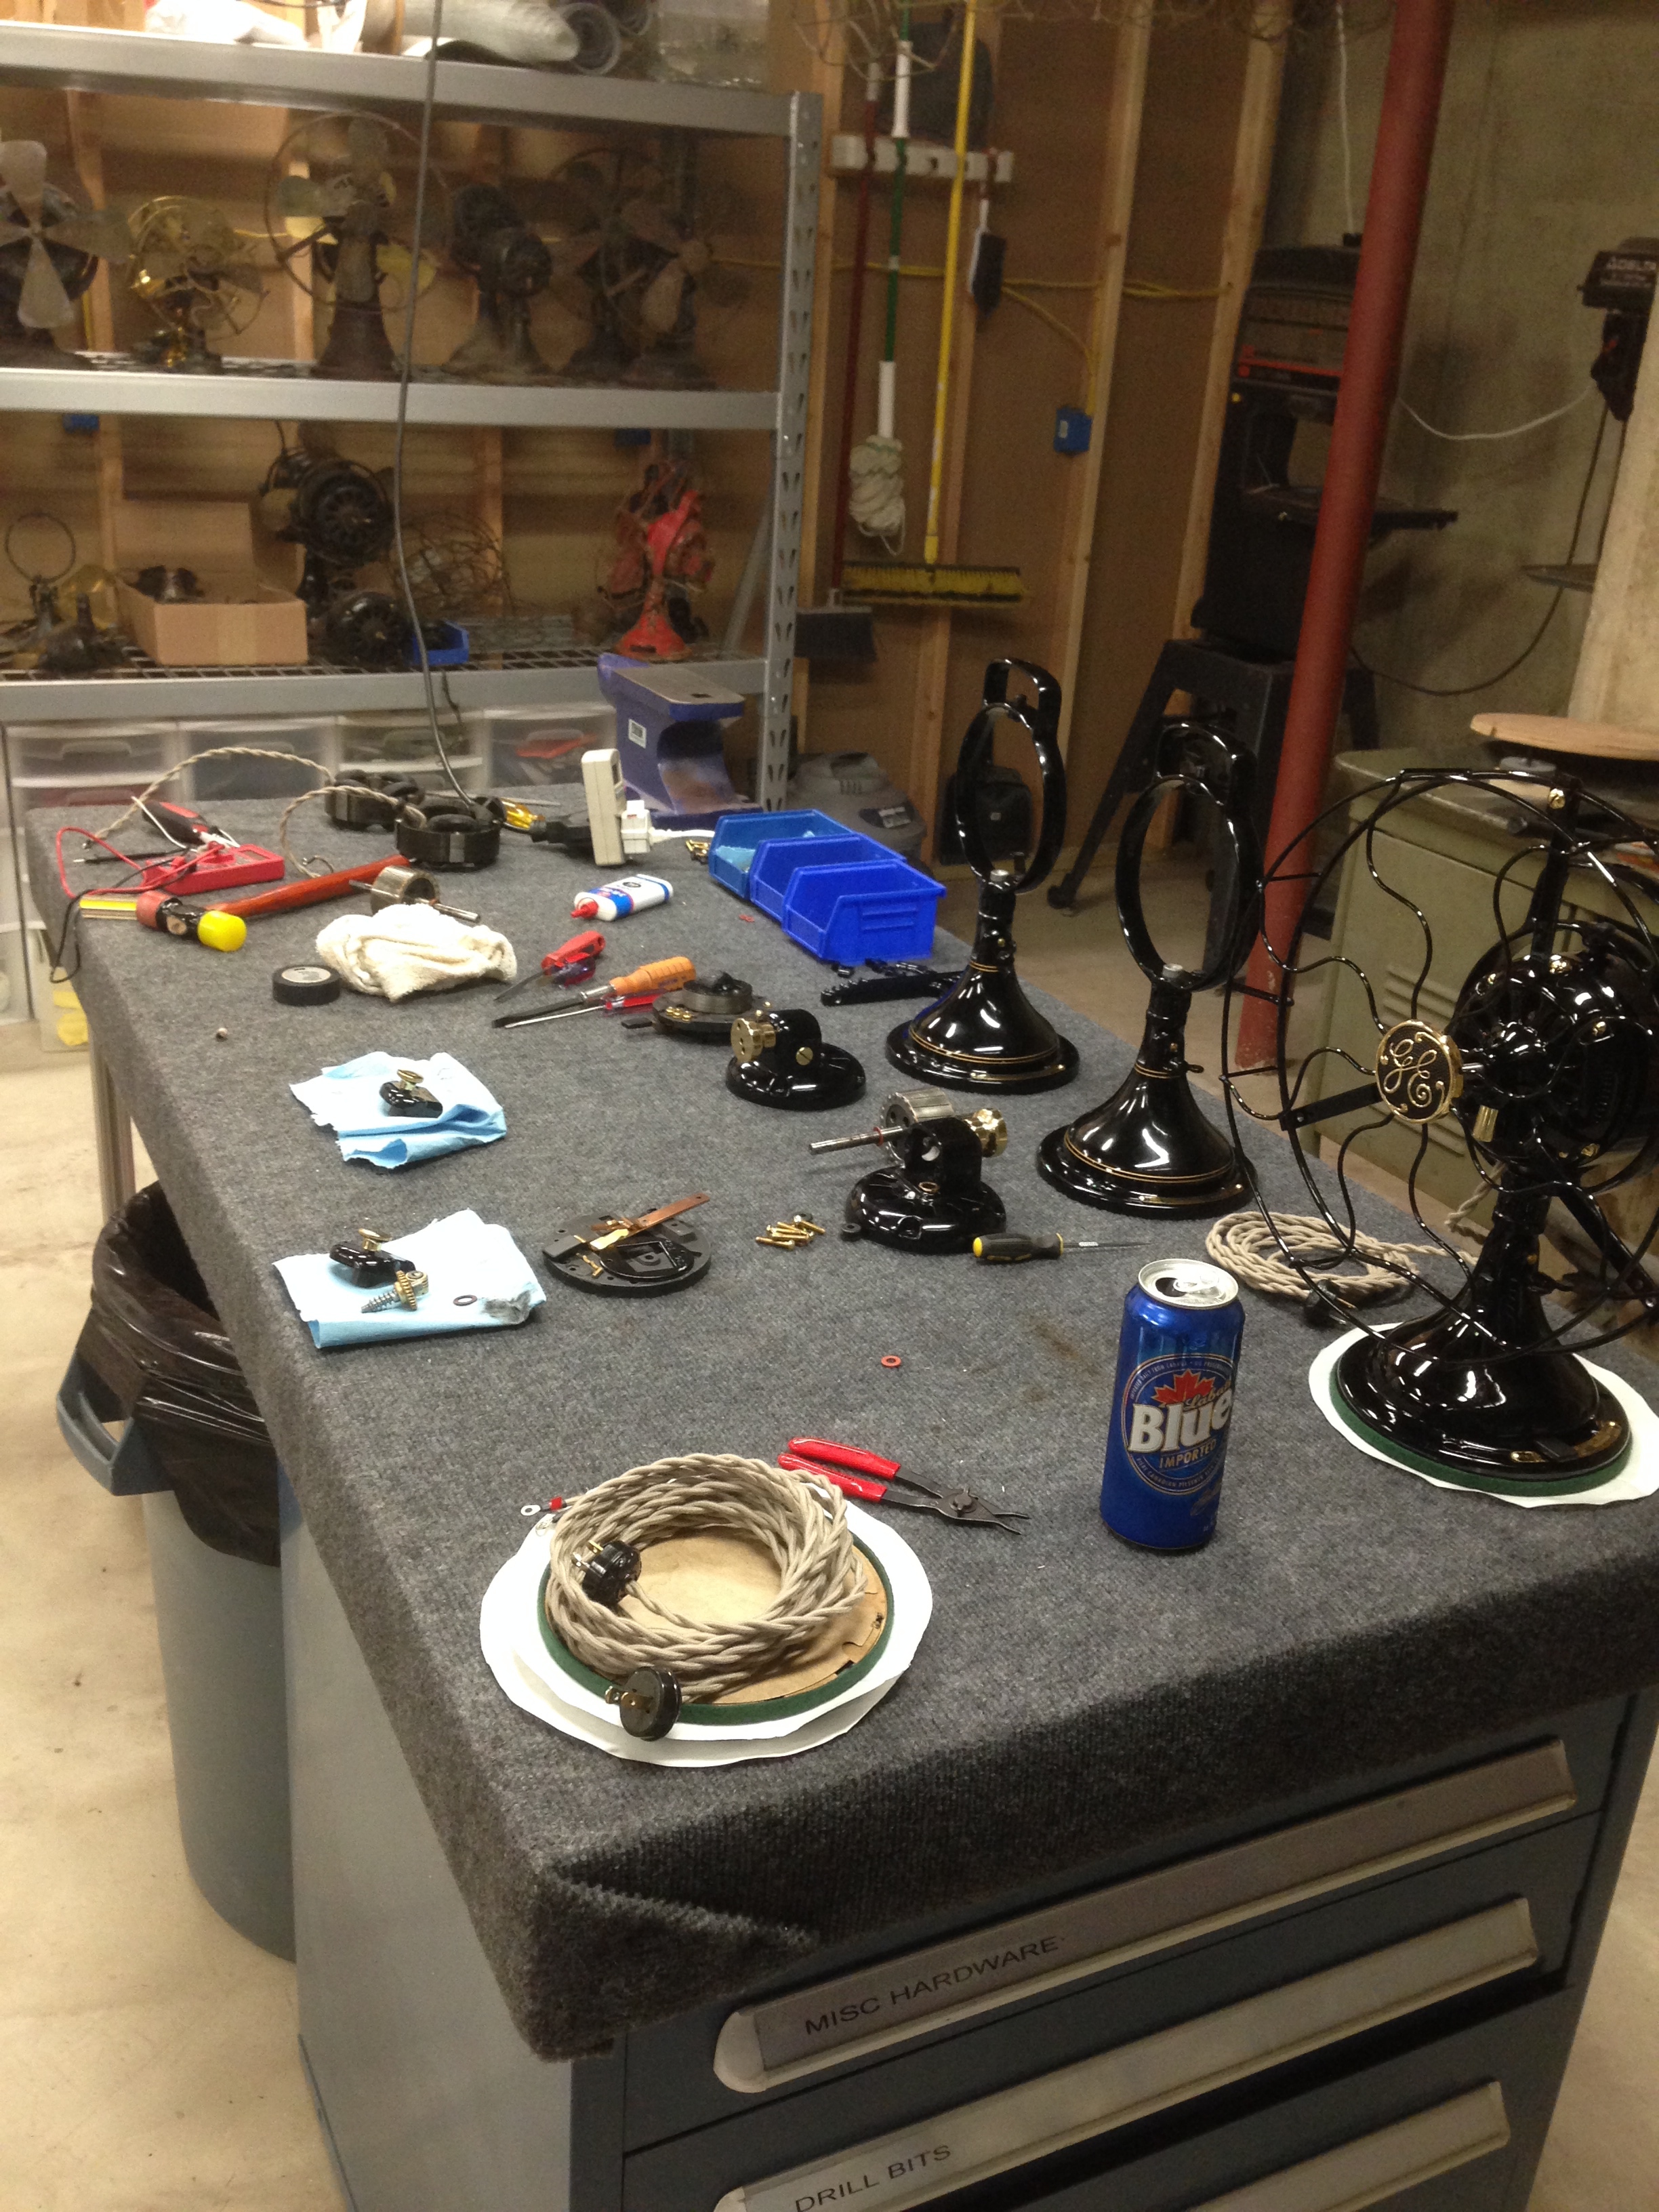
Details of the Restoration
Like any White Gloves restoration, this particular fan went through countless steps of painstaking detail prior to its completion. These steps include:
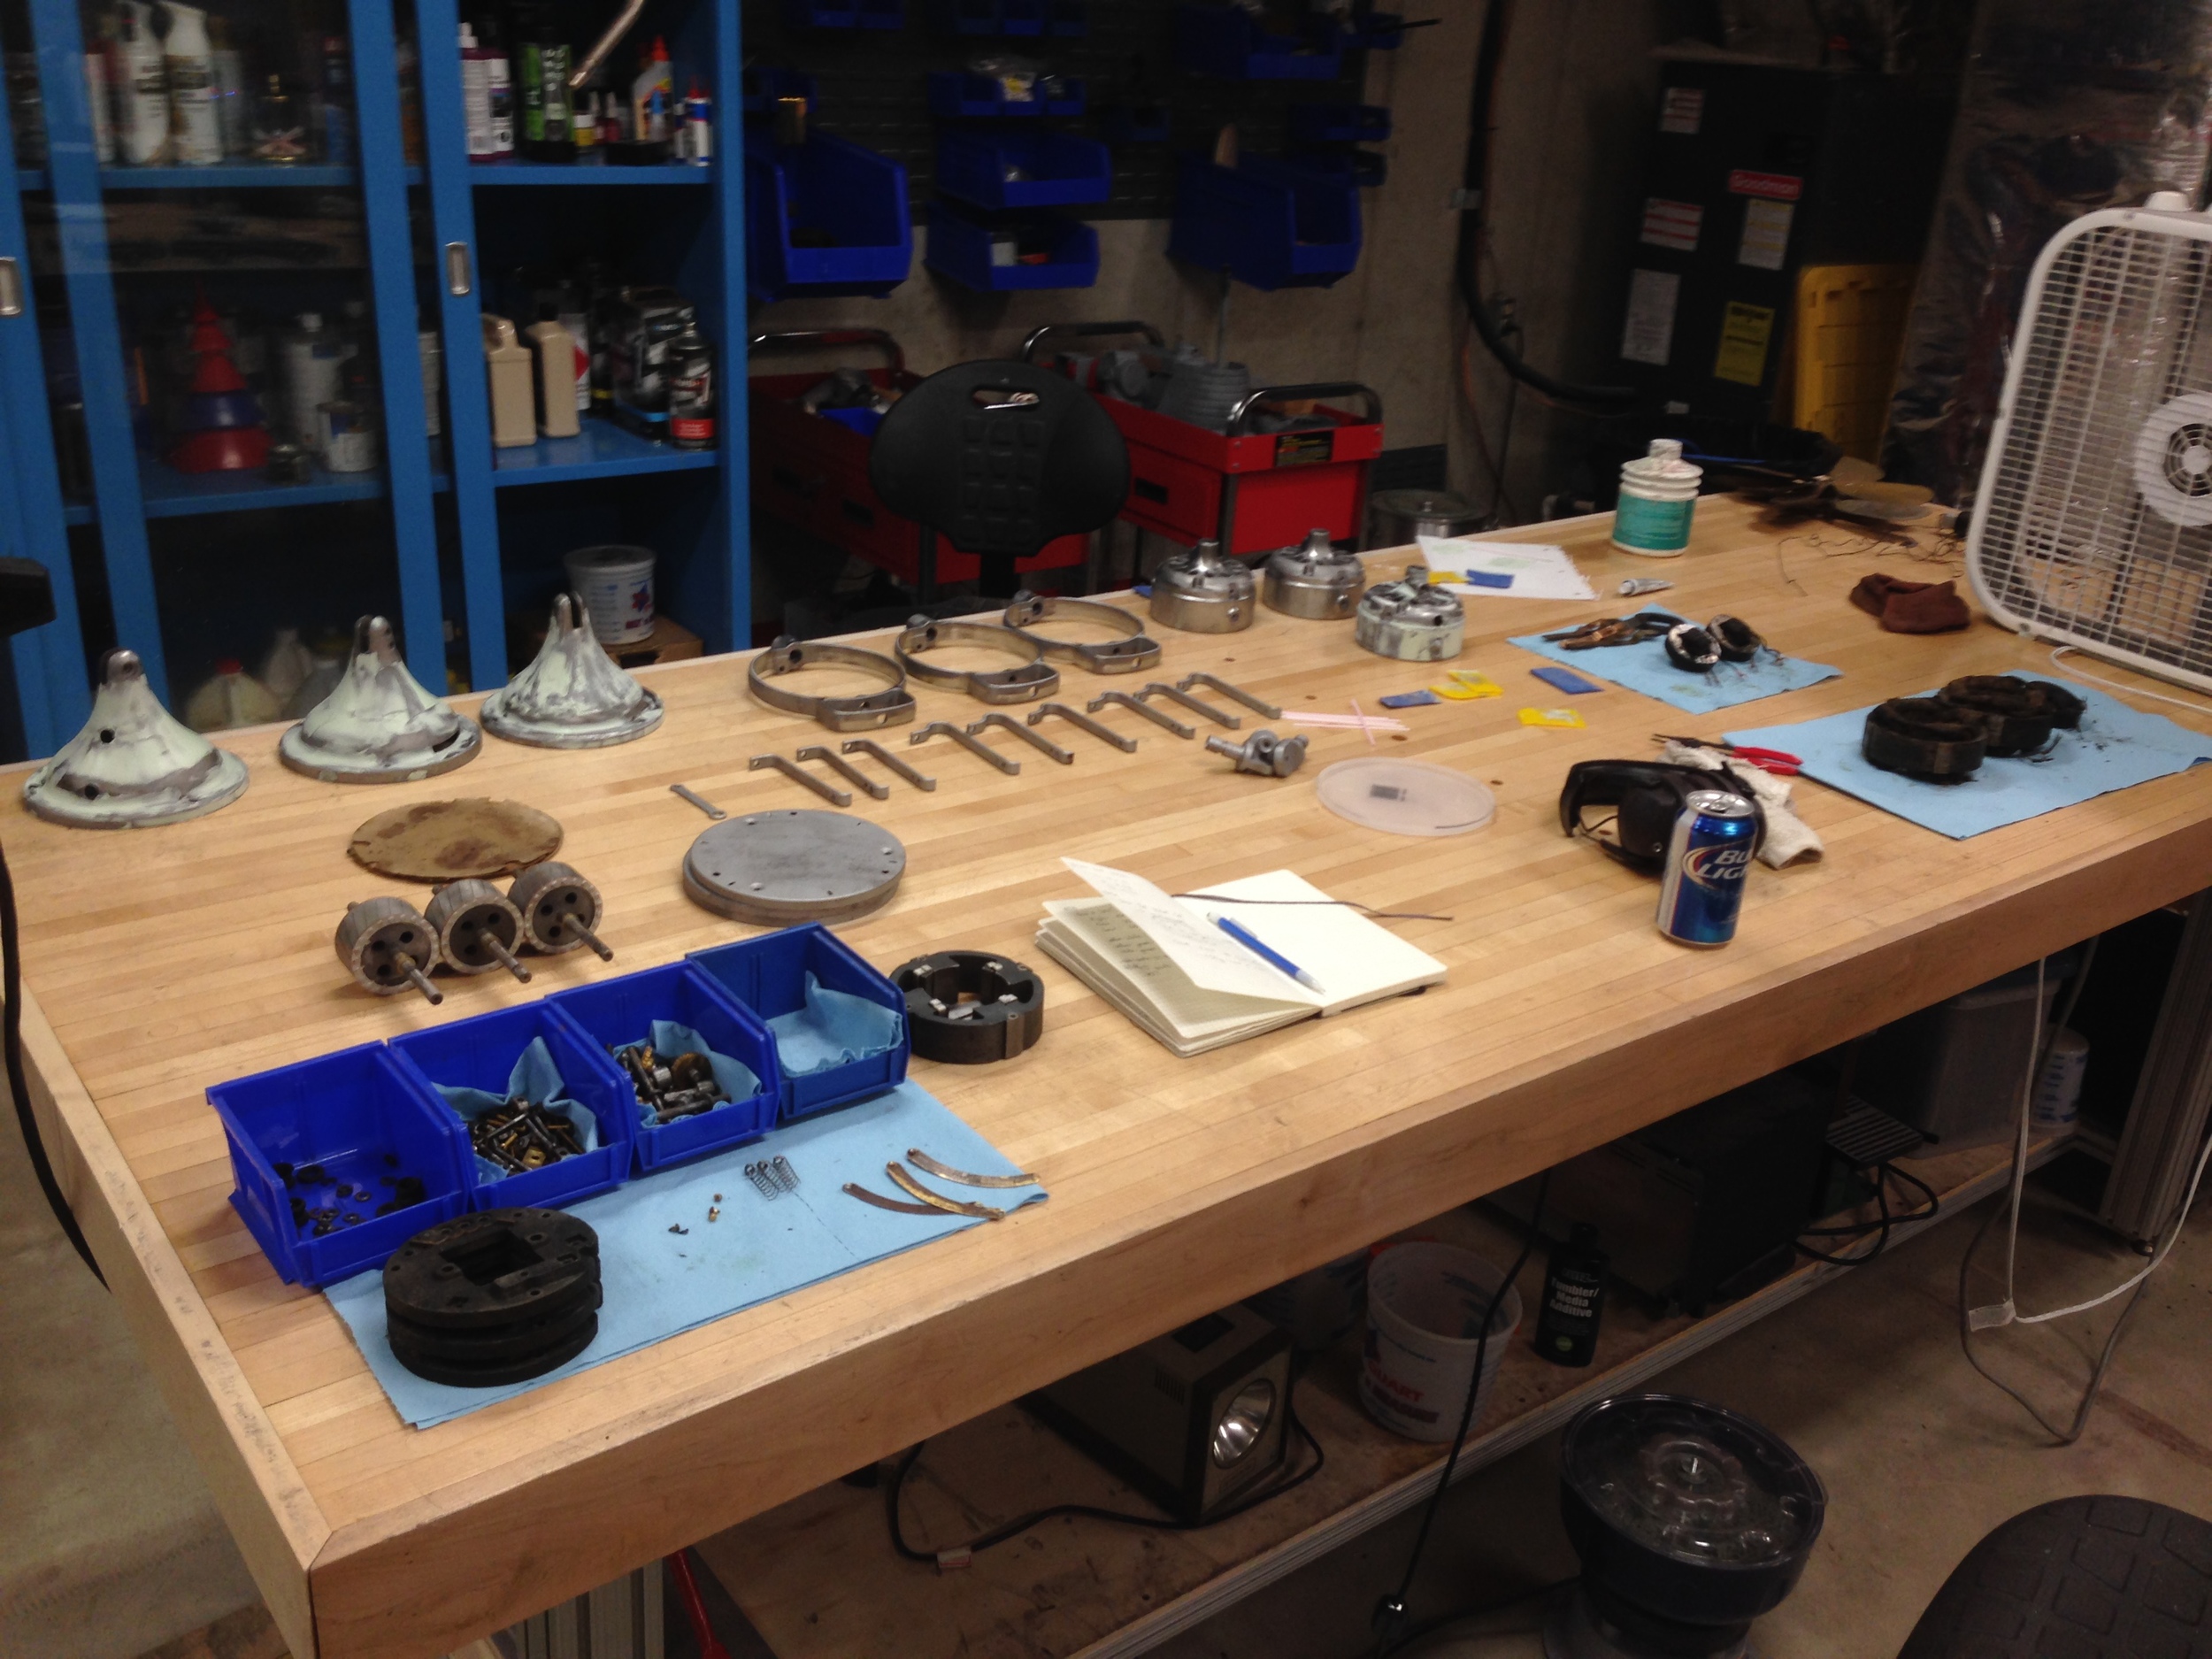
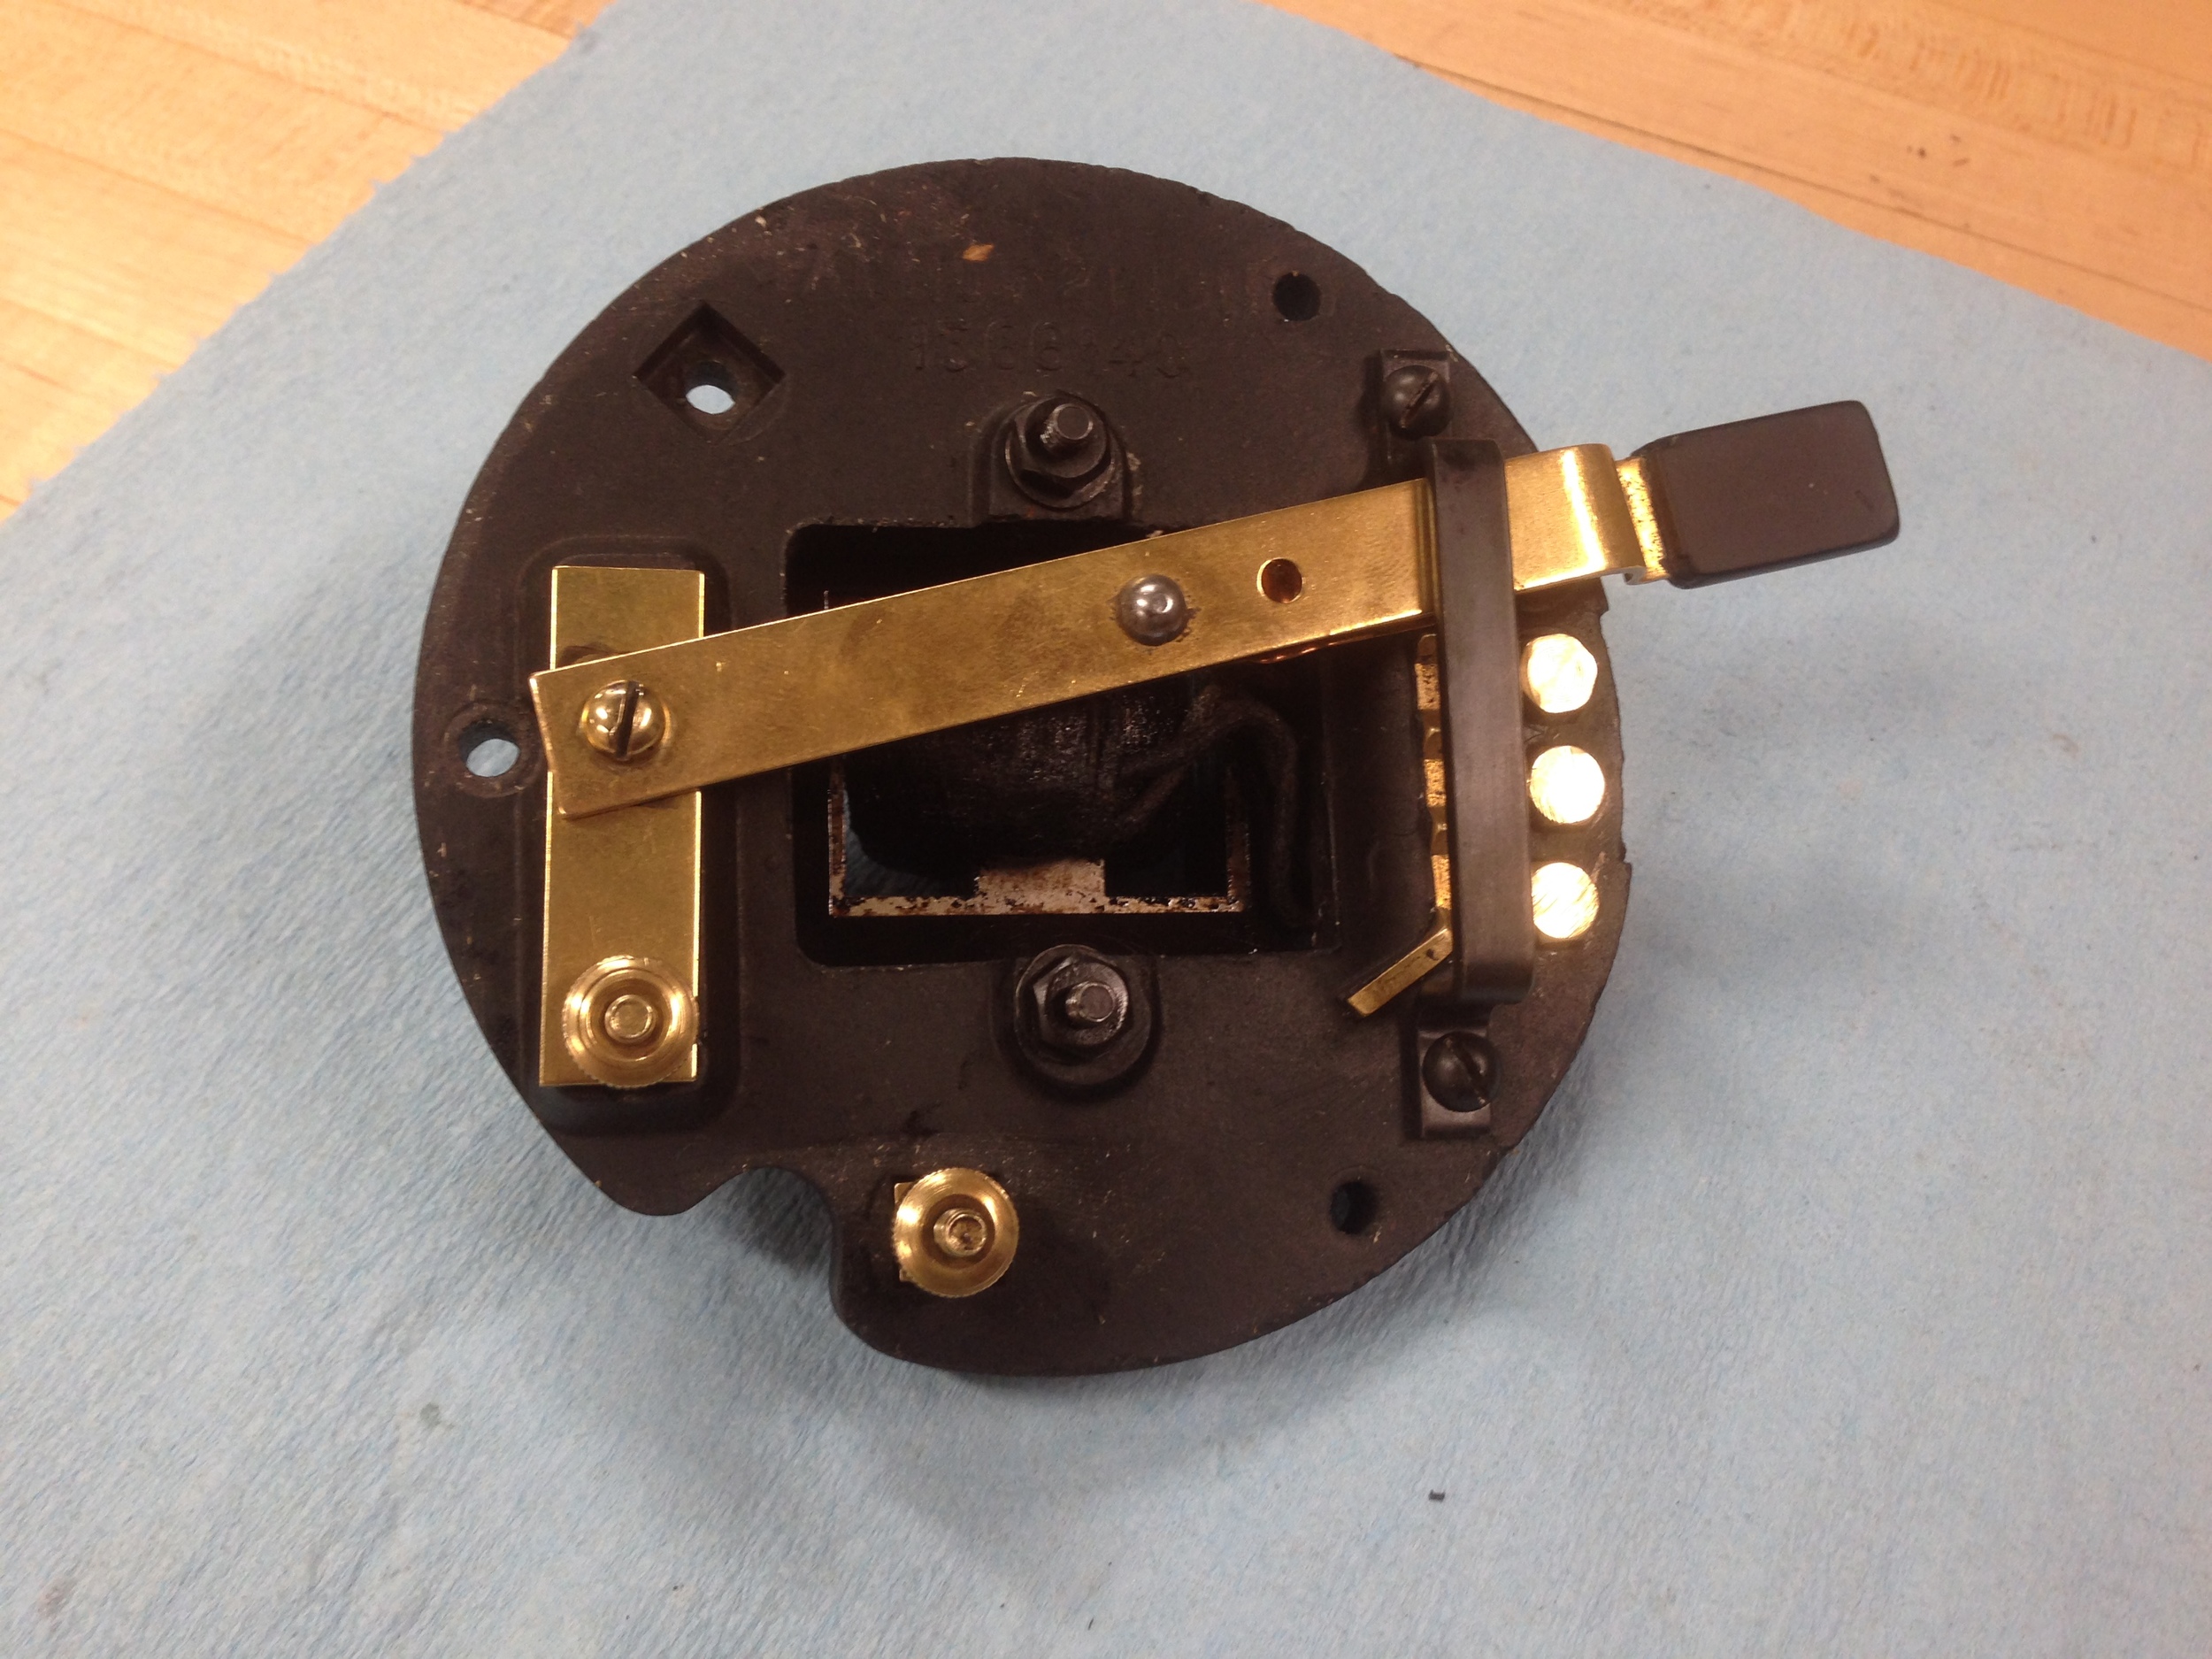
Initial Documentation:
On all White Glove Fans restorations the fan is first looked over in-full to document its overall condition. Damaged, missing or incorrect components are written down. Wear upon bearings and gears is noted. Any problem areas that could creep up during the restoration are annotated.

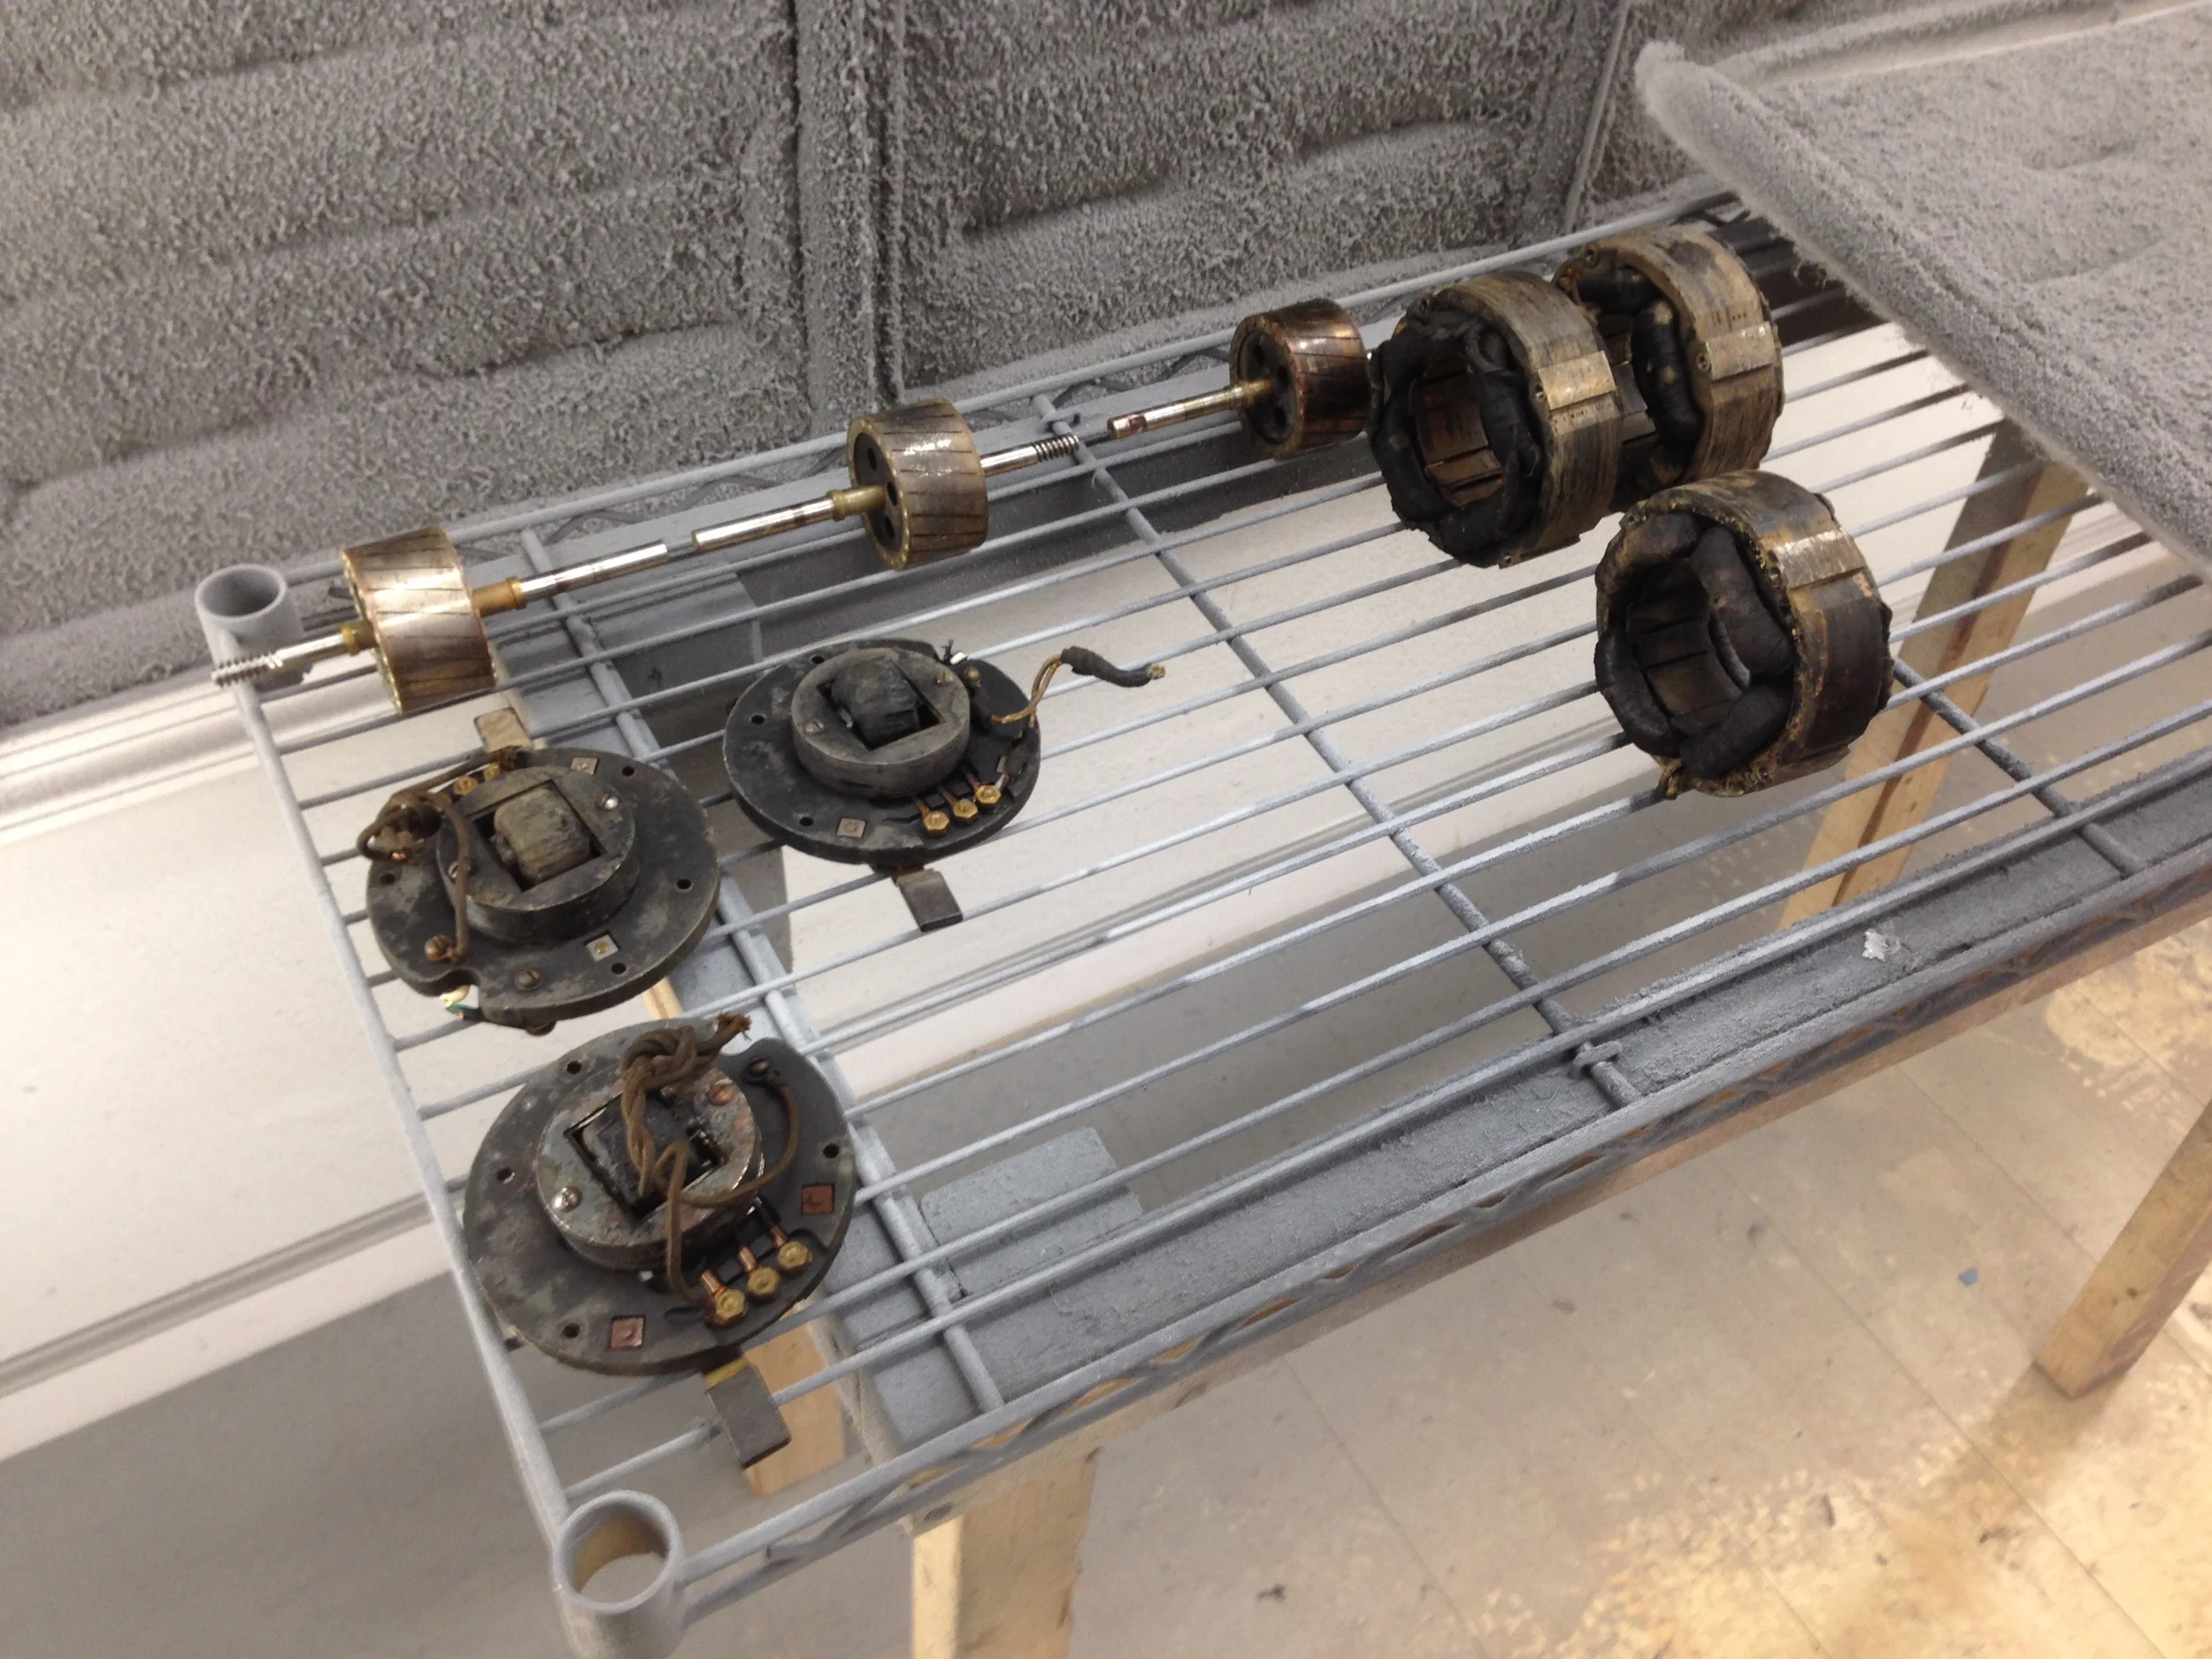
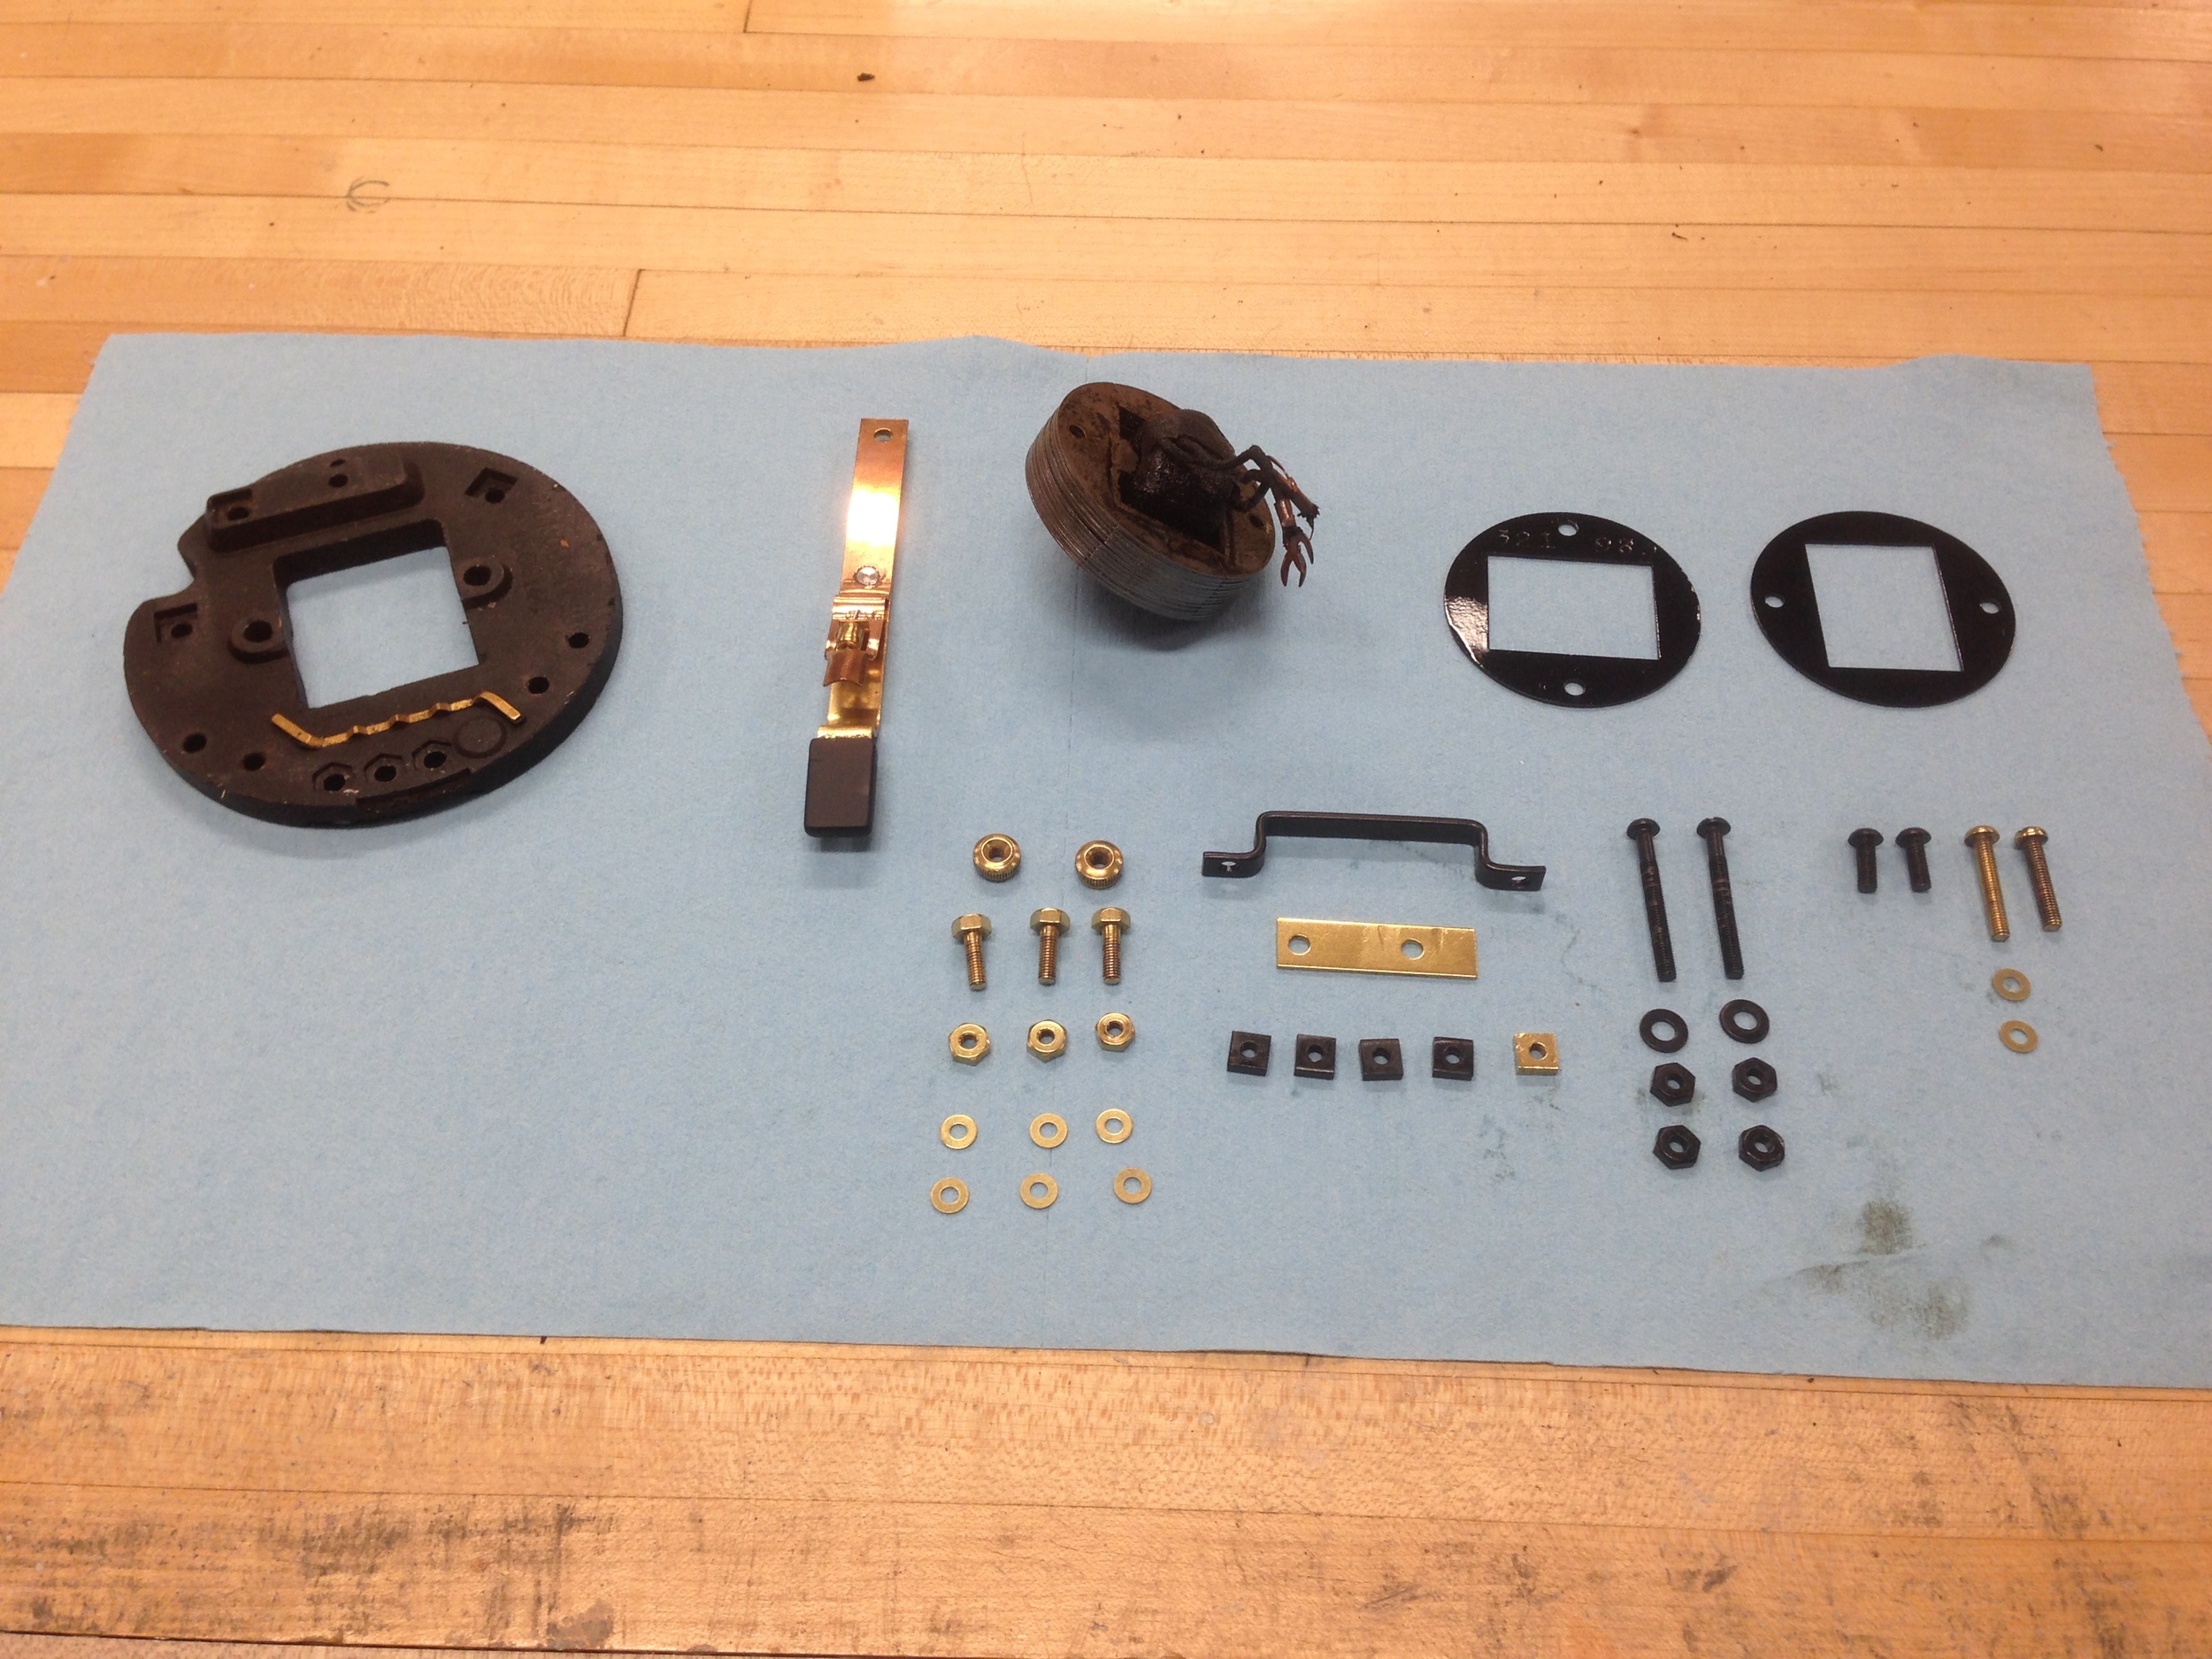
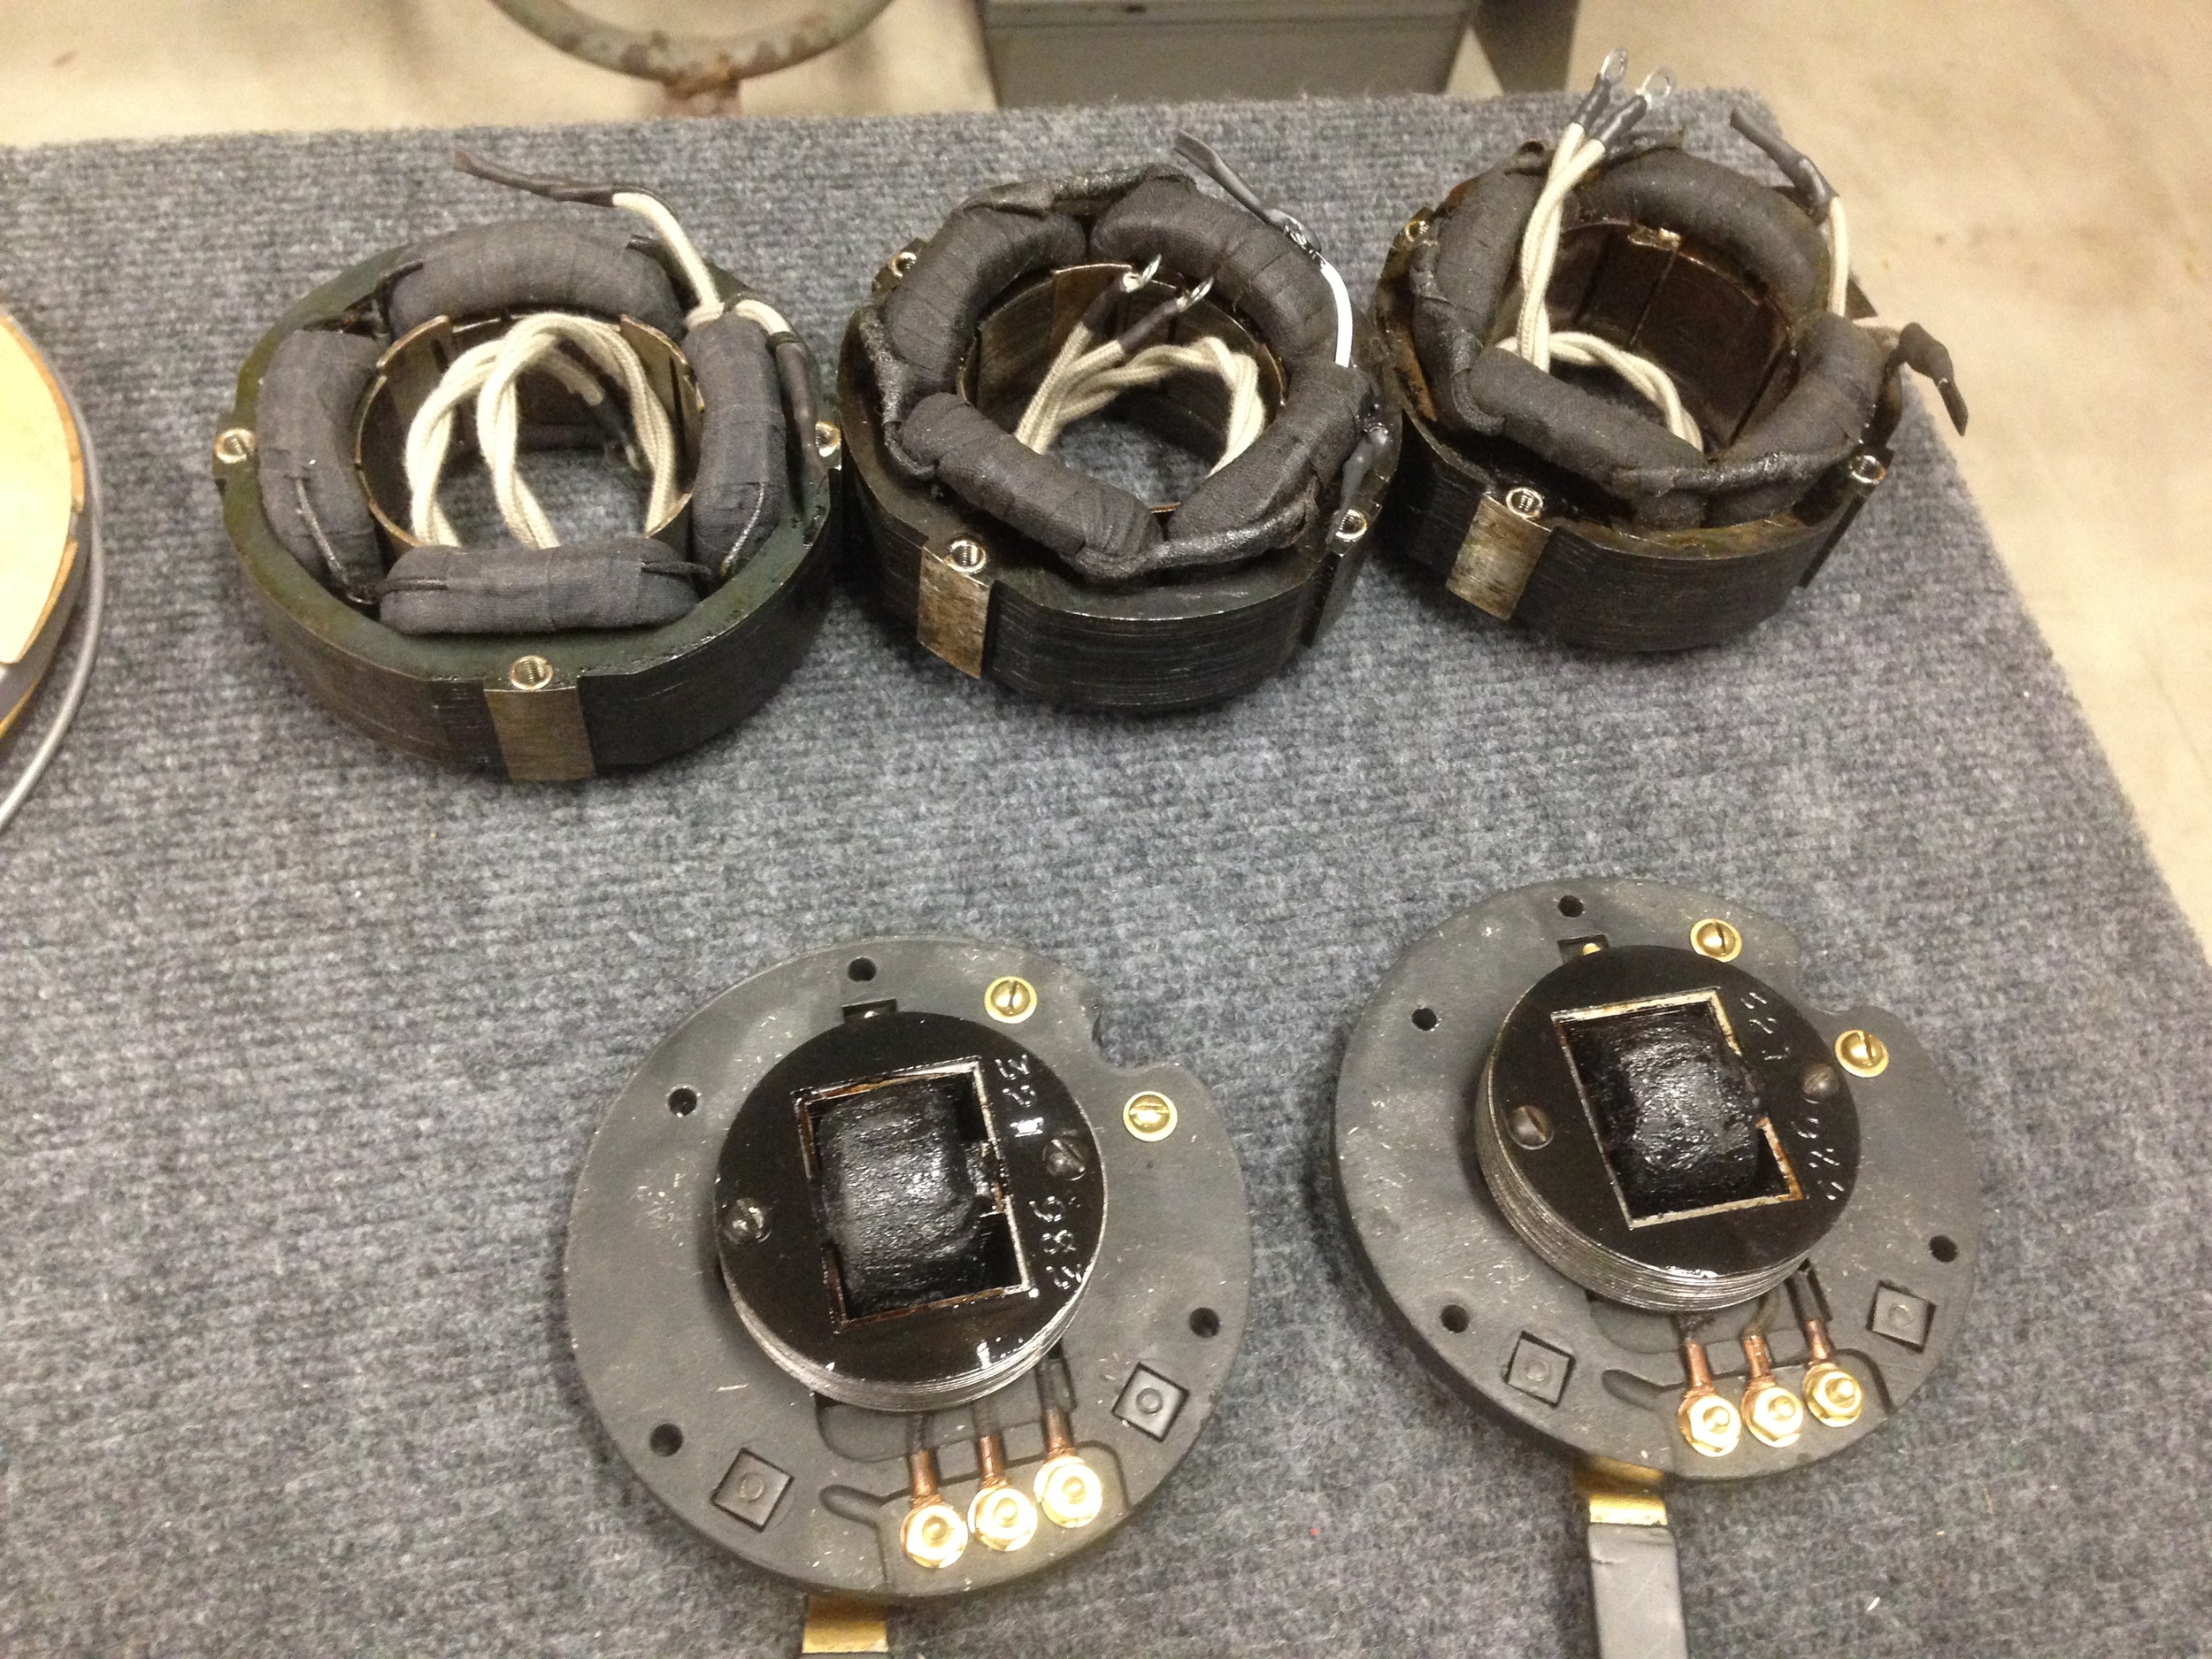
Disassembly:
The fan is now disassembled right down to its last washer. All the parts are then sorted out and inspected. Parts are then sub-categorized depending on which stripping process they're headed toward.
Fabrication of Worn or Missing Parts:
Based on notes from the first step, new components are machined, cast, or fabricated. In the case of the Brass Bell described here, new bearings were machined in our shop from scratch using only the best materials.
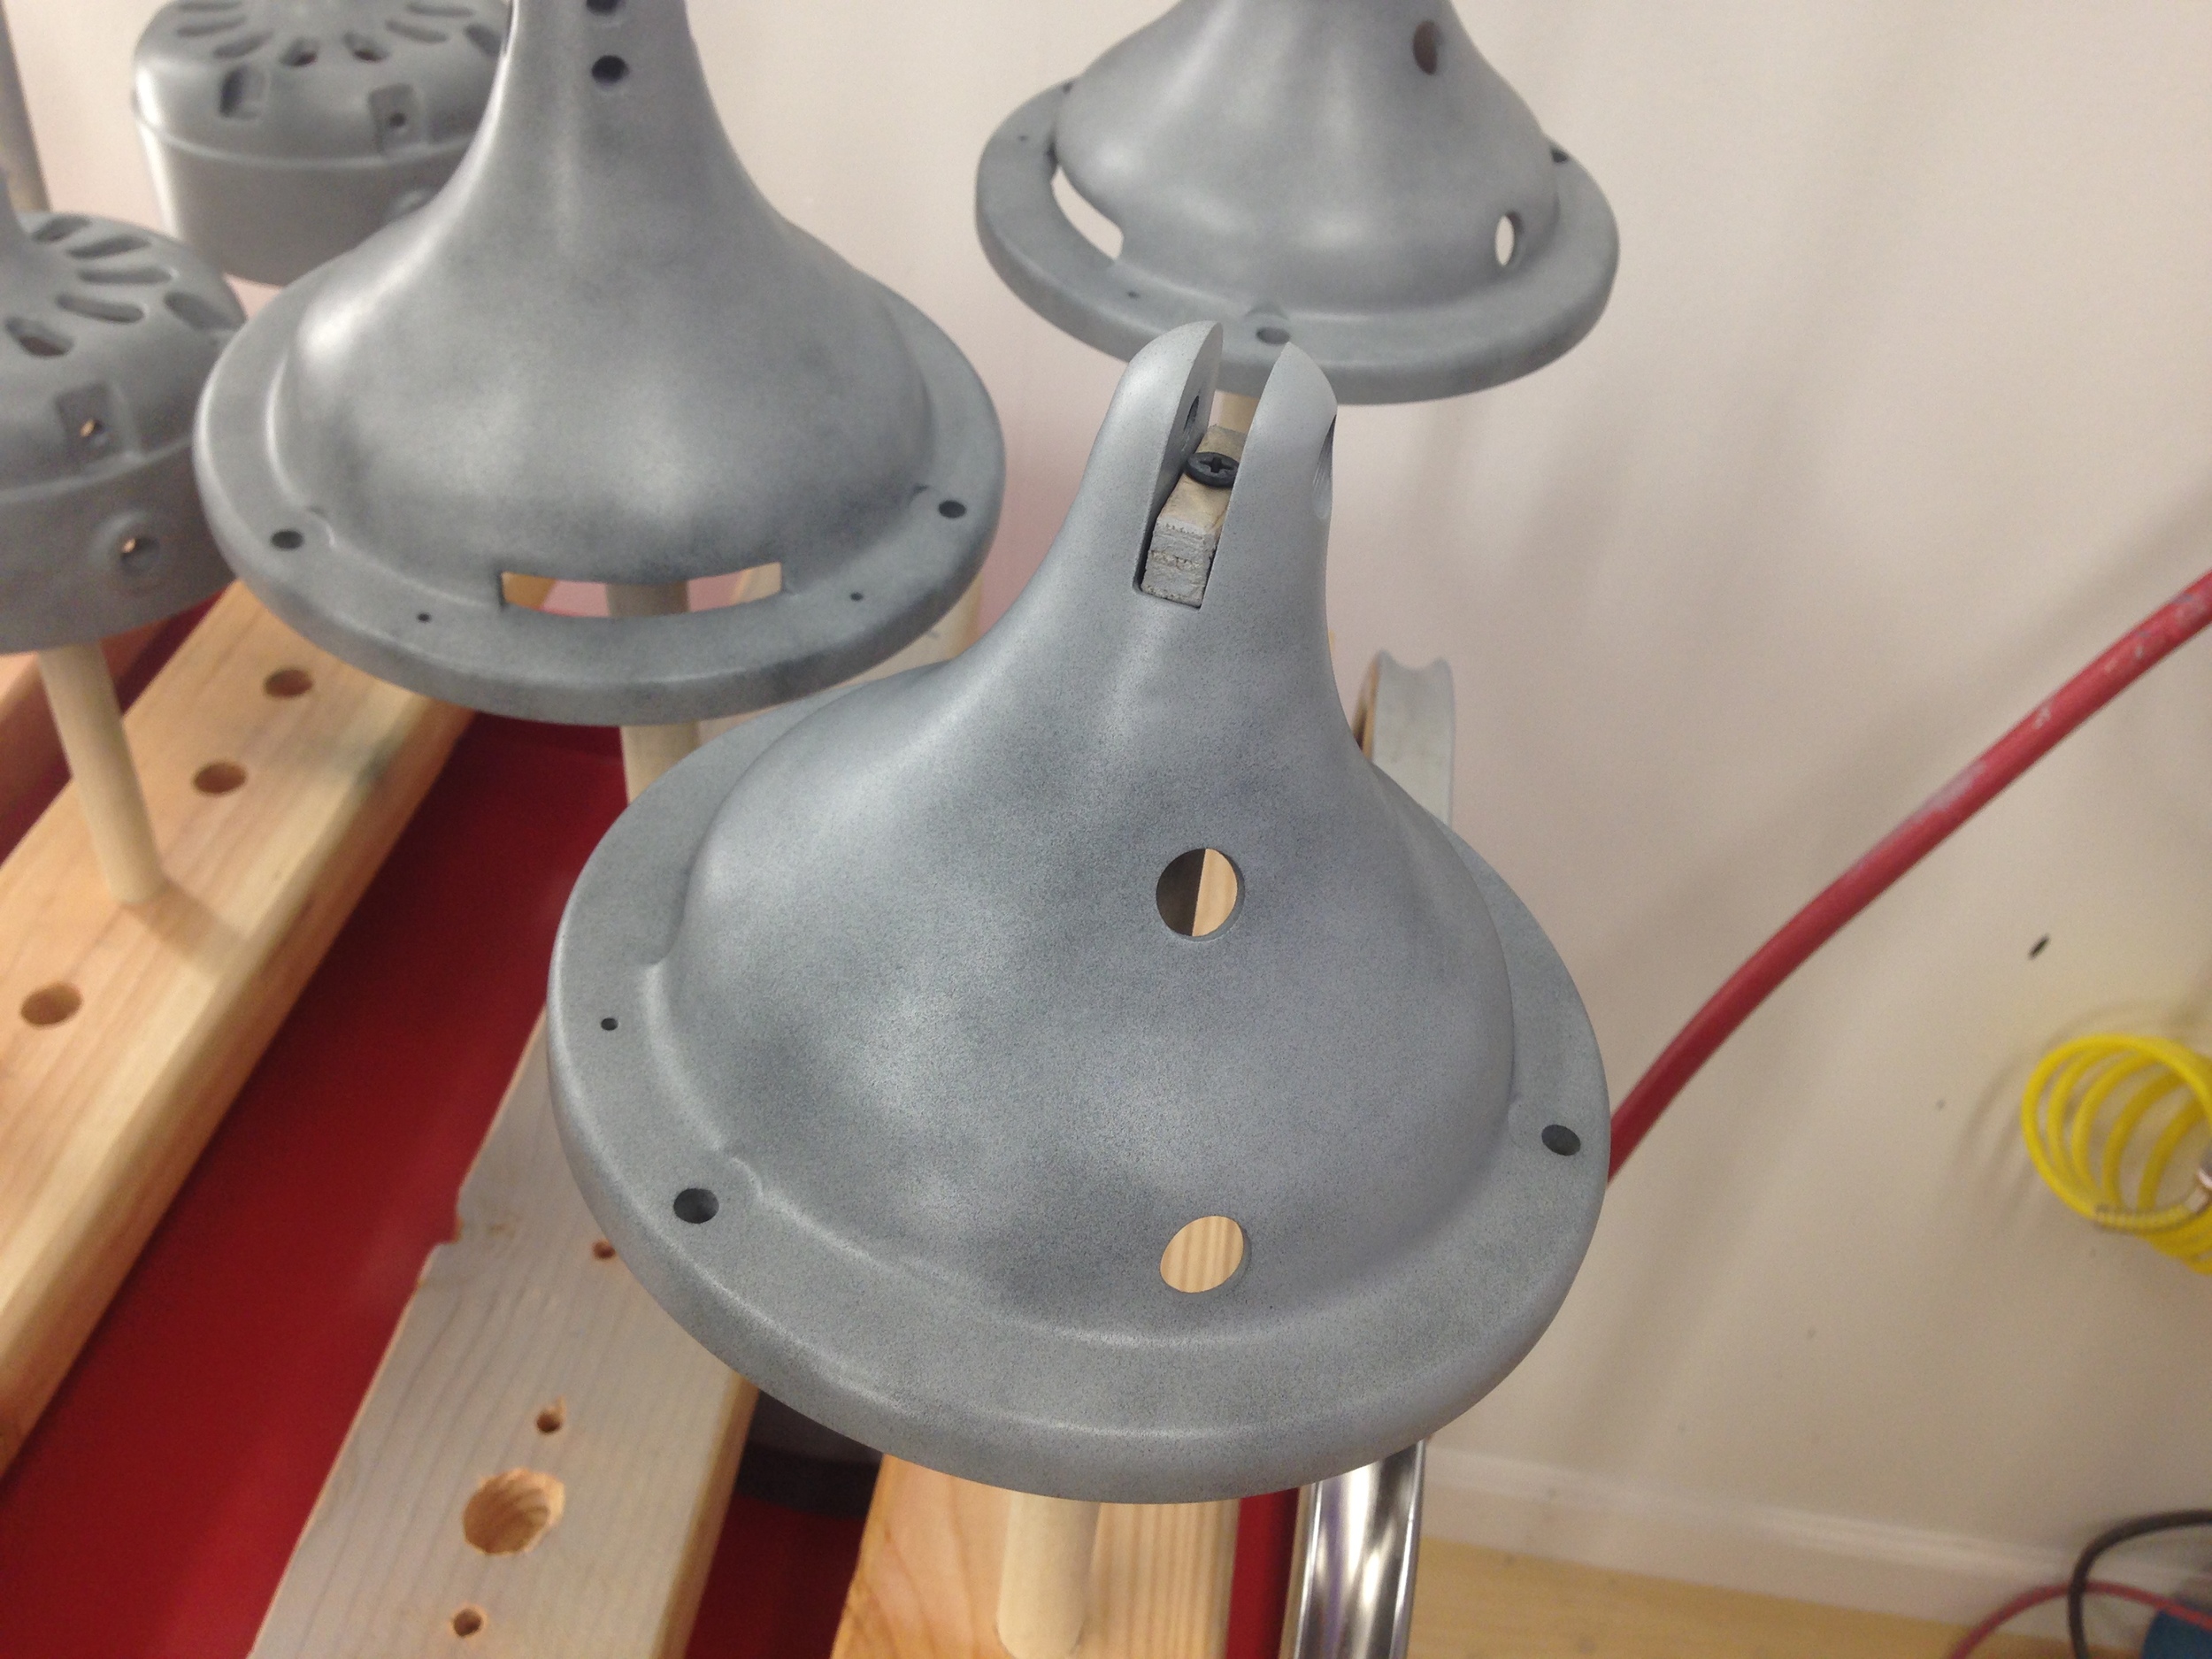
Stripping/Degreasing:
One of the less glorious but most common tasks of any restoration, stripping and degreasing is made simpler through quality sandblast equipment, electrolysis and other stripping techniques.
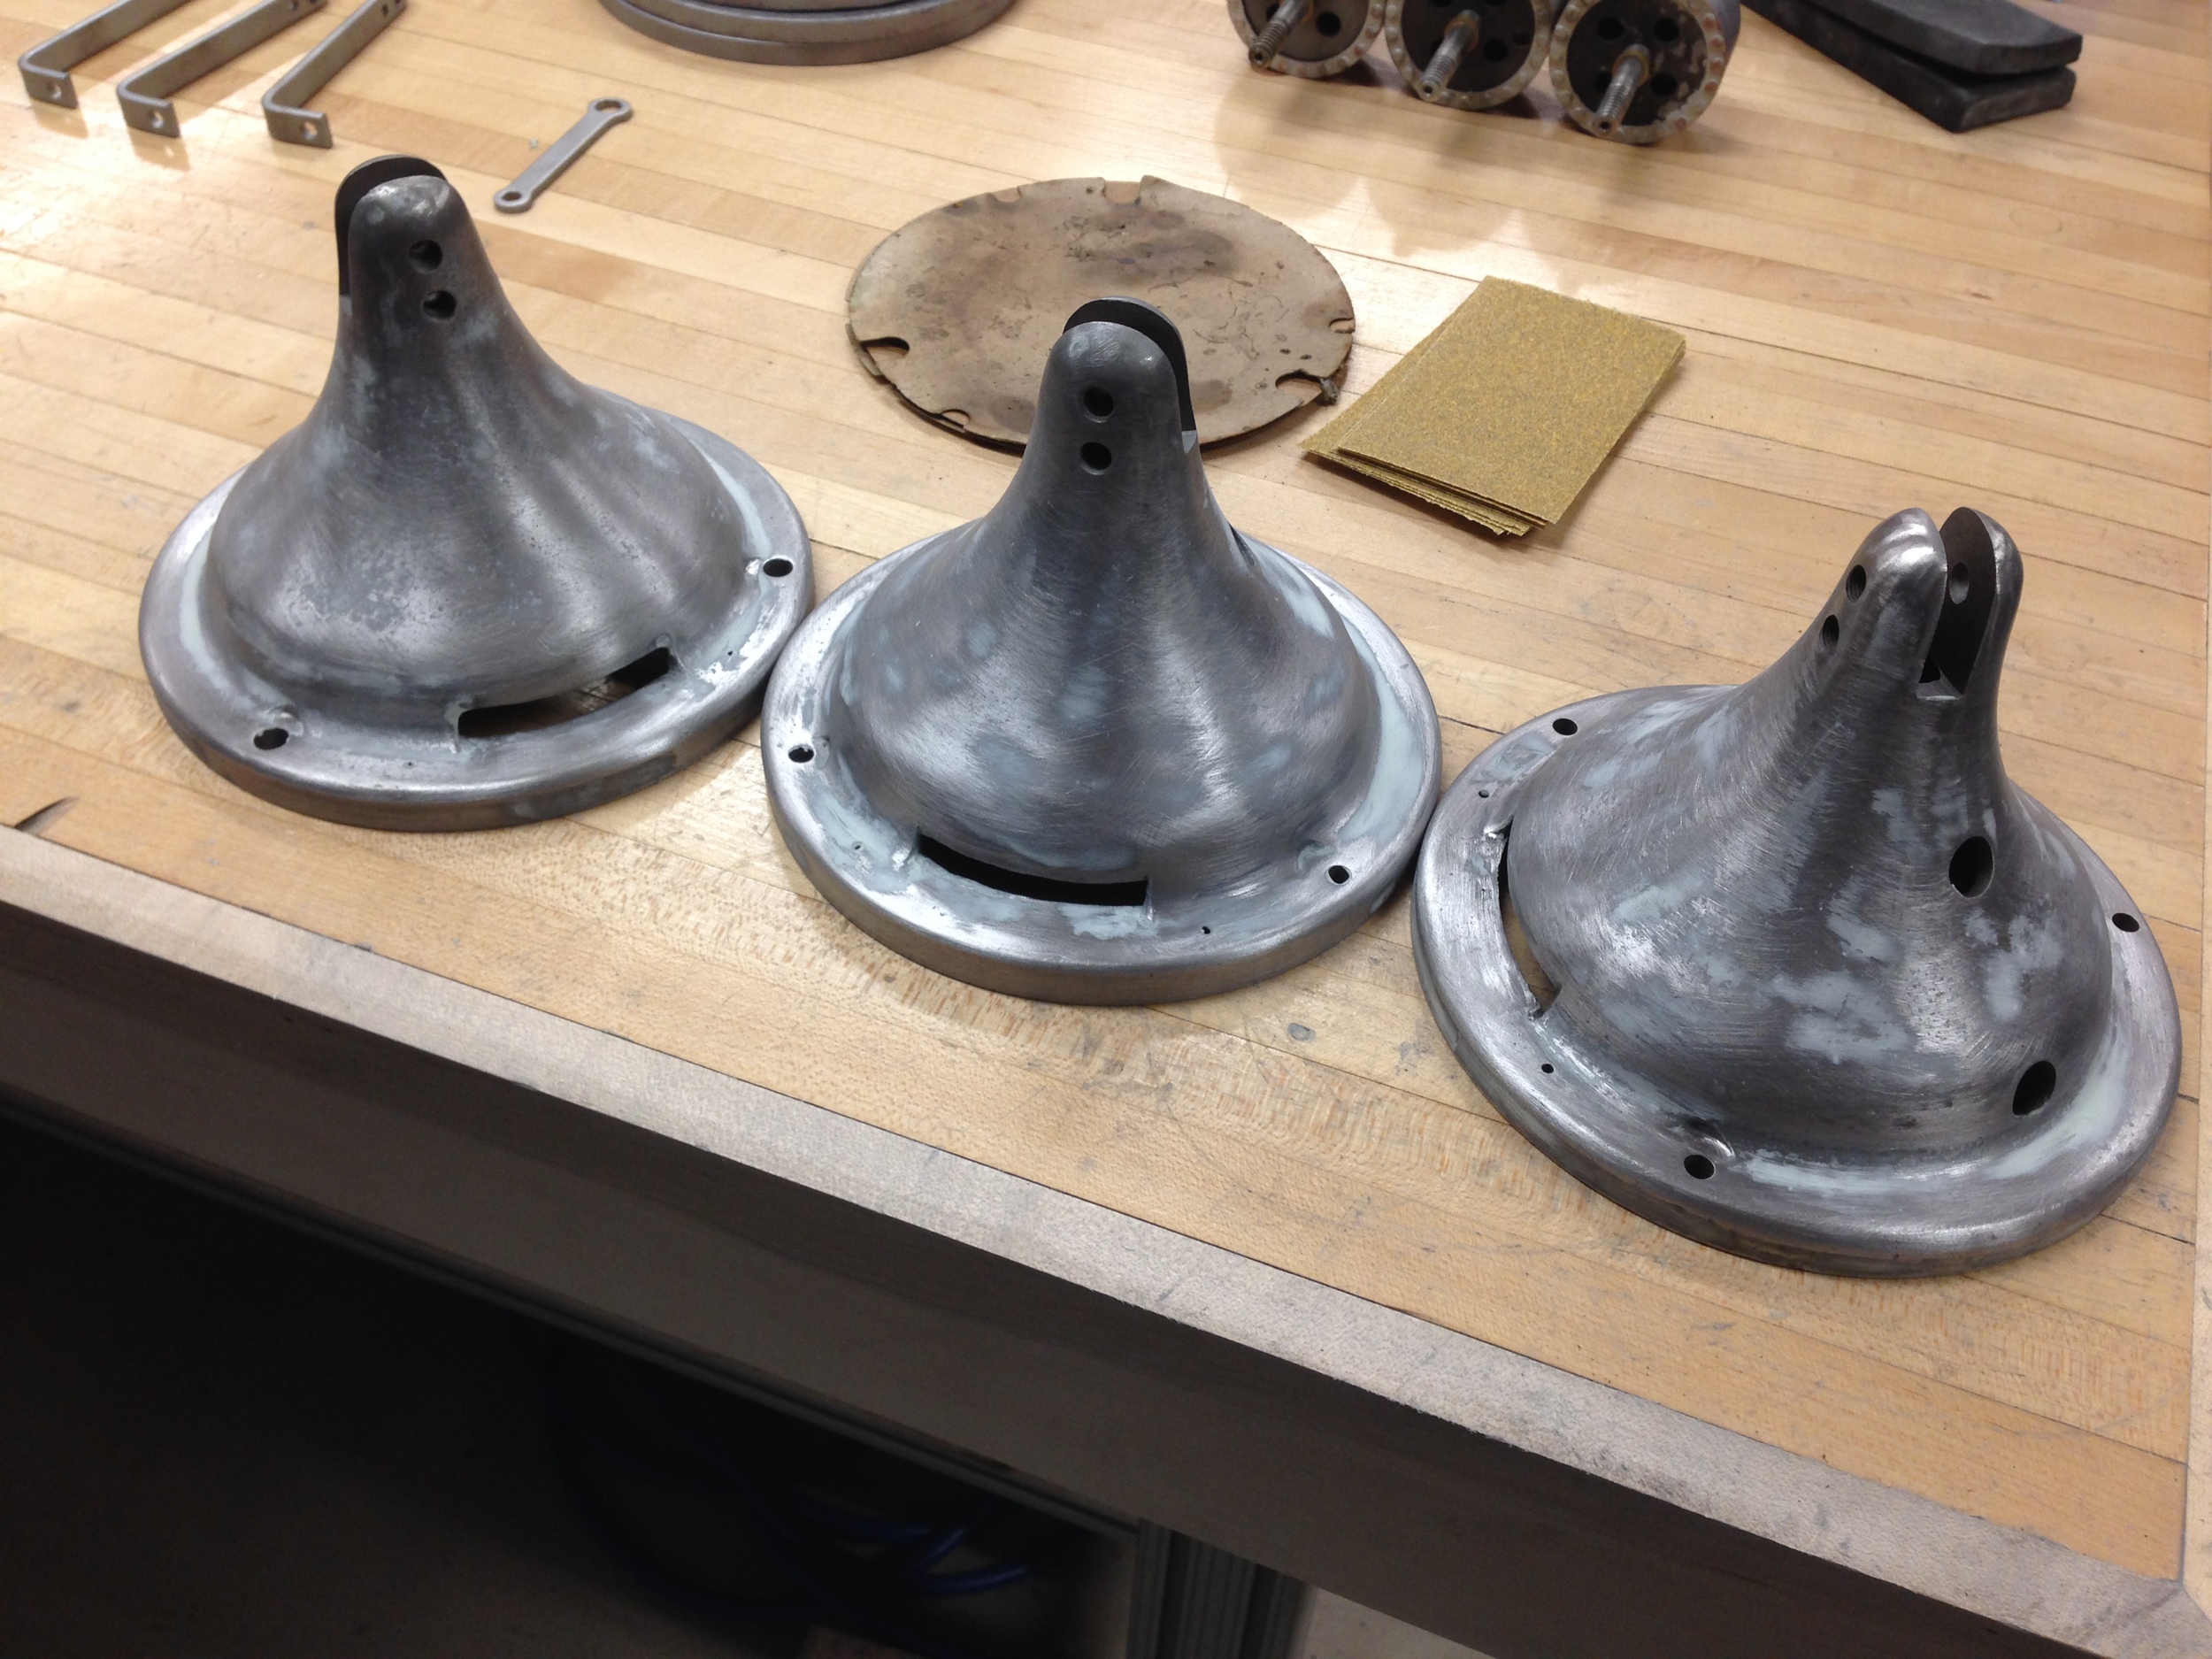
Grinding/Filling:
A glass-like finish starts with the cast iron itself. The purpose of grinding and filling the cast iron is to eliminate bumps and lumps of the casting while leveling the surface. The pits can then be filled in using automotive grade two-part filler. The filler is sanded down to level the surface completely.
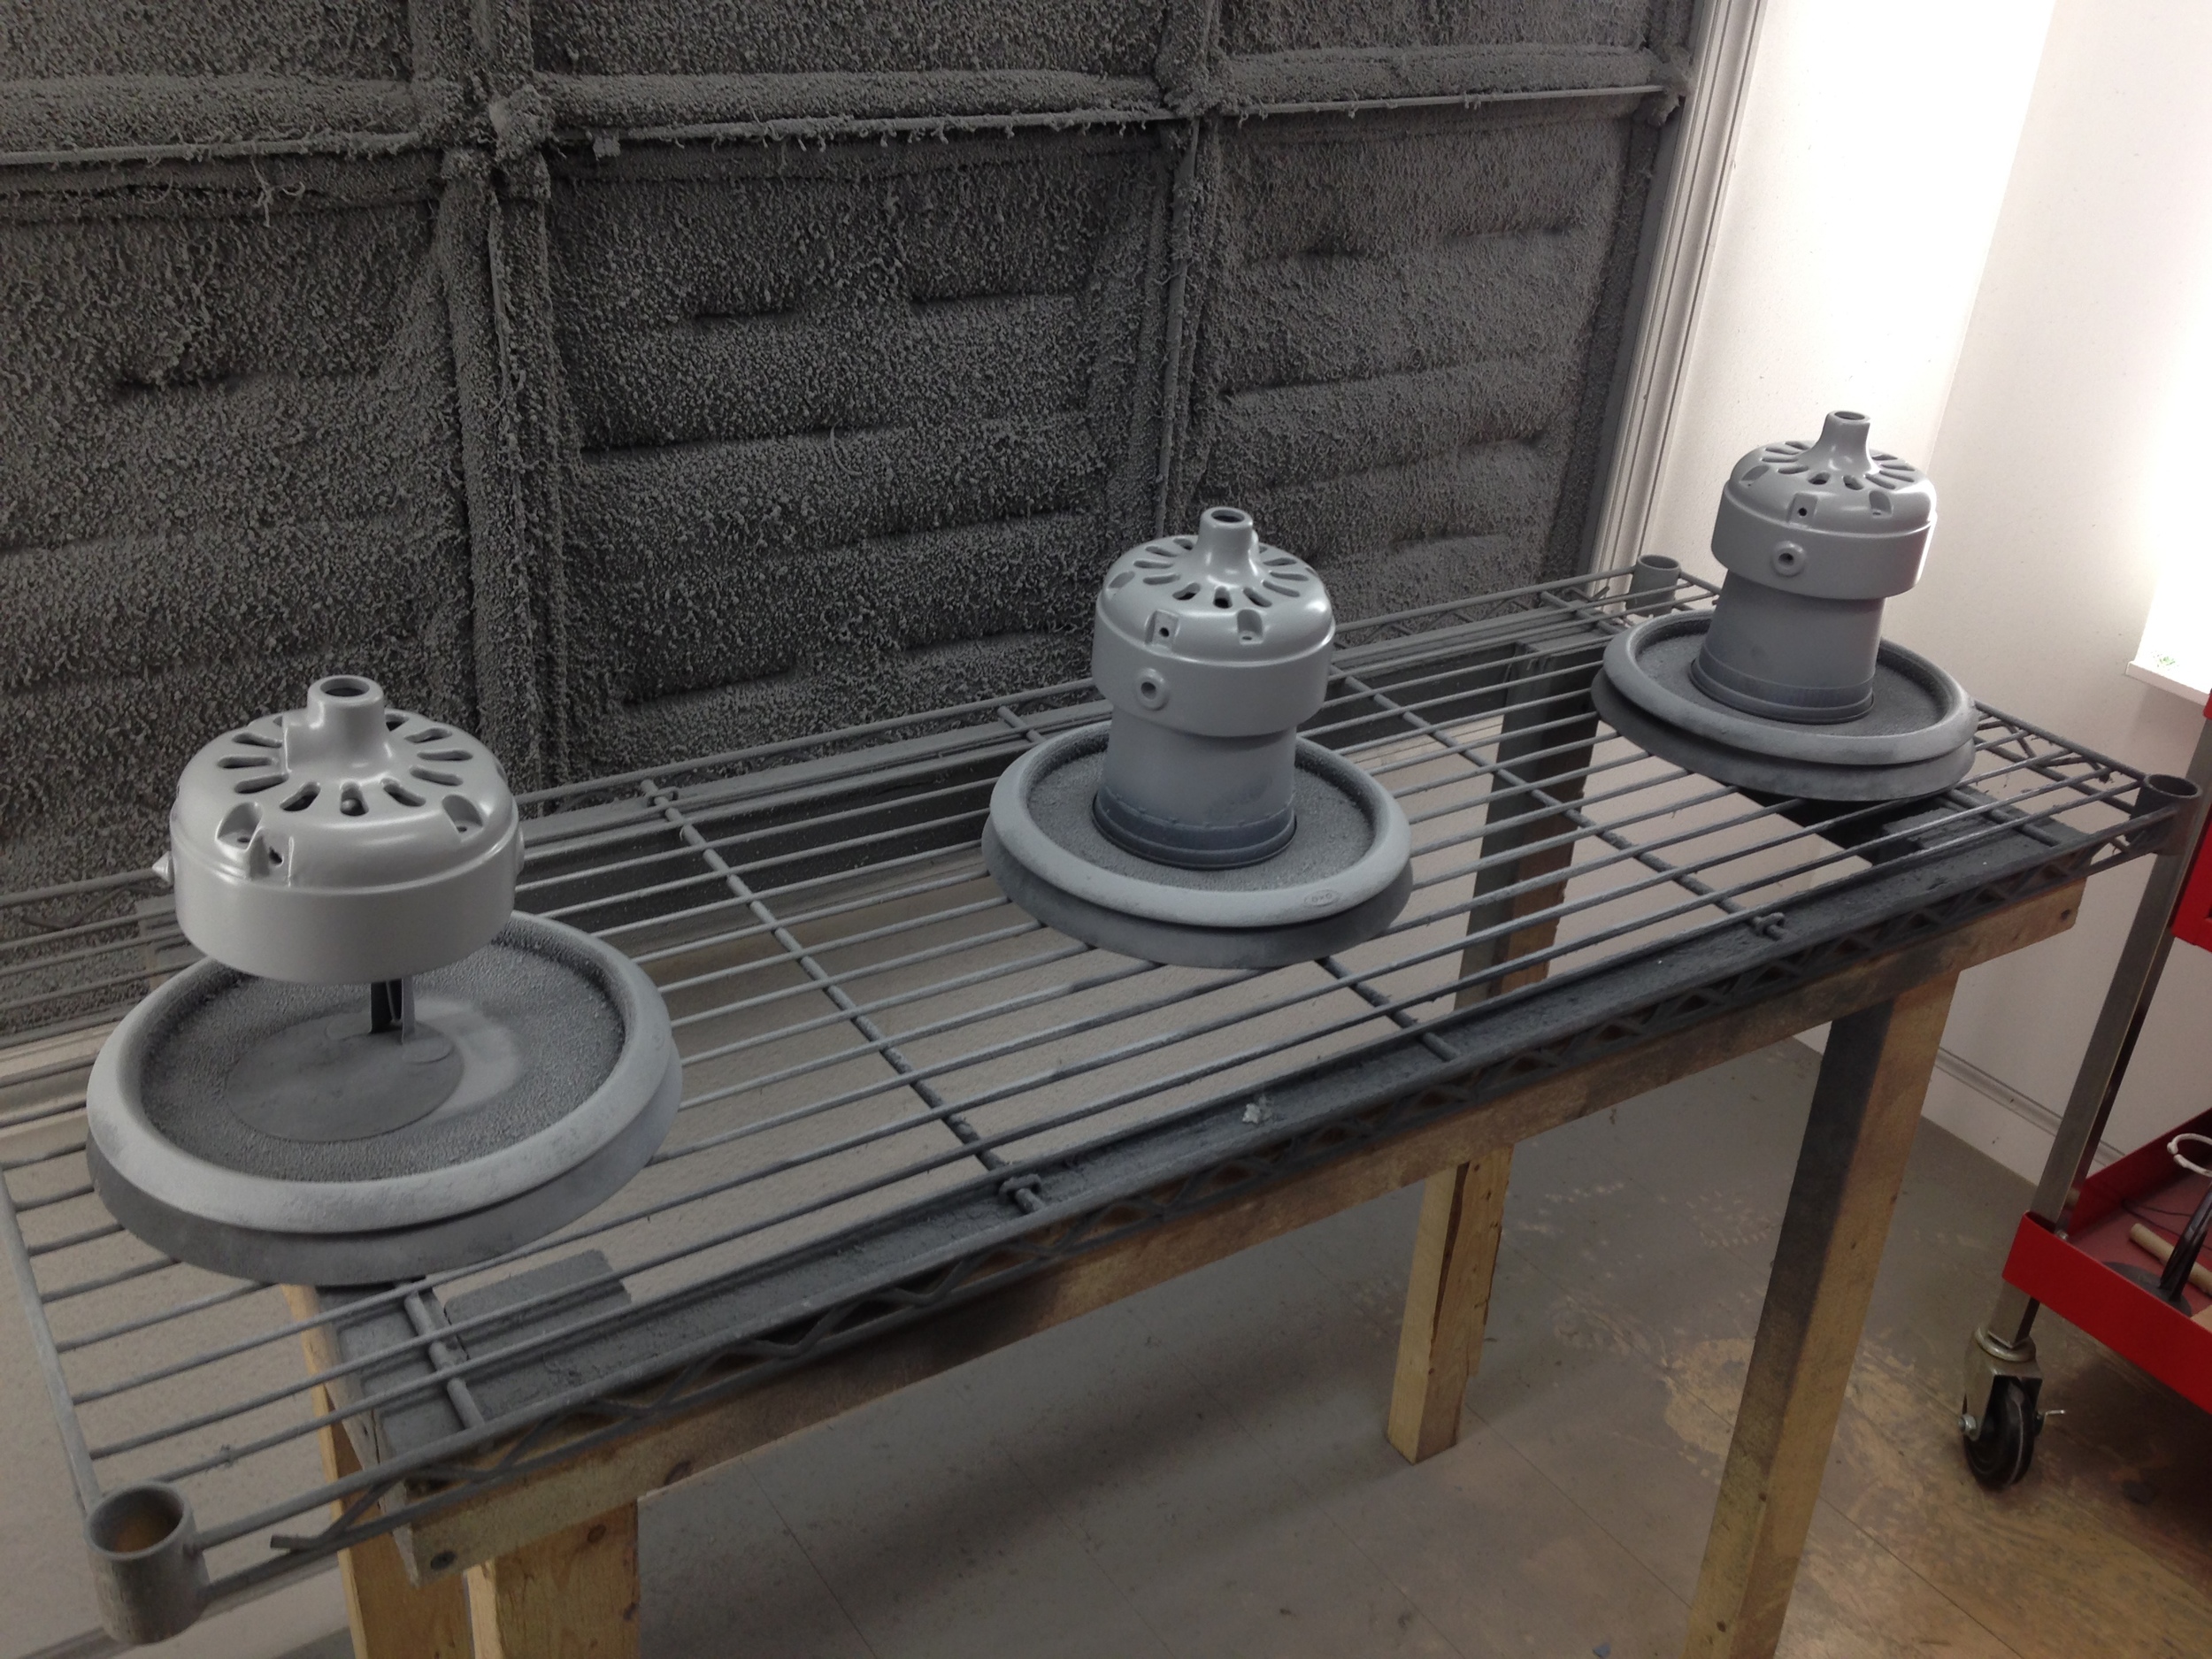
Priming:
Once the parts are completely ground and filled we can apply our first coats of primer. We use at least two coats of two-part urethane activated primer. It's not cheap but is well worth the investment because of its superior results. The primer is heavily sanded in between each coat in order to ensure the surface is completely smooth.

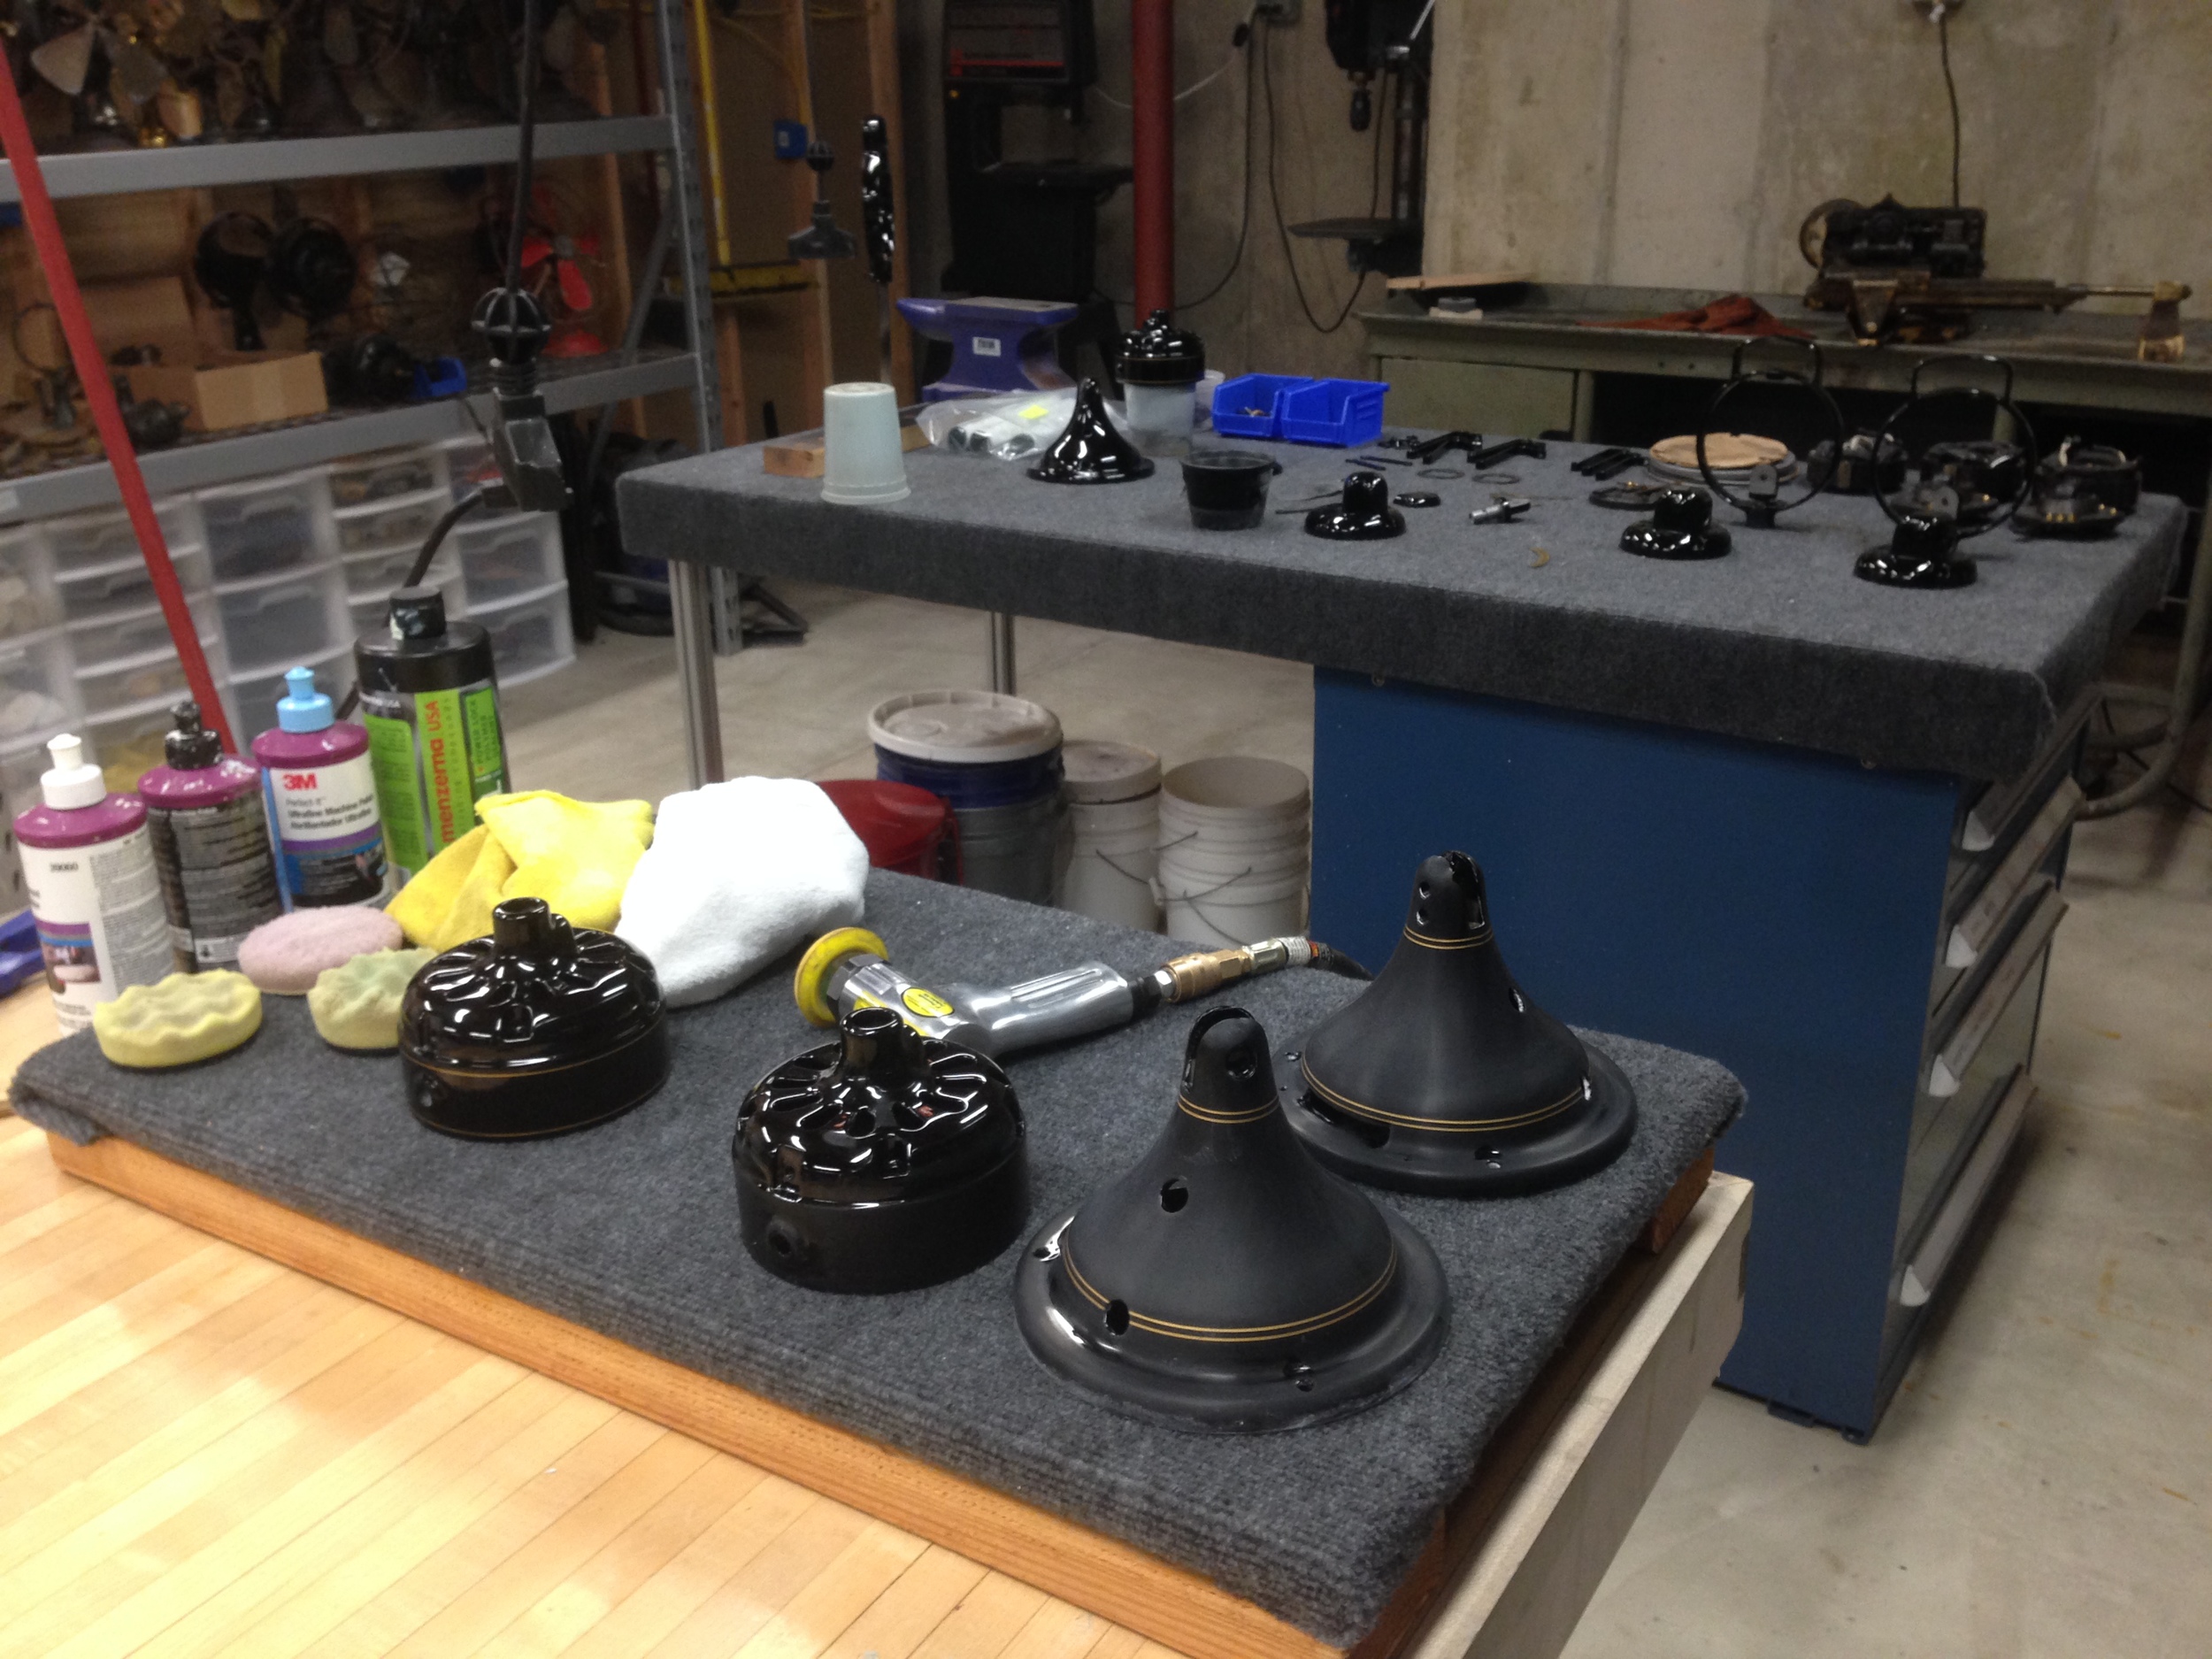
Base/Clear/Striping:
After the primer steps are completed the fan can finally be coated with the final steps of the paint finish. This includes sealing, base coat, clear coat, striping and final coats of clear. In the case of this Brass Bell the fan had sealer applied, followed by base coat, two coats of clear, then stripes, then three coats of clear. These final coats of clear were then sanded down to a flat finish and polished up from there using three stages of automotive grade polishing compounds.
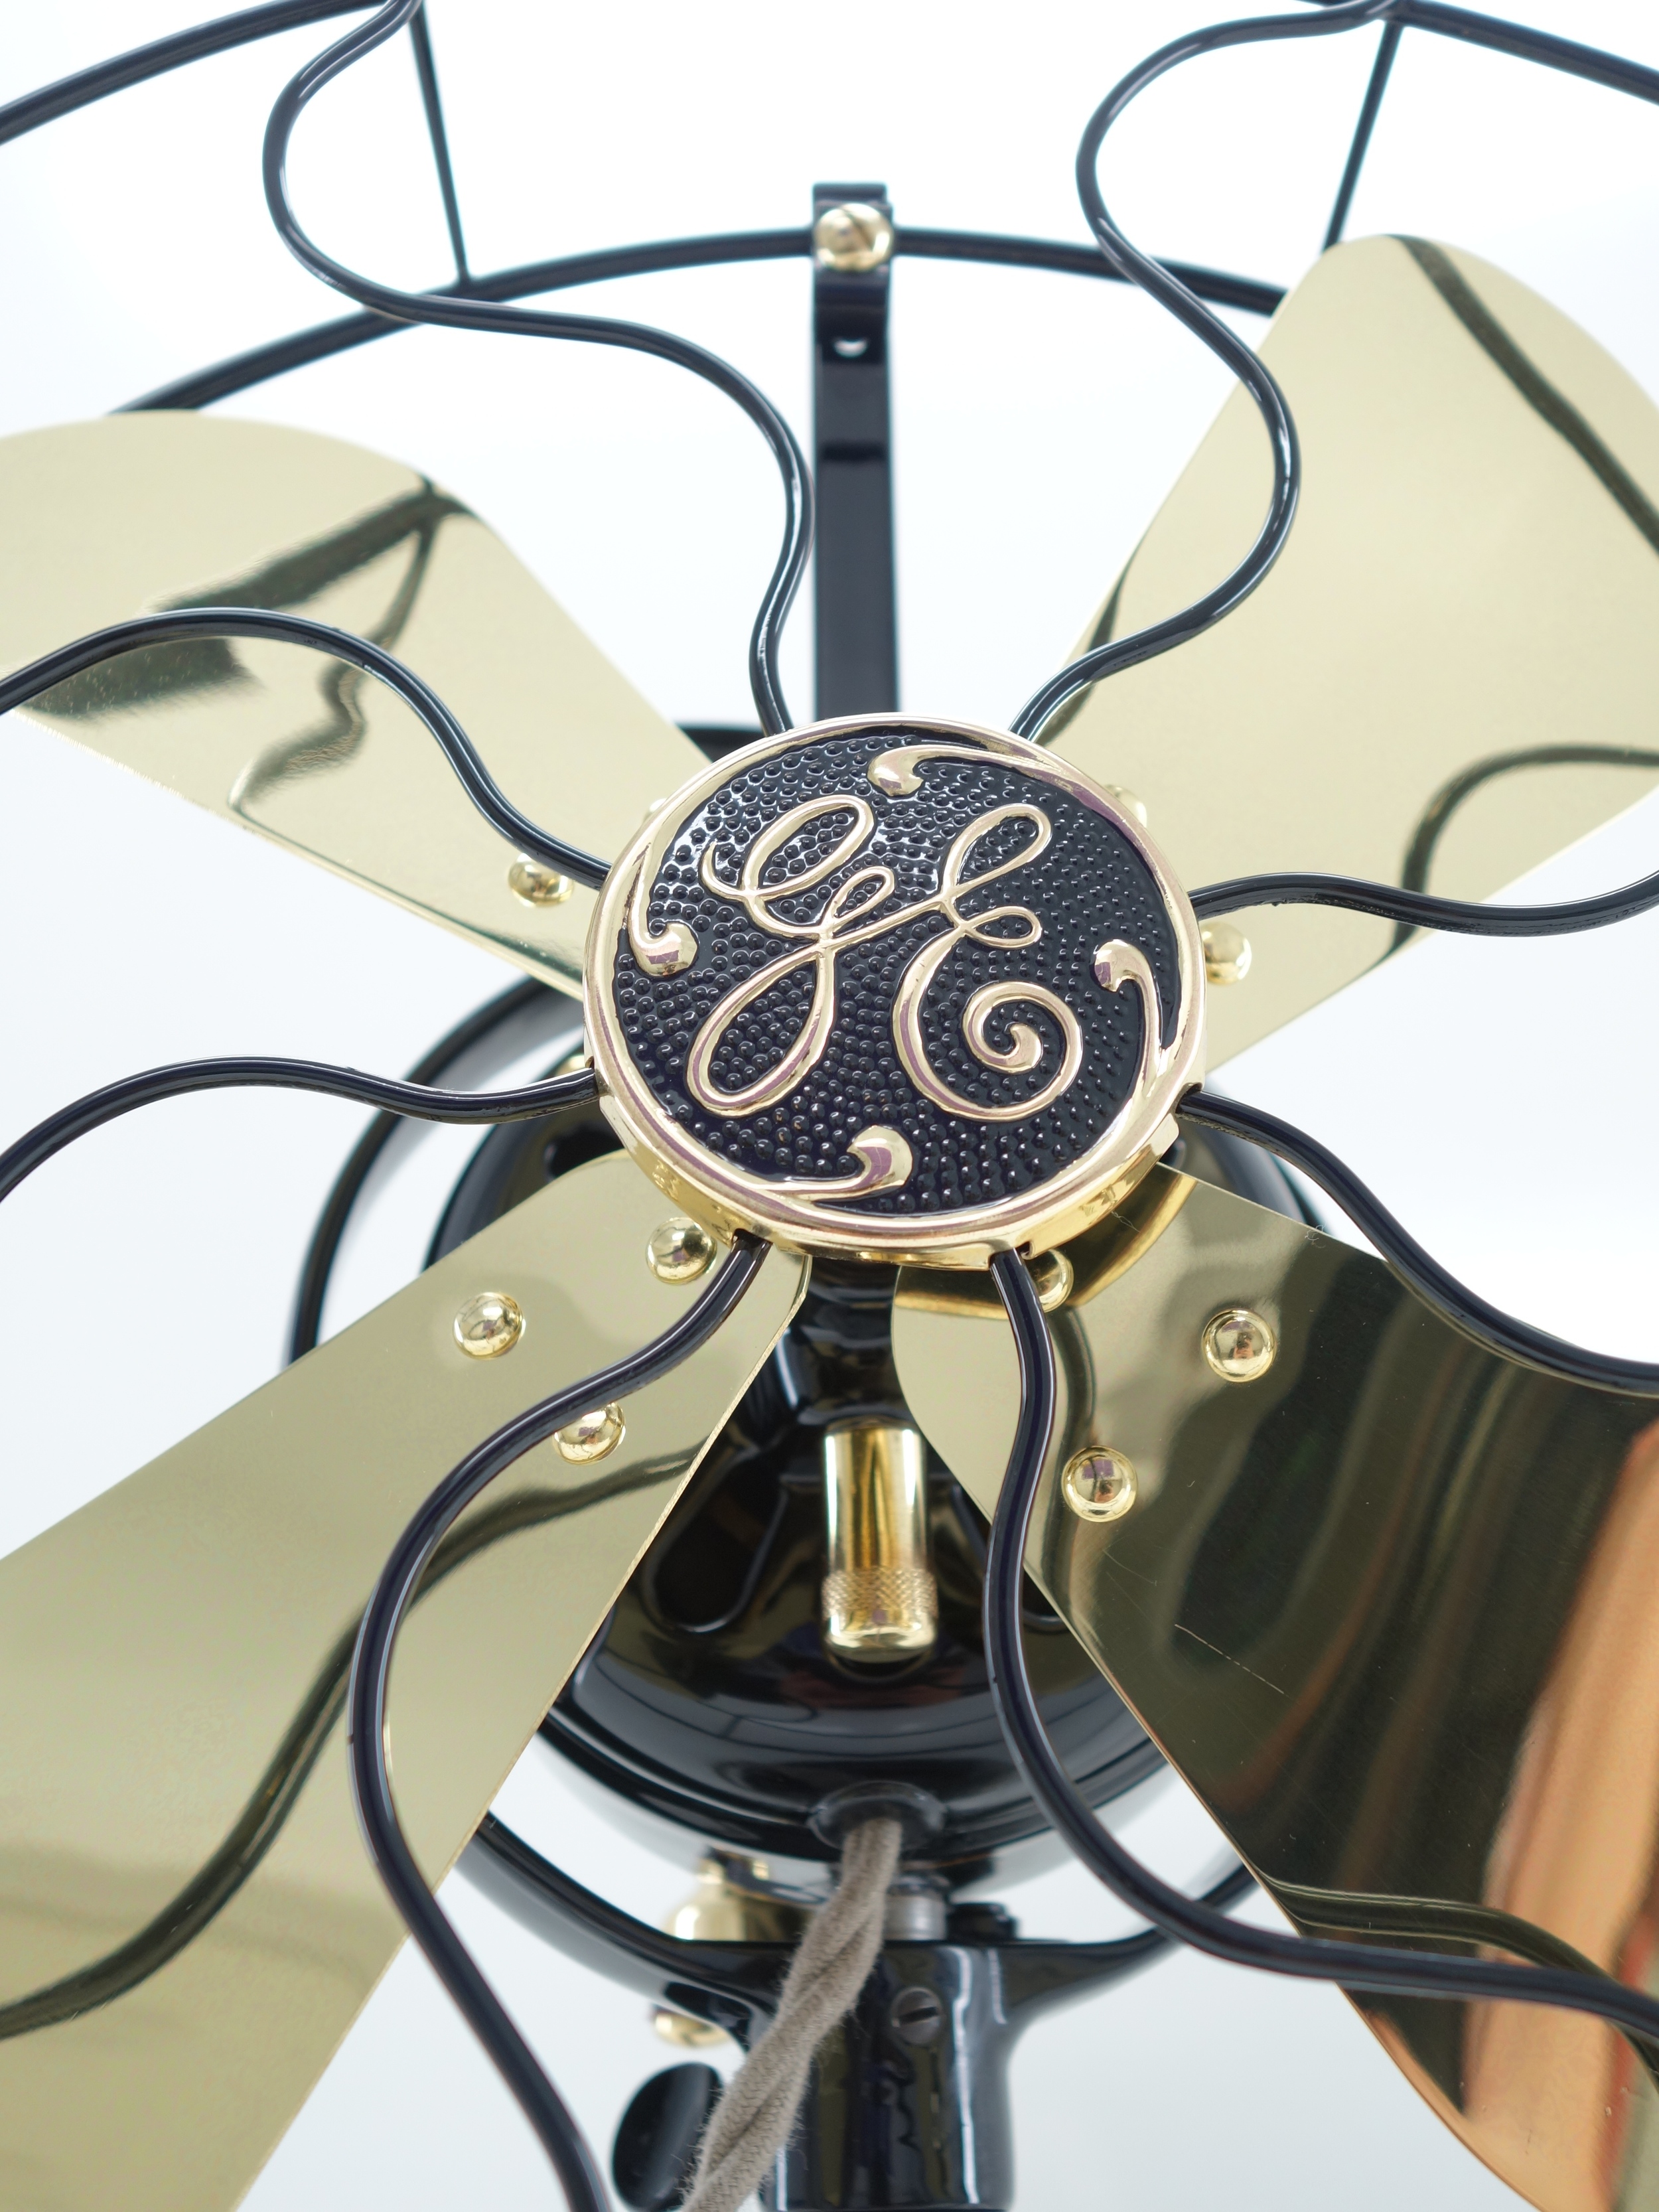
Brass Prep and Polishing:
The brass parts of the fan are separated into two categories, the smaller pieces which head toward tumbling and the flat blades whose condition is then evaluated to see if they can be brought back. In the case of this fan, the brass blades were re-manufactured using our precision CNC mill, slip rolled to the precise curve and then polished back to perfection. The small brass parts are tumbled using two grades of media and then polished to a mirror on the wheels.

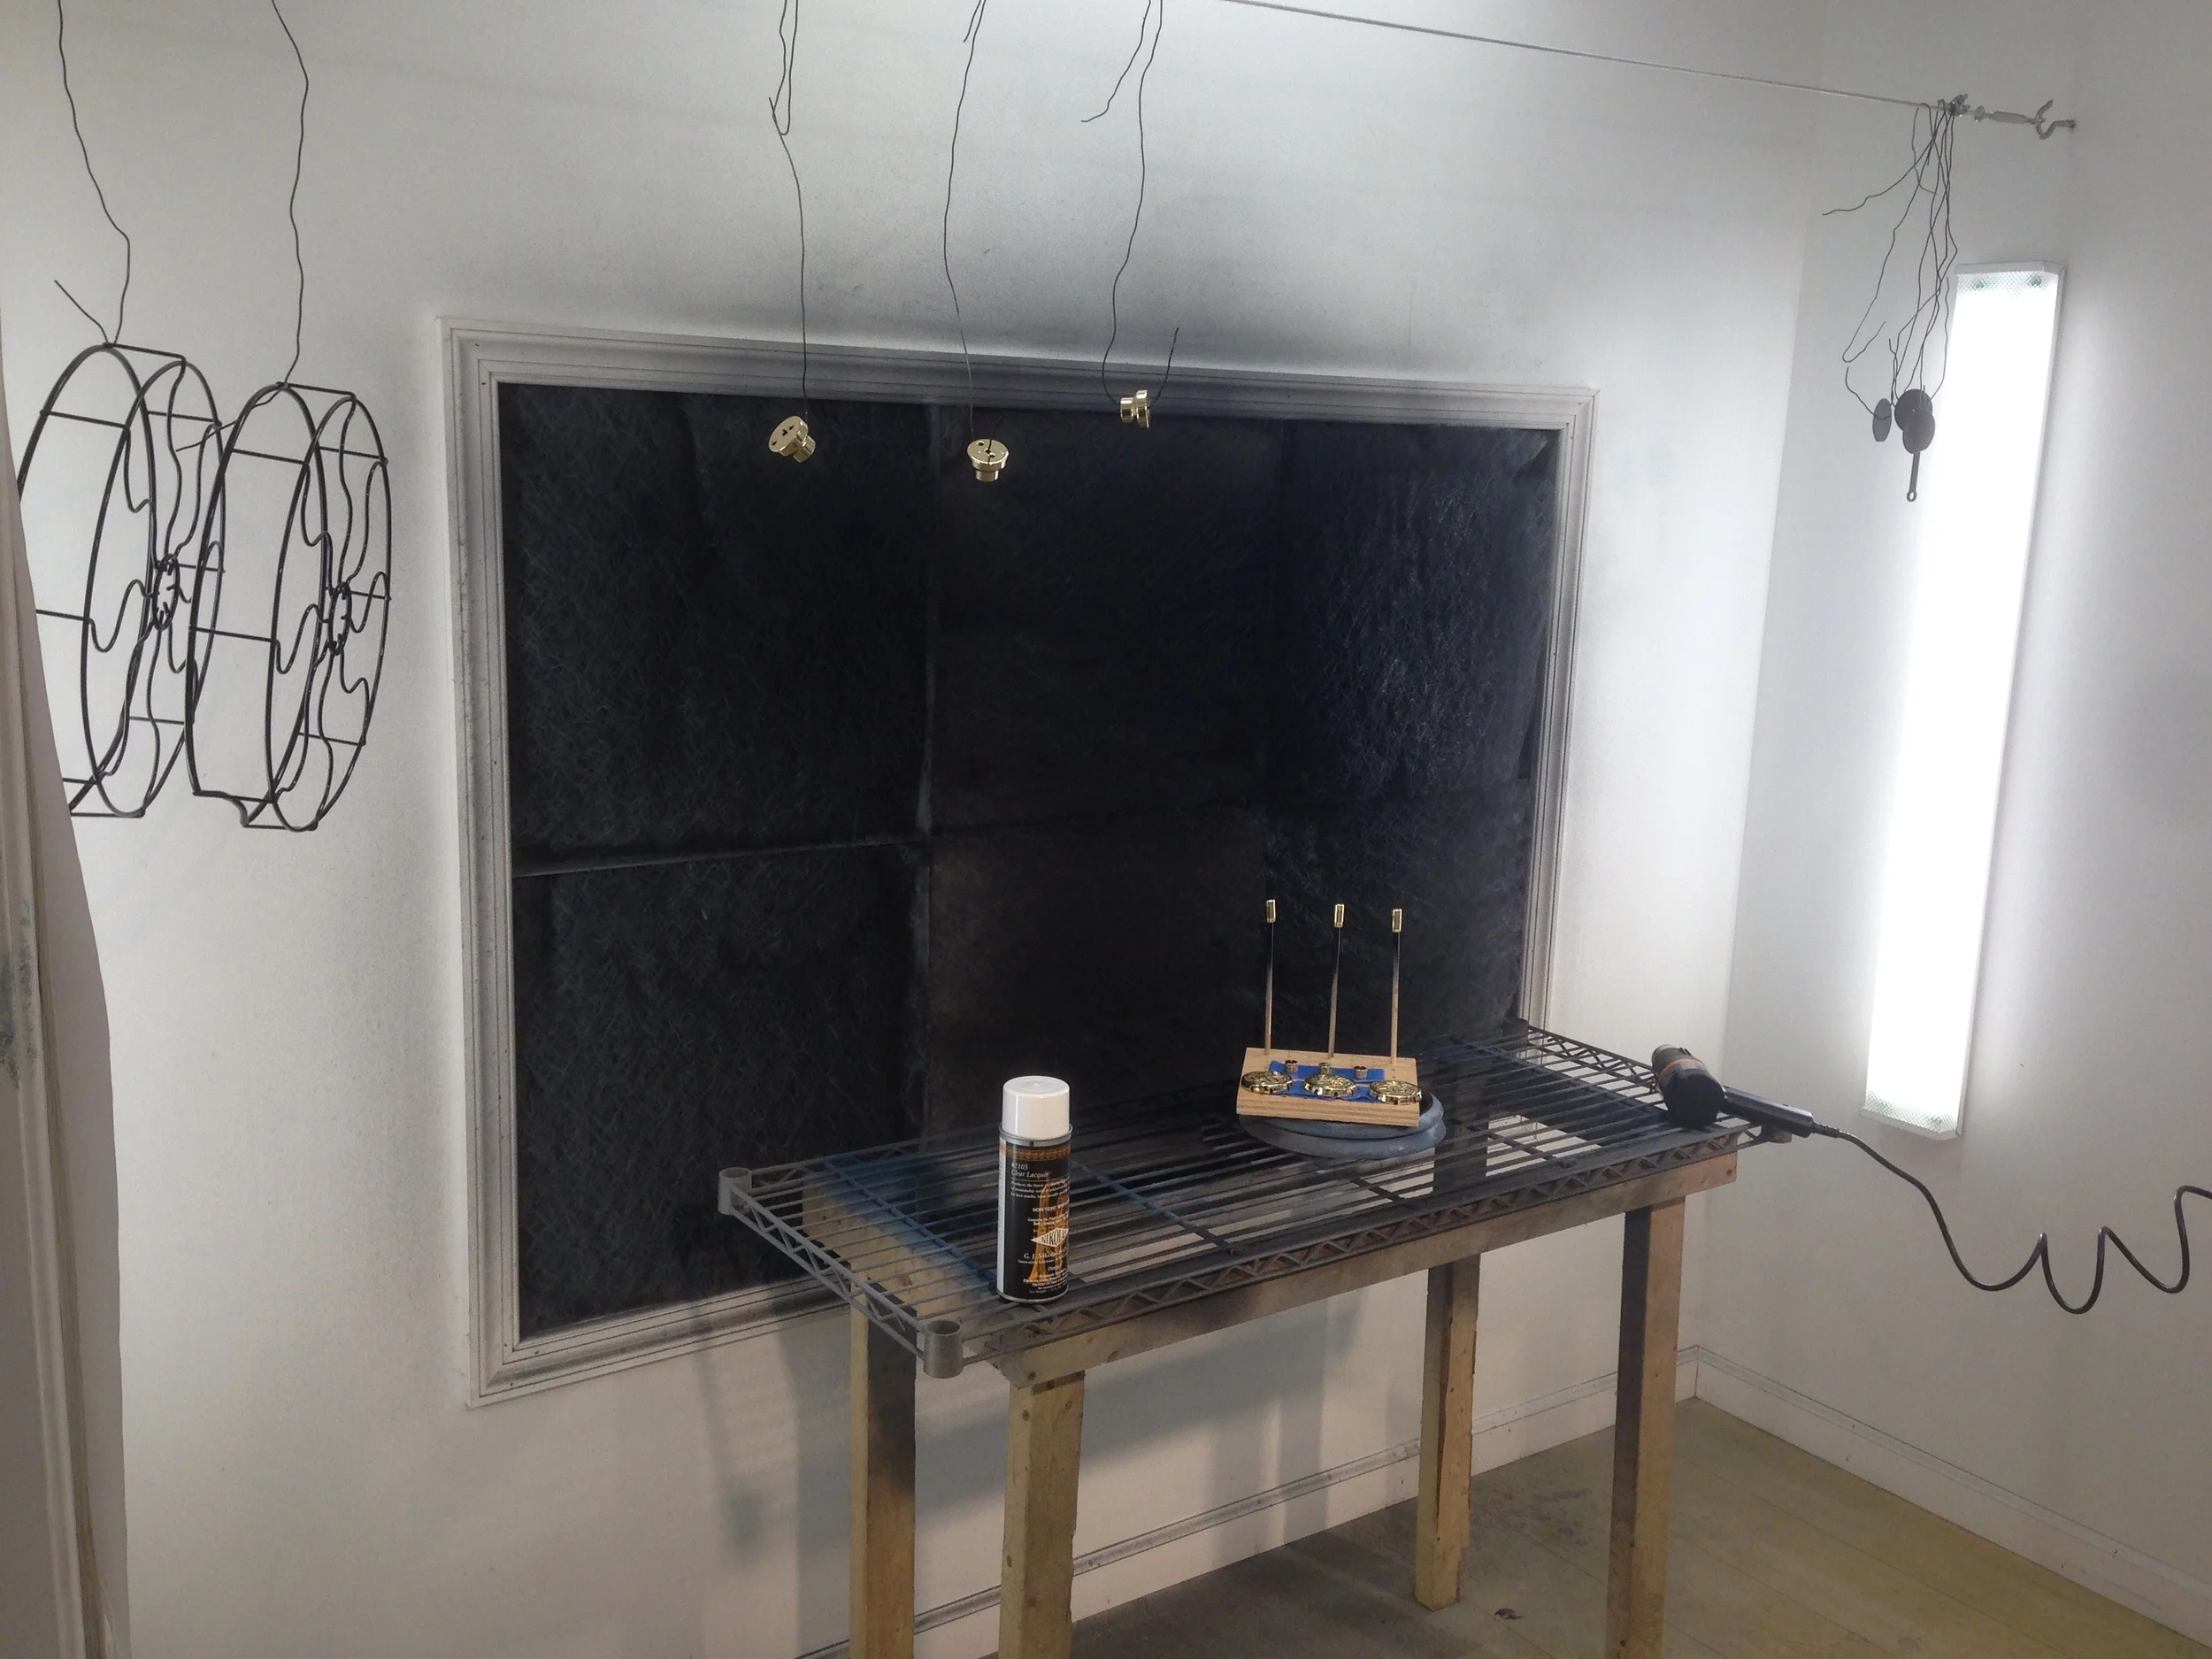
Lacquering:
All brass parts are lacquered, including the blades. Some may omit this step and the reason is this: it is hard to lacquer brass and preserve the brass's mirror finish. Doing so requires skill and knowledge of the necessary tools and materials. Those who do omit this step simply can't achieve a perfect finish and so they don't bother trying. A set of lacquered blades will remain beautiful for decades. Without lacquer the blades will tarnish within a year.
Blade Assembly and Balancing:
After the blades have been finished they can be riveted to the blade hub using specialized equipment. Then the blades are dynamically balanced using a stroboscope and finally statically balanced using a propeller balancing fixture. This is a painstaking process but worthy of the effort in order to produce a fan featuring minimal to no vibration.

Final Assembly:
After all the parts have been individually prepared they are ready for final assembly. Many of the parts will still need paint removal from interfaces, tapping to clear threads, or other fine tuning steps. White gloves are worn to preserve the paint's finish during assembly.
Fine Tuning:
Despite taking all the precautions along the way, there are always curveballs thrown at you. A gear can be worn and create vibration, a cage may not fit exactly the way it should. At this time these parts are corrected so that the final product is as close to perfect as possible.
Final Documentation:
During a restoration I learn a lot. All of this knowledge is documented so that I can benefit from it in the future. In the case of knowledge which is of value to the fan collecting community or to those who restore fans, I enjoy publishing it.